
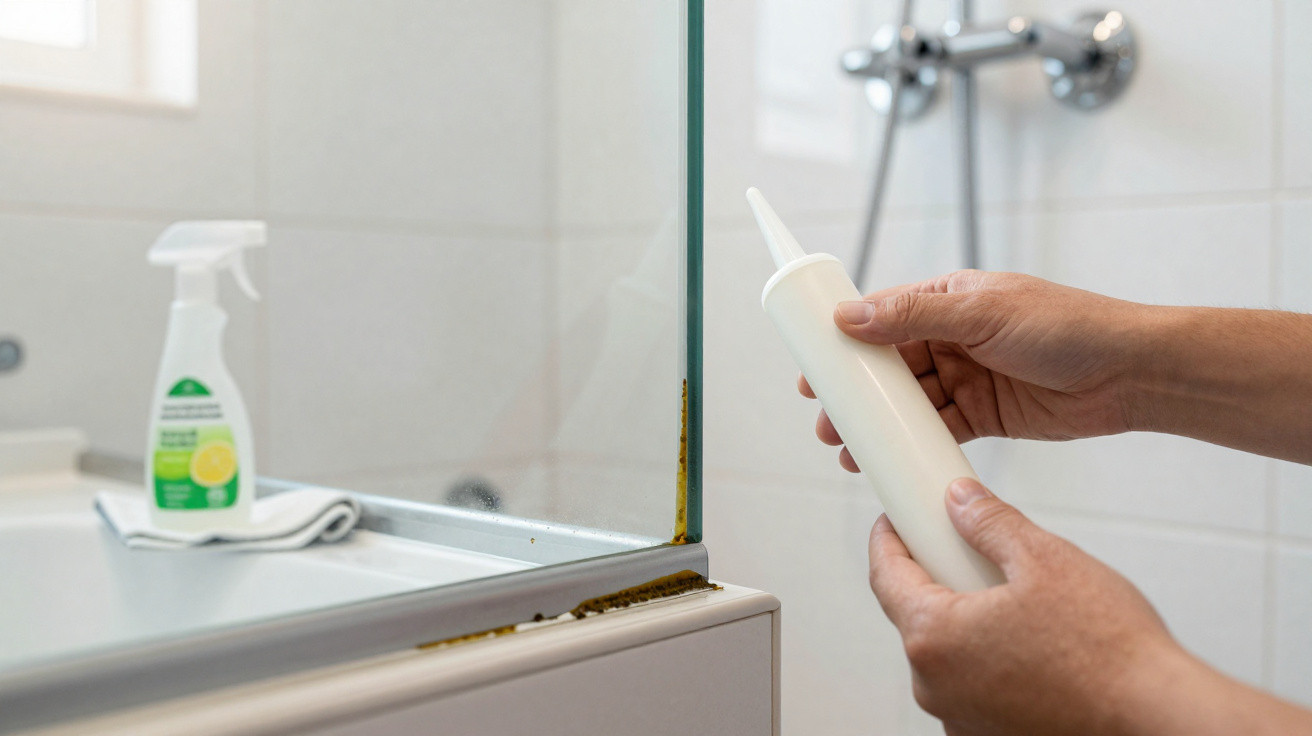
When the shower enclosure silicone turns dry, cracked or starts lifting, it no longer blocks water from passing through the joints between the floor and the walls. The right fix is not to squeeze a fresh bead over the old one: you need to remove the damaged material completely, deal with any mould, dry the surface, and then reseal the joint.
Why does shower enclosure silicone start cracking and growing mould?
Shower silicone is exposed every day to water, heat, cleaning products and the normal movement of the enclosure and surrounding finishes. Over time it can lose elasticity and pull away from the edges, creating gaps where moisture becomes trapped and dark marks can develop.
- Ageing of the material and loss of elasticity;
- Applying it onto a damp or dusty surface;
- Movement between the floor, wall and the shower enclosure frame;
- Frequent use of overly harsh cleaning products;
- Missed sections or gaps left during the previous application;
- Poor ventilation and slow drying in the bathroom.
How do you remove the old silicone completely?
Start with a fully dry enclosure. Remove the existing bead using a plastic scraper or a sealant remover made for this purpose. Carefully cut along the edges and peel the silicone away gradually, steering clear of sharp metal tools that could scratch the glass, chip tiles, or damage waterproofing.
Any thin leftover residue must also be removed, because new product will not bond properly to old silicone. Silicone used for sealing repels water and stays very flexible, but it only forms a continuous, watertight bead when applied to a clean, solid and completely dry surface.
How do you remove mould left underneath the seal?
Once the silicone is off, wash the joint with water and a mild washing-up liquid to lift soap scum, body oils and grime. On glass or ceramic surfaces, white vinegar can be used separately on small, surface-level marks-provided you test it first and rinse it away fully before resealing.
- Never mix vinegar with bleach or any other cleaners;
- Wear gloves and keep the bathroom well ventilated;
- Scrub the area using a small, soft brush;
- Rinse so no vinegar, detergent or residue remains;
- Dry with clean, lint-free cloths;
- Replace grout or porous materials that are contaminated deep down.
How do you reapply silicone to prevent new leaks?
Wait until the joint is completely dry. A fan, or a hairdryer on a cool or warm setting used at a distance, can help evaporation-but avoid overheating the glass or tiles. Run masking tape along both sides and apply fungus-resistant sanitary silicone, creating a single continuous bead with no breaks or bubbles.
Smooth it straight away with a profiling tool or a gloved finger that is slightly damp, taking care not to let soapy water seep underneath the product. Remove the tape before a skin forms, and follow the manufacturer’s curing time exactly, which may require 24 hours or more with the shower kept dry.
How do you stop the silicone going mouldy and coming loose again?
After showering, pull off standing water with a squeegee, leave the shower door open, and ventilate the room. Avoid scrubbing the bead with stiff brushes or abrasive products. Regular, gentle cleaning prevents a film of soap residue from building up-an ideal surface for mould to spread.
Preventing mould returning also depends on controlling humidity. If water keeps appearing outside the enclosure, the wall finish looks swollen, or the new silicone detaches quickly, there may be a waterproofing failure that needs professional assessment rather than just replacing the seal.


Comments
No comments yet. Be the first to comment!
Leave a Comment