
The reassuring news is that, in many cases, the cause isn’t poor hygiene at all, but a chemical change in the material. Using the right products and a few straightforward steps, you can often restore much of the original shade – or at least make it look noticeably fresher. The key is knowing what’s behind the discolouration, steering clear of common mistakes, and choosing a method that suits the specific plastic item.
Why plastic turns yellow in the first place
Yellowed plastic usually has the same three enemies: UV light, heat and grease. Sunlight alters the structure of certain plastics, warmer temperatures speed that reaction up, and kitchen grease can settle over the surface like a dull film.
"If you want to rescue yellowed plastic, you should first understand what damaged it – and then tackle that cause very deliberately."
In day-to-day terms, it often looks like this: the cover on a cooker hood sits above the hob all the time, heats up, gets splattered with grease and may also catch daylight. That constant combination can make the material look grey at first and then increasingly yellow.
Mistakes that make it worse
A lot of well-intentioned cleaning can actually create bigger problems. Common pitfalls include:
- Water that’s too hot: heat can further roughen the surface and intensify colour changes.
- Harsh abrasives: powders or stiff scourers leave fine scratches where grime can lodge.
- Chlorine-based cleaners: they may lighten plastics, but can also make them brittle or leave patchy marks.
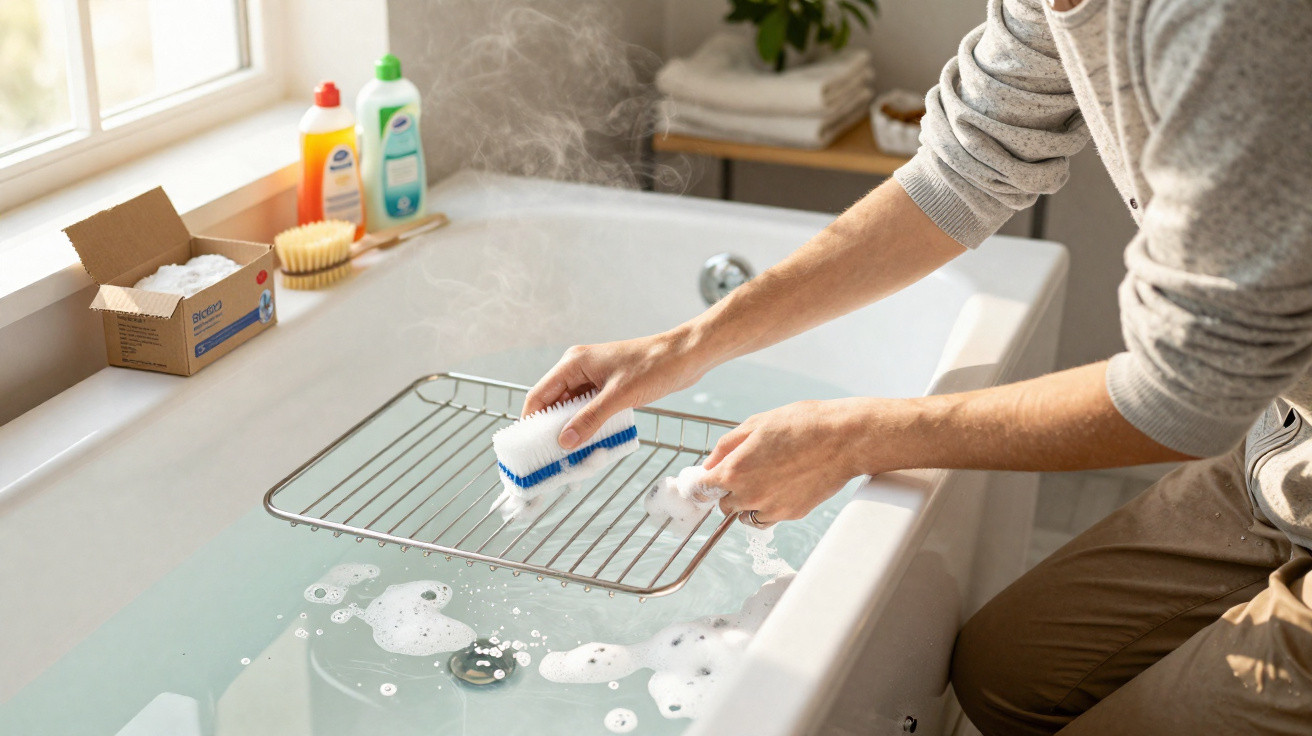
- Dishwasher cleaning: high heat plus aggressive detergents can be disastrous for many plastic parts.
Before moving on to anything stronger, it’s worth doing a quick spot test: apply a little on the back, under a lip or in a corner, wait a few minutes, and check whether the colour, texture and sheen remain intact.
Brightening plastic with hydrogen peroxide
Hydrogen peroxide (often sold in pharmacies) is one of the most effective household options for tackling yellowed plastic. It works particularly well on light-coloured, rigid plastics such as appliance housings, switches or PC keyboards.
You generally only need three things: hydrogen peroxide, disposable gloves, and some cling film to cover the area. If the part can be removed, a bowl or tub can also be used.
A simple way to apply it
- Lightly clean the plastic first to remove dust and loose dirt.
- Apply hydrogen peroxide evenly – using a brush, cloth or spray bottle.
- Cover with cling film so it doesn’t evaporate too quickly.
- Leave it to work for a few hours, depending on the product and how severe the yellowing is.
- Rinse thoroughly with clean water and dry carefully.
Sunlight can speed the process up, but on sensitive plastics it may cause uneven results. If you want to minimise the risk, work in the shade and extend the contact time slightly.
"Hydrogen peroxide acts like a gentle bleaching treatment for plastic – but if it’s too strong or left on too long, it can alter the texture and shine."
Toothpaste as a gentle polisher for mild yellowing
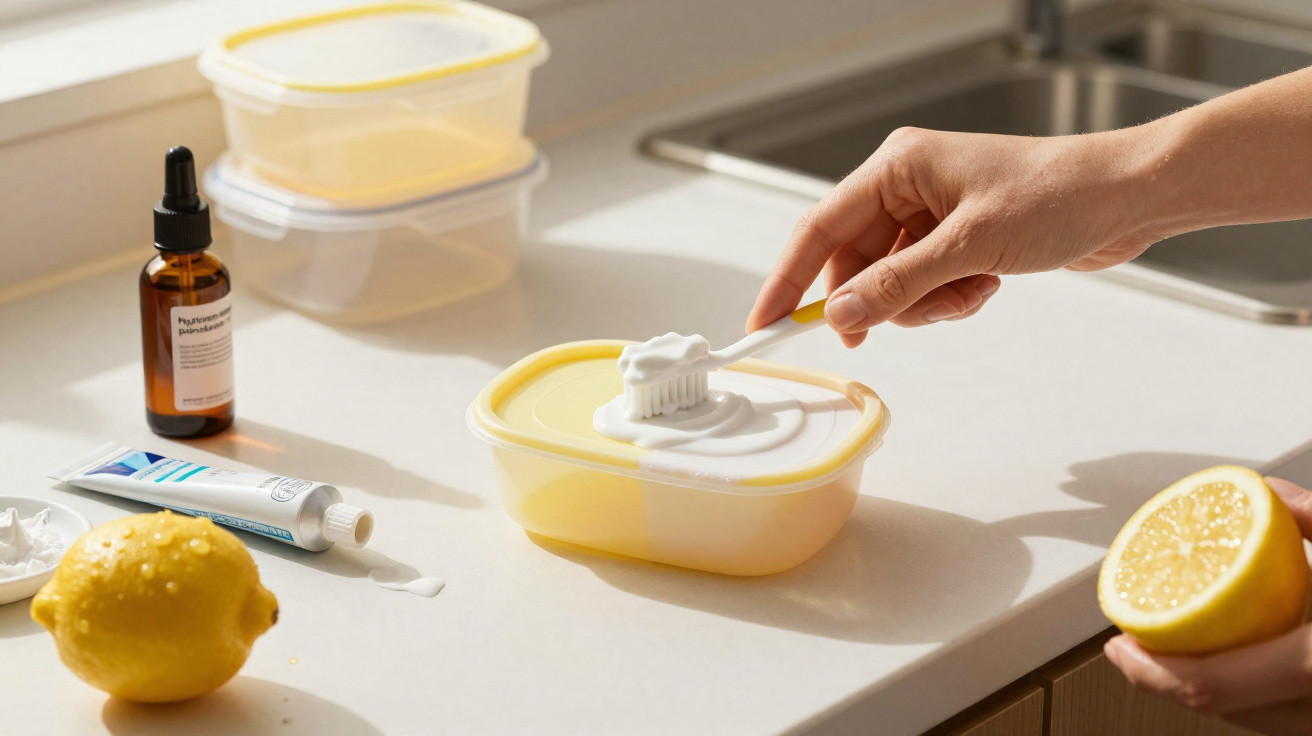
If you’re dealing with slightly greyed light switches or dull plastic in the bathroom, a much milder option can be better: toothpaste. The fine cleaning particles in it behave like a very gentle polishing compound.
Which toothpaste works best
- Plain white standard toothpaste, ideally without strong dyes
- No extreme ‘whitening’ formulas with coarse abrasive particles
- No gel toothpastes, as they tend to polish very little
To use it, put a small amount on a soft cloth and rub the surface in circular motions. A soft toothbrush is more useful for grooves and edges. Afterwards, wipe with a damp cloth and buff dry.
For slightly yellowed or simply lacklustre pieces, this approach often makes them look visibly cleaner and brighter. If the plastic has already shifted to a deep yellow, though, toothpaste will usually be too gentle to make much difference.
Talcum powder and starch to stop grease
Where grease is the main culprit – for instance, on kitchen items near the hob – a different strategy helps: bind the excess grease instead of smearing it around. Talcum powder and food starch (such as cornflour) work well together here.
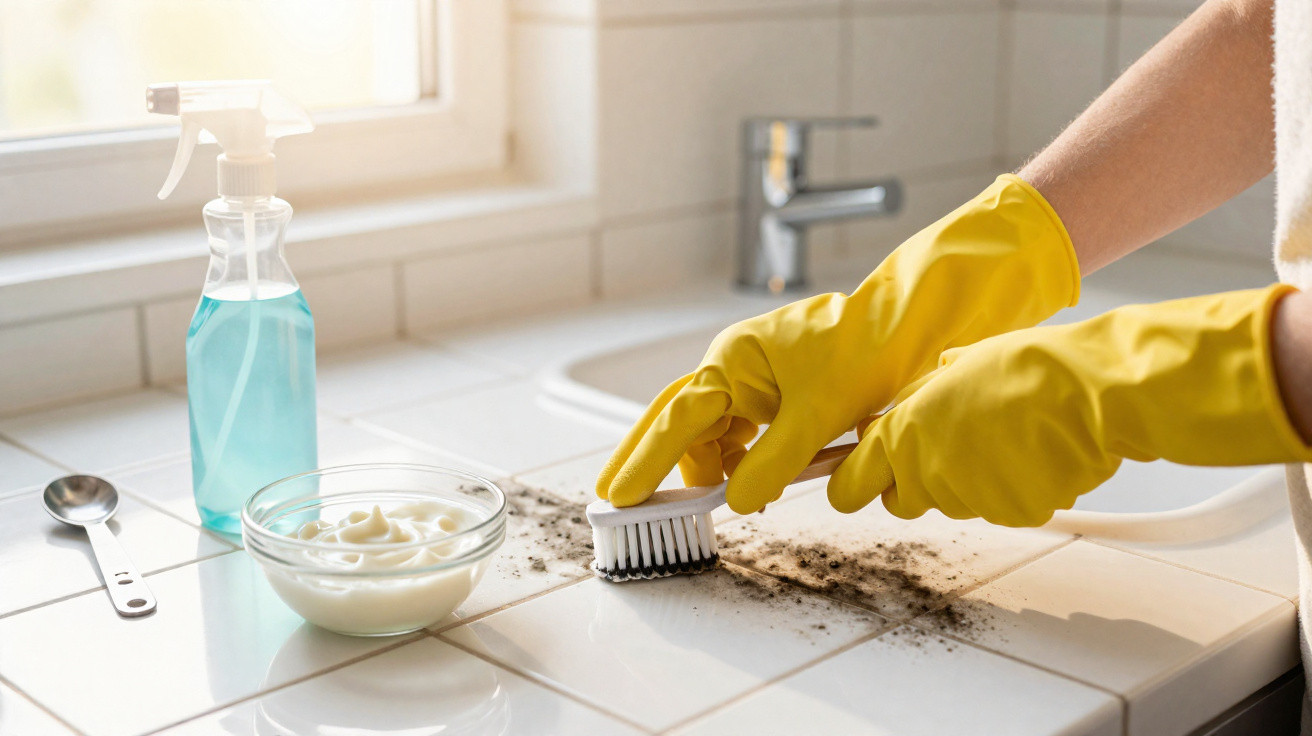
A quick paste for greasy film
For a small batch, you’ll need:
- 2 tablespoons talcum powder
- 2 tablespoons food starch (for example, cornflour)
- a little water, just enough to make a spreadable paste
- optional: a squeeze of lemon juice
Apply the paste with a spoon or brush. Keep it fairly thick, otherwise it will run. Let it dry for a while, then remove it thoroughly with a damp cloth. The aim is to lift away grease and the grey haze, leaving the finish looking more even.
"When grease is involved, absorbent powders often achieve more than scrubbing alone."
Lemon as a fresh finishing touch
Lemon on its own won’t turn dark yellow fittings into something that looks brand new, but it’s a good final step: it neutralises odours, helps with light staining and leaves a fresher overall impression.
Everyday ways to use it
- Neat: put lemon juice on a cloth, wipe the surface, leave briefly, then rinse.
- Diluted with water: for more delicate plastics or larger areas.
- With a little salt or bicarbonate of soda: for crusty edges, such as around seals or on plastic handles.
The important thing is not to be overly aggressive. Lemon is acidic, so avoid leaving it on for hours. After treatment, wipe with water and dry off so no sticky residue is left behind.
How to keep plastic lighter for longer
Once the plastic looks reasonably brighter again, the next question is how to maintain it. A few habits make a big difference:
- Avoid placing items in direct, strong sunlight where possible.
- Wipe regularly with a mild cleaner so grease doesn’t build up.
- Be mindful of heat sources such as hobs or radiators and create a little distance.
- For outdoor use, specialised care products with UV protection can be worthwhile.
It’s especially sensible to relocate extension leads, charging docks or TV receivers that often sit on a windowsill. Many of these plastics are highly sensitive to UV light, so a yellow tint becomes almost inevitable over time.
When it’s better not to use home remedies
Not every plastic responds well to every trick. High-gloss finishes, for example, can become permanently dull if exposed to strong bleaching agents. If an item is still under warranty, it’s also worth checking whether DIY cleaning could affect your cover.
If you notice cracks, sticky patches or a crumbly feel, the material has already degraded significantly. In that situation, replacement is often the only real fix – or you accept the patina and focus on thorough cleaning rather than perfect appearance.
One more point that’s often overlooked: some plastics don’t just yellow on the surface; the discolouration can run through the material. In those cases, home methods may achieve a slight lift, but the original ‘new’ look will remain out of reach. Keeping expectations realistic helps you avoid frustration and overly harsh attempts.

Comments
No comments yet. Be the first to comment!
Leave a Comment