
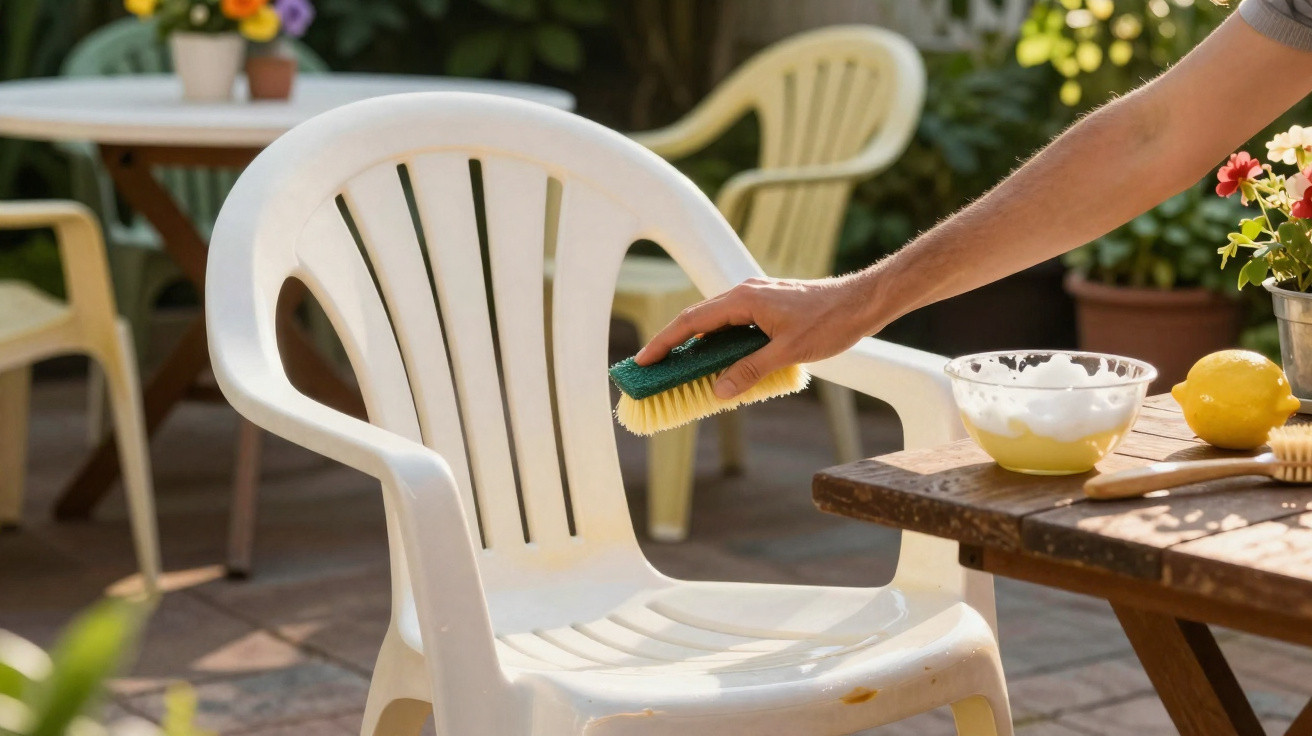
When spring rolls around, plenty of people pull their garden table out of the corner, take one look at it and think: “I can probably only throw this away now.” Sun, rain and grime leave very obvious marks on plastic outdoor furniture. What many don’t realise is that a simple blend of everyday kitchen ingredients can often bring back much of the original shine - without any pricey specialist cleaners.
Why plastic garden furniture turns grey and yellow so quickly
Plastic furniture often sits outdoors for months with little or no protection. That’s where the trouble starts. UV radiation from the sun attacks the surface, making it more brittle and slightly rough. Once the plastic feels rougher, it attracts dust, pollen and soot particles far more easily. Over time, this creates a grey film that is difficult to shift with clean water alone.
White chairs and tables are particularly prone: they yellow, look blotchy and lose their crisp, clean tone. Coloured versions can fade as well - especially if the colour was applied only to the surface rather than being coloured all the way through the material.
Other materials have different issues, but they also show their age:
- Metal: without corrosion protection, it can rust and develop unsightly blisters or rust streaks.
- Wood: turns grey, and needs oil or stain plus regular sanding to stay looking good.
- Weave and synthetic rattan: suffers in strong sun and constant rain, becoming brittle or wavy.
Even so, plastic is often the easiest to “save” - as long as there are no deep cracks or breaks.
A two-stage cleaning process using water, vinegar and bicarbonate of soda can make many greyed plastic pieces look noticeably younger.
The two-step plan: first a basic clean, then the magic mix
Before any household remedy can do its job, you need a clean starting point. Otherwise, you’re simply pushing dirt around. A clear sequence works best.
Step 1: Remove heavy dirt thoroughly
The first pass is about getting rid of cobwebs, loose soil and that typical green winter film. Basic household items are usually enough:
- Soft hand brush or dusting brush
- Bucket of lukewarm water
- A little mild washing-up liquid
- Soft cloth or the non-scratch side of a sponge
Start by brushing the furniture down, then wipe it over with the soapy water. For stubborn marks such as bird droppings or dried-on pollen, let them soak briefly and then rub off. After this step, the furniture usually looks better - but the overall grey tone often remains.
Step 2: A household-ingredient mix for renewed shine
Now for the main part of the trick: a DIY cleaner you can mix up in minutes. It gently cuts through grease, loosens build-up and makes dull plastic look visibly fresher.
For a standard spray bottle, use the following mixture:
| Ingredient | Amount |
|---|---|
| Lukewarm water | approx. 500 ml |
| White vinegar (household vinegar) | 1 tablespoon |
| Sodium hydrogen carbonate (bicarbonate of soda) | 2 tablespoons |
| A squirt of washing-up liquid | as needed, a few drops |
Pour everything into a spray bottle, shake briefly, and spray straight onto the dry plastic surface. It’s fine if the furniture looks visibly wet.
Work it in evenly with a soft sponge or microfibre cloth. Leave it for a few minutes, then rinse thoroughly with clean water. To dry, either wipe with an old towel or simply let the pieces drip-dry in the sun.
Because the mix combines a mildly acidic component (vinegar) with gently alkaline bicarbonate of soda, the typical grey film lifts far more easily than it does with standard soap alone.
When normal cleaning isn’t enough: gentle scrubbing instead of binning it
Some plastic furniture has stains that have effectively set in over years: barbecue grease, sunscreen residue, nicotine, or rings left by plant pots. In those cases, spraying and wiping won’t always be enough.
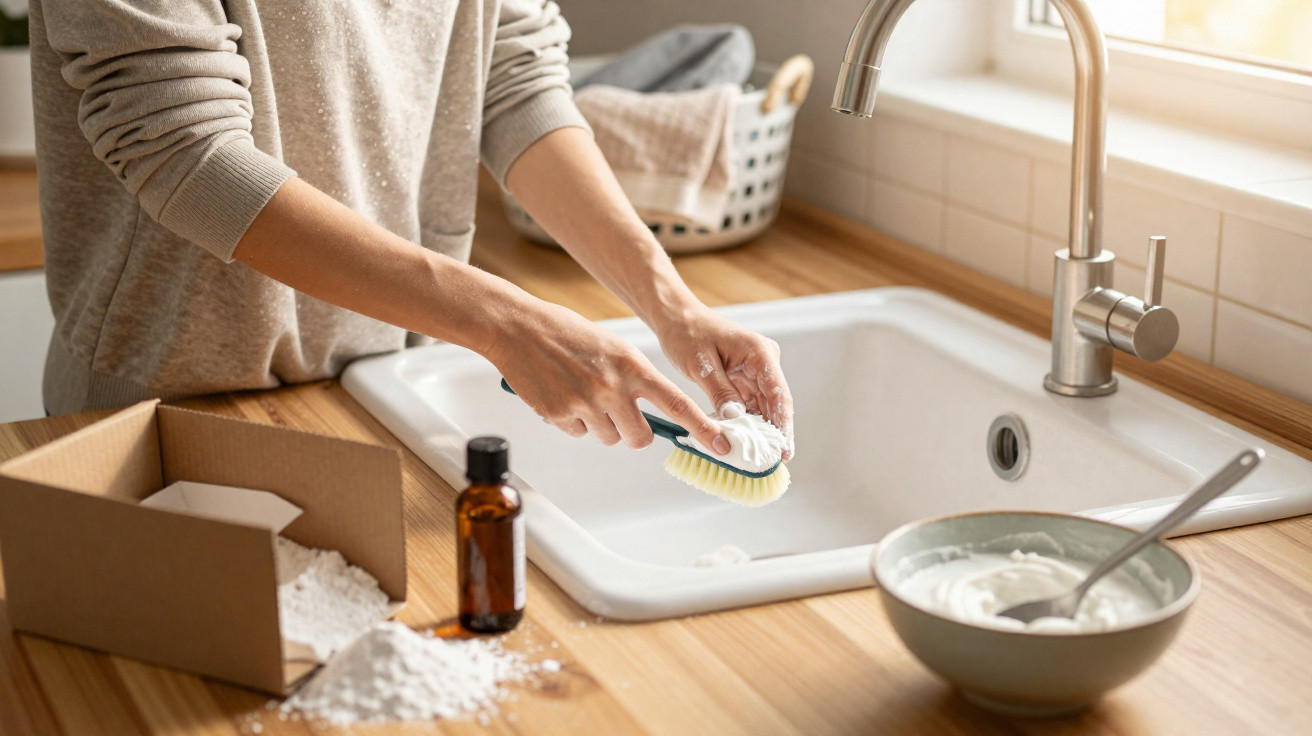
On durable white surfaces, a so-called cleaning stone (often sold as a “cleaning paste” or “scouring stone”) can work well. It’s made from a fine mineral powder blend, soap and usually a little glycerine. Dab a damp sponge onto the stone, pick up some foam, and work the surface in circular motions.
For coloured furniture, it’s best to test first on an inconspicuous area, such as underneath a seat. Some colours react badly to mildly abrasive products and can turn dull or fade slightly.
Scratches and dull patches: what you can repair
Furniture that looks worn isn’t automatically beyond saving. Many signs of use disappear - or at least become much less noticeable - if you treat them deliberately. Light scratches or patchy areas can often be keyed with fine sandpaper (120 grit or finer) and then painted over.
There are specialist plastic spray paints designed to adhere better and remain flexible. The key is to apply even, thin coats and to degrease the chair or table beforehand. If you’re unsure, spray the underside first as a test.
Once cracks or breaks appear in the material, repair is no longer straightforward. Split backrests or broken-through seats can fail suddenly under load.
As soon as the plastic has cracked, safety comes first. Furniture like this shouldn’t stay by the dining table - it should be removed from use or recycled.
How to prevent yellowing from coming back
After putting effort into making furniture look good again, you’ll want to keep it that way for as long as possible. A few simple habits make a big difference.
- UV protection at the point of purchase: better-quality furniture with stated UV protection keeps its colour for much longer.
- Cover it in winter: protective covers, or storing items in a garage, cellar, or under an overhang, drastically reduces weather damage.
- No oil treatments on plastic: oil tends to make the surface softer and tackier, so dirt sticks more easily and the material may age faster.
- Clean gently on a regular basis: a quick wipe with washing-up liquid every few weeks stops stubborn layers from building up in the first place.
If you only have a balcony, you can still help by moving furniture against the wall during long wet spells, stacking it, and covering it with a tarp. Avoiding even a few hours of intense sun and heavy rain each week adds up over time.
Common questions and mistakes when cleaning plastic furniture
Many household abrasives look powerful at first glance, but they can damage the surface. Coarse wire wool, sharp-edged scouring pads, or aggressive drain cleaners do not belong anywhere near your garden table.
Chlorine cleaners and highly concentrated bleach can also strip away the top layer of plastic. It may brighten things briefly, but in the long run the material becomes brittle and prone to cracking - and therefore more likely to attract dirt and break.
A stepped approach makes more sense instead:
- Gentle basic clean with water and washing-up liquid
- Apply the household mix of water, vinegar and bicarbonate of soda
- Only if needed, use mildly abrasive products on specific spots
If sustainability matters to you, this method is a good fit too: the ingredients are comparatively low-impact, useful for lots of other cleaning jobs, and help you avoid specialist plastic cleaners with questionable additives.
Getting more out of the same garden furniture set
If your old chairs look presentable again, there’s no need to rush into buying a new set. That not only saves money, it also reduces plastic waste. Many councils accept worn-out but clean plastic furniture at local recycling centres, where it can be sorted and recycled.
Handy tip: a freshly cleaned - and perhaps lightly resprayed - table can also be repurposed, for example as a potting bench, a children’s craft table, or a weatherproof surface in the garage. Minor cosmetic flaws are far less of an issue there than they are on the patio.
So with a little time, a bucket of water and a few basic household ingredients, seemingly hopeless cases can often become perfectly usable - and genuinely respectable - garden furniture again. Instead of thinking about disposal at the first grey film, it’s almost always worth trying a thorough clean first.


Comments
No comments yet. Be the first to comment!
Leave a Comment