
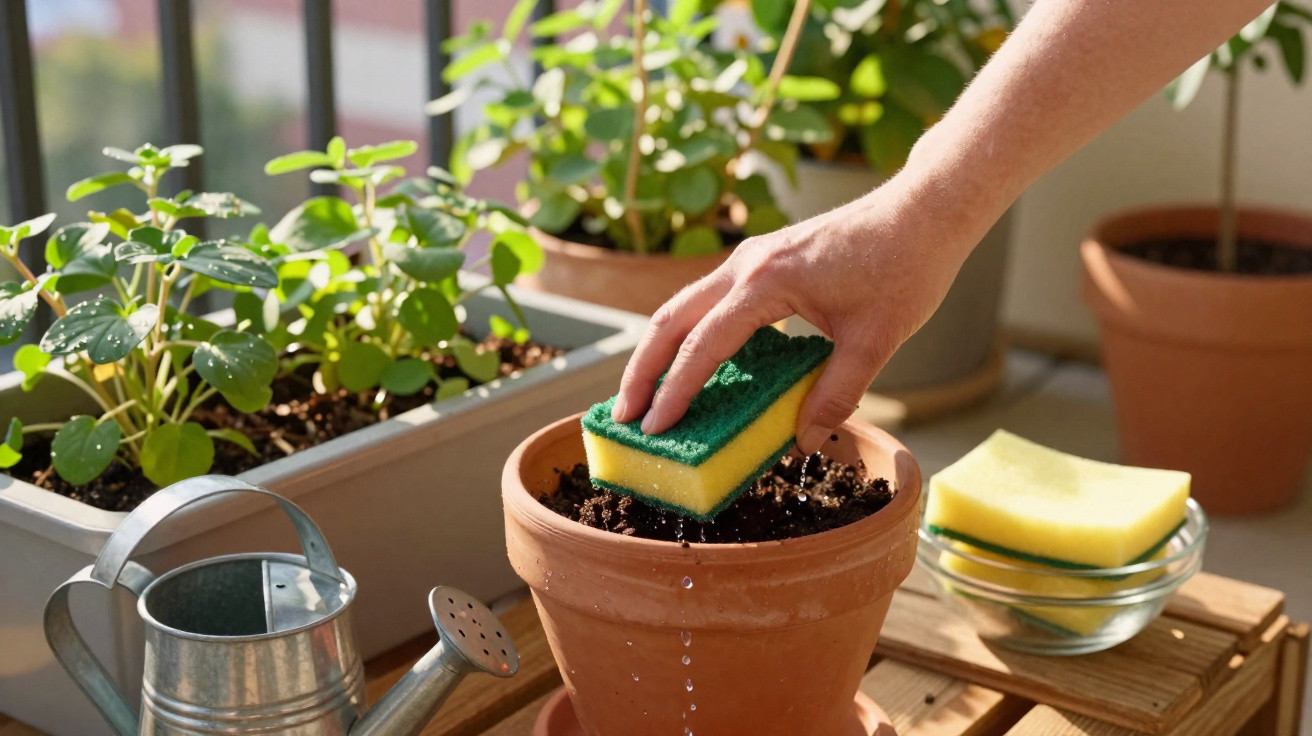
Many hobby gardeners spend money on pricey irrigation kits, water‑retaining granules or smart sensors. Yet a simple helper is often already sitting by the sink - something that can ease the workload of the watering can and cut down on waste at the same time: a retired washing‑up sponge. With the right preparation and placement, it can keep compost and soil moist for longer, steady young plants and even give your compost heap a lift.
Why a washing-up sponge in a bed changes everyday life for plants
Spring brings two common challenges for plants: delicate new roots and a water supply that swings up and down. During the day, potting compost in pots or balcony planters can dry out fast, particularly on sunny or breezy balconies. This is exactly where a washing‑up sponge comes into its own.
“A sponge works in a pot like a small, rechargeable water reservoir right by the roots.”
Its porous structure soaks up water, holds it, then releases it gradually. If you place a clean sponge at the bottom of a pot - directly above the drainage holes and below the compost - several useful things happen:
- Excess water is absorbed instead of running straight out.
- The compost stays damp for longer.
- Dry spells between watering sessions are less severe.
- In windy balcony planters, sudden drying is much less common.
For plants in containers or balcony boxes, that means reduced stress, fewer drooping leaves and a lower risk of young roots drying out. If you’re often away for the weekend, it also provides a small safety buffer.
Reusing old sponges - but not without care
Before a kitchen sponge goes anywhere near a bed or pot, it needs a second career - not as a bacteria bomb, but as a garden tool. In the kitchen, sponges collect a mix of fats, cleaning products and, above all, germs.
Experts point out that a permanently damp sponge can become a breeding ground for microbes. That’s why it shouldn’t live at the sink indefinitely; at some point it needs to go - ideally after a thorough clean and then on to the garden.
How to make a washing-up sponge suitable for the garden
- Rinse and squeeze it under running water until no foam appears.
- Put it in boiling water and boil for a few minutes.
- Alternatively, soak it in plain vinegar and leave it to work through.
- Optional: microwave it while damp for one to two minutes (only if there are no metal parts).
After that, the sponge should be used only outdoors. It must not return to the sink - otherwise soil, spores and microorganisms end up back in the washing‑up water.
Which sponges are suitable - and which are best avoided?
For garden use, the key factor is what the sponge is made of. Not every supermarket option is automatically appropriate.
| Type of sponge | Use in pots | Use in compost |
|---|---|---|
| Natural cellulose | Suitable; can be worked in | Suitable; breaks down over time |
| Loofah (sponge gourd) | Very suitable | Very suitable; fully compostable |
| Synthetic kitchen sponge with plastic content | Only as a loose water‑storage layer in the pot; not for edible crops | Not suitable; risk of microplastics and residues |
Natural versions made from cellulose or the well‑known loofah rot down over time and fit well in compost and beds. Classic yellow washing‑up sponges with a green scourer pad, by contrast, contain plastics and often chemical additives. They’re problematic for vegetable gardens, especially in compost.
“Rule of thumb: Only natural sponges belong permanently in soil and compost. Plastic is better kept to ornamental areas - and ideally out of the garden altogether.”
Four clever ways to use washing-up sponges in the spring garden
Once the sponge has ‘moved house’ from the kitchen to the garden, you’ll quickly find it can do more than one job. At the start of the season in particular, this small accessory can be used in flexible ways.
1. A water reservoir for pots and balcony planters
Place a cleaned sponge at the bottom of the pot, directly above drainage material such as expanded clay (LECA) or gravel. Then add compost on top. When you water, the sponge absorbs moisture and keeps it close to the roots.
This is especially worthwhile for:
- thirsty summer flowers in balcony boxes
- tomatoes, peppers and herbs in containers
- plants by very sunny house walls or on south‑facing balconies
2. A moisture booster for the compost heap
Natural sponges can be cut into small pieces and added straight to the compost. There they act like tiny water stores and airy ‘cushions’. The compost stays more evenly moist, which supports the work of microorganisms.
Particularly in spring, when temperatures rise and the heap starts to ‘wake up’, biological activity benefits from steadier moisture levels. Important: only add sponges with no plastic and no heavy washing‑up liquid residues.
3. A mini greenhouse set‑up for seedlings
If you like sowing, you can also use a sponge as a germination base. Cut the sponge into small cubes, moisten with water, and press a seed into each piece.
Once the seedlings are around a hand’s breadth tall and have formed roots, you can plant the cube and the seedling together into a pot or bed. With natural sponges, the material breaks down slowly and won’t disturb the plant.
4. Light protection from cold and pests
Laid flat on the soil with the soft side down and held in place with a stone, a sponge can give sensitive plants a degree of protection from late frosts. It works like a thin insulating layer.
If you soak it with a few drops of essential oil - such as lavender or tea tree - the sponge may deter certain insects and slugs in some locations. It’s not a miracle cure, but it can be a small extra trick in a gardener’s toolkit.
What to watch out for when using them
As helpful as a sponge can be, it shouldn’t be left in a bed without any thought. Like any organic material, it can eventually turn or go mouldy.
- Check regularly: if it smells musty or rotten, remove it.
- Remove immediately if you see mould.
- Dispose of badly crumbling plastic sponges - do not dig them in.
- Natural sponges with no washing‑up liquid residues can go into the compost.
In pots, a quick look during repotting is worthwhile: if the sponge is still intact, it can stay. If it’s falling apart, it’s better to replace it.
How the trick affects water use and waste
If you wash up regularly at home, you’ll throw away several sponges each year. Some of them can be diverted into the garden. That not only reduces a bit of general waste, but can also cut water use because plants need watering less often.
Of course, a sponge won’t replace a well‑planned watering routine in high summer. Combined with mulch, sensible plant spacing and suitable varieties, however, it becomes a small, straightforward system that helps retain moisture - ideal for anyone who doesn’t want to be permanently attached to the watering can.
Practical examples for day-to-day gardening
In practice, this approach is most useful where water drains away quickly or evaporates fast. Typical situations include long balcony boxes filled with petunias or geraniums, patio pots with Mediterranean herbs, or tomatoes grown in containers.
Many hobby gardeners report that, with the same amount of water, plants don’t wilt as quickly. During holidays, the sponge acts as a modest insurance policy: the compost stays moist for an extra day or two. Sprinkling mulch over the surface strengthens the effect further.
One point is worth extra attention: in pots with edible plants, it’s best to use only a natural sponge with no harsh cleaning residues. If you’re unsure, keep the trick for ornamental planting and choose fresh, untreated sponges made from natural materials for tomatoes and herbs from the outset.



Comments
No comments yet. Be the first to comment!
Leave a Comment