
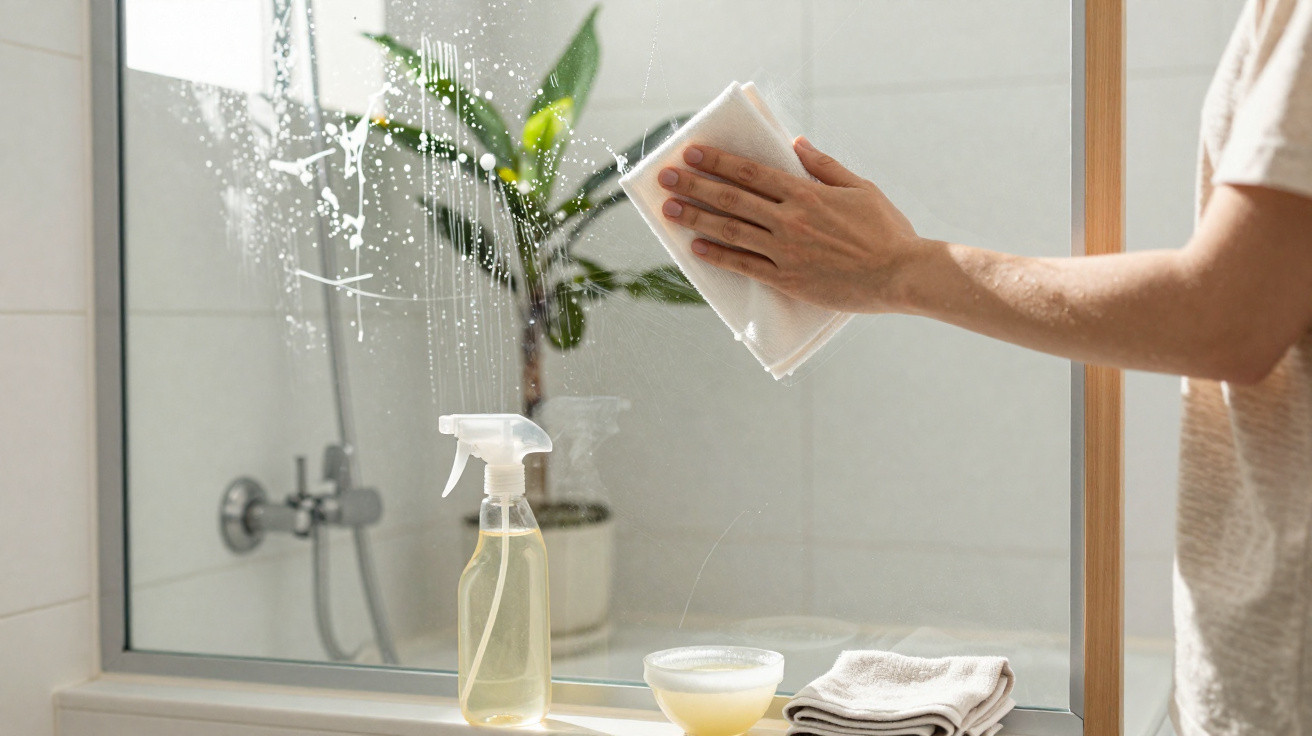
Keeping a bathroom shower enclosure glass panel crystal-clear is a common headache in many homes. Soap residue, body oils and-above all-limescale build-up from the water can leave the glass looking whitish, dull and covered in marks. White vinegar stands out as a straightforward, low-cost option found in most kitchens for restoring shine without relying on harsh products.
Why is vinegar effective for cleaning shower enclosure glass?
White distilled vinegar is mildly acidic, which means it reacts with the mineral deposits left by hard water. This helps loosen the pale, chalky layer that reduces the glass’s transparency. It works gradually, lifting stains and water marks without harming the glass as long as it is rinsed thoroughly afterwards.
As well as the glass itself, the same solution can help clean the enclosure’s tracks, handles and plastic parts, provided it is not left in prolonged contact with metal. If your glass has a special film or a manufacturer-applied treatment, it is always best to test the mixture on a small, hidden area before using it across the entire surface.
What vinegar-to-water ratio should you use on a shower enclosure?
For everyday cleaning, the most common mix is equal parts white distilled vinegar and water, in a 1:1 ratio-for example, 1 cup of vinegar to 1 cup of water. This dilution balances performance with comfort, helping to keep the smell from becoming too strong while still tackling typical grime.
For glass with older, stubborn limescale marks, you can use roughly 2 parts vinegar to 1 part water, while keeping contact time limited and rinsing very well. In areas with very hard water, doing this clean weekly helps stop marks from returning quickly.
How to apply vinegar to a shower enclosure glass panel (step by step)
To get a solid result, how you apply the vinegar solution matters, and it works best when done in stages. A spray bottle is convenient, but a cloth or soft sponge also does the job-so long as it is non-abrasive and won’t scratch the glass.
Here is a simple step-by-step to keep the clean-up organised and make the process quicker and more effective:
- Prepare the solution: Combine white distilled vinegar and water in your chosen ratio, ideally in a clean spray bottle.
- Wet the glass first: Lightly dampen the enclosure with warm water to shift loose dust.
- Spray on the mixture: Apply generously on the inside and outside, focusing on stained areas.
- Let it work: Leave it for 10–20 minutes, extending to 30 only for tougher cases.
- Gently wipe: Use a soft sponge or microfibre cloth with light movements.
- Rinse thoroughly: Wash away all residue with running water, including tracks and corners.
- Dry the enclosure: Finish with a squeegee or dry cloth to prevent fresh droplet marks.
Recommended care and how often to use vinegar on the shower enclosure
When cleaning with vinegar, never mix it with bleach, chlorine-based disinfectants or any other chlorine product, as this can release toxic gases. It also helps to ventilate the bathroom, wear gloves to protect your skin, and avoid steel wool pads, which can scratch the glass and spoil its appearance over time.
How often you should clean depends on how frequently the bathroom is used and the hardness of your water, but in general a weekly clean is enough in busy households. Between deeper cleans, running a squeegee over the glass after showering and keeping the space ventilated will reduce limescale build-up, making the next vinegar clean quicker and lighter-almost like preventative maintenance for keeping the enclosure looking glossy.




Comments
No comments yet. Be the first to comment!
Leave a Comment