
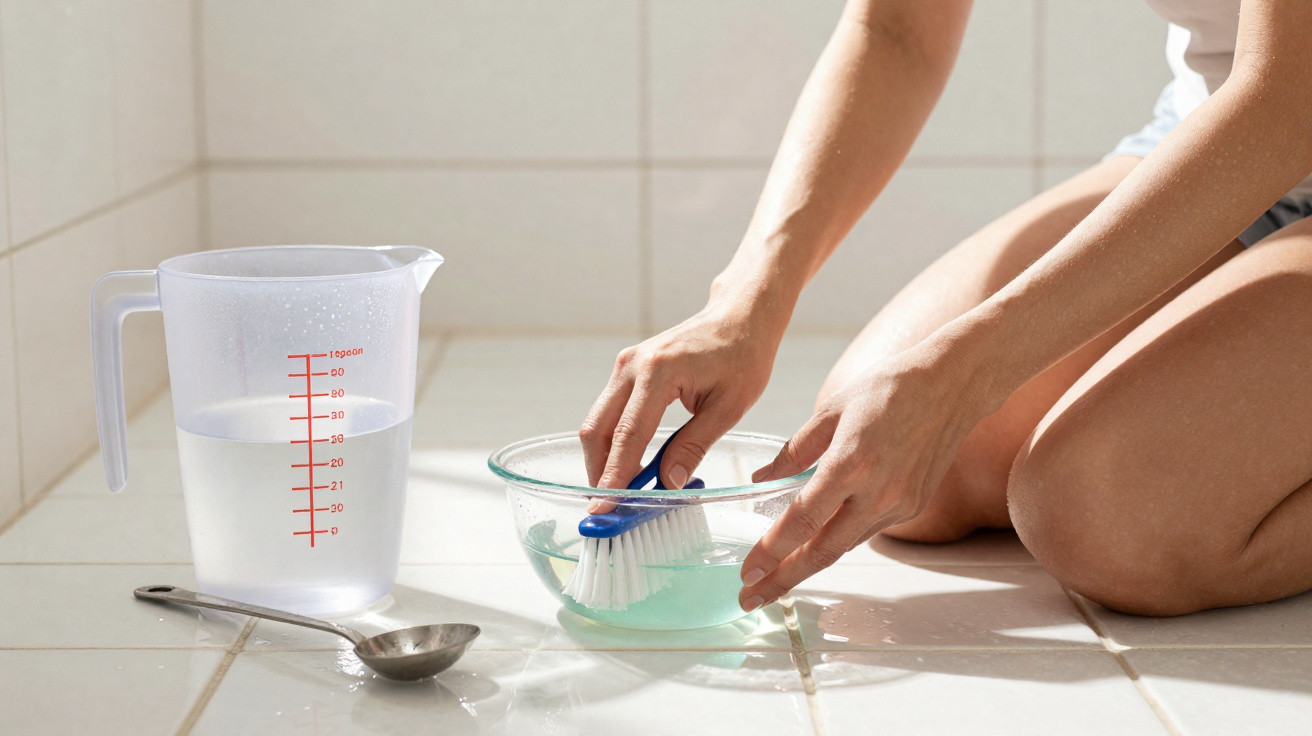
In many bathrooms, grout turning dark is one of the earliest signs that the room is starting to look tired. Even with frequent cleaning, the mix of moisture, soap and everyday residue ends up staining the joints between tiles. Still, lots of people reach for harsh, expensive products, even though there are straightforward, low-cost options that can brighten grout without much effort.
How does the 1 tablespoon to 2 litres of water mixture work on grout?
The method targets bathroom grout-the area that tends to collect the most grime and gradually darken over time. It uses a common household ingredient, well known for its cleaning ability and mild whitening action, diluted in water to lower the chance of damaging the grout or the ceramic tiles.
Brightening solution recipe:
- 2 litres of water at room temperature;
- 1 tablespoon of household bleach (or a chlorine-based bleach);
- (Optional) 1 tablespoon of mild washing-up liquid to help loosen grease and soap scum.
In a clean bucket, pour in 2 litres of room-temperature water and add 1 tablespoon of the main ingredient (household bleach), stirring until fully mixed. If you choose to use it, add the tablespoon of washing-up liquid and stir again. This ratio aims to balance effectiveness with safety, working gradually over a few days rather than relying on very concentrated, more aggressive products.
How to apply the solution to bathroom grout step by step
Applying the mixture properly is key if you want bathroom grout to look lighter again in up to three days. Before you start, make sure the space is at least basically tidy-remove excess hair, bits of soap and any heavy dirt from the floor, as that helps the solution work.
Once the initial clean is done, apply the mixture and work it along the grout lines. You can repeat this short routine for a few days, depending on how much brightening is needed:
- Prepare the room: Open windows or switch on the extractor fan so there is good ventilation. Wear cleaning gloves to protect your hands and, if possible, do not mix this solution with other products-especially anything containing ammonia.
- Apply the mixture: Use a spray bottle, sponge or cloth to spread the solution over the grout, focusing on the darkest sections.
- Leave it to work: Wait a few minutes for the ingredient to act on the stains. For heavier dirt, you can leave it for 5 to 10 minutes, but do not let the mixture dry completely on the floor.
- Scrub gently: With a soft-bristled brush or an old toothbrush, scrub without pressing too hard, using back-and-forth strokes along the grout lines only.
- Rinse: Wash away any remaining solution with clean water so residue is not left on the surface. If needed, wipe over with a damp cloth to remove any last traces.
Does bathroom grout really turn white in three days?
The outcome from the 1 tablespoon to 2 litres of water mix depends on the type of grout, how long the bathroom has been in use and what the previous cleaning routine was like. On newer grout, the brightening effect is usually more noticeable; in older bathrooms, some darkening may be linked to wear within the material itself.
Reports suggest the change happens gradually over three days: looser surface build-up tends to lift first, with deeper staining improving later. In many situations, the grout ends up looking more even and lighter, even if it does not return exactly to its original white-delivering a clear visual improvement at low cost.
If, after a few days of regular use, the grout still looks very dark, that may point to deeper mould or even the need to re-grout, as the solution mainly tackles dirt, surface-level fungus and soap residue.
How to keep bathroom grout lighter for longer
After you have brightened the grout, a few basic habits can help the results last and reduce the chances of it darkening again too quickly. These simple steps fit into everyday cleaning and do not require big spending or complicated products.
- Reduce constant moisture: Leave the shower screen, doors and windows open to improve airflow, particularly after showering.
- Prevent soap build-up: Rinse floors and walls after a shower to remove residue that can, over time, form a dark film on the grout.
- Use the solution for maintenance: Apply it occasionally for a light grout clean, using the same recipe (1 tablespoon of household bleach to 2 litres of water), but at longer intervals-such as every 15 days or once a month.
- Check the condition of the grout: If you notice cracks or gaps, you may need to re-grout, as cleaning will not fix structural damage.
By combining a diluted mixture, careful application and straightforward maintenance habits, you can keep bathroom grout looking noticeably lighter and help the room retain a cleaner-looking finish for much longer.


Comments
No comments yet. Be the first to comment!
Leave a Comment