
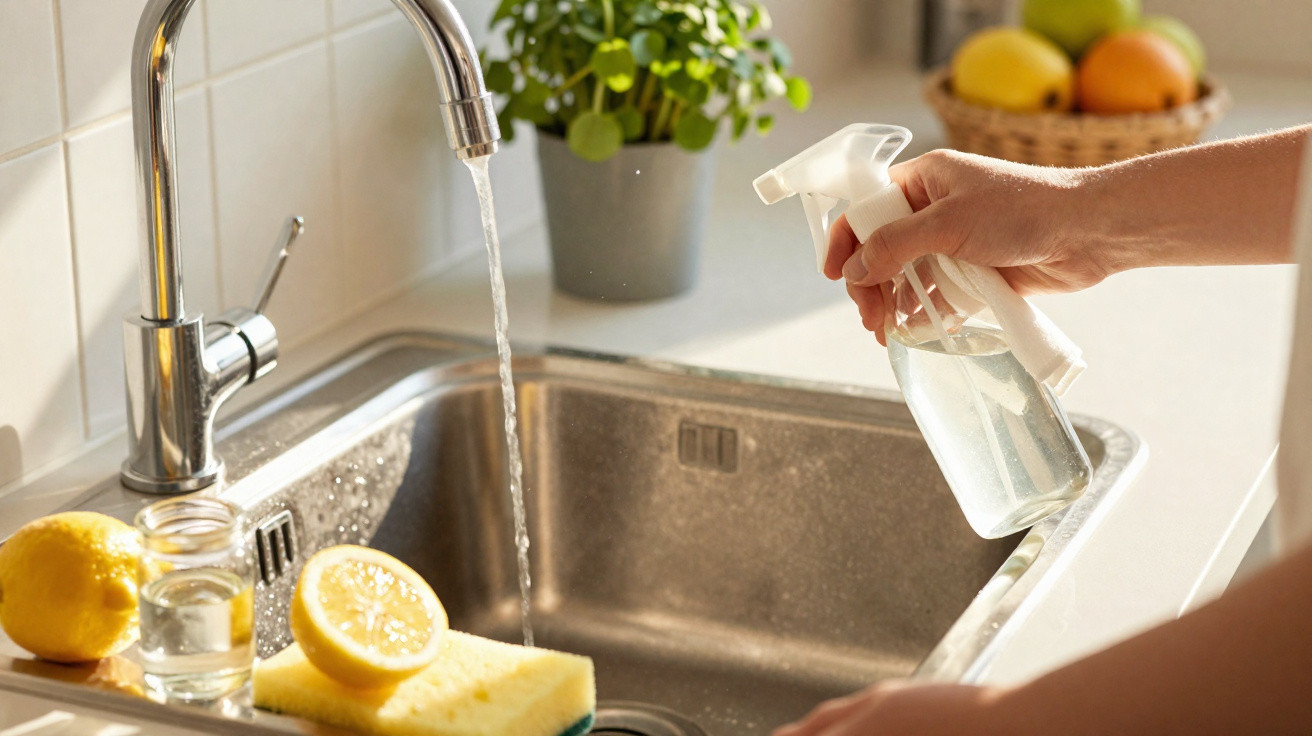
An old, well-known kitchen trick deals with it surprisingly easily.
Plenty of households know the issue: no matter which cleaner is in the cupboard, the white, crusty deposits around the sink and tap keep coming back. What used to be completely normal has almost been forgotten - a straightforward blend of kitchen ingredients that our grandmothers swore by, which breaks down limescale without you having to scrub your arms off.
Why limescale clings so stubbornly to the sink and tap
The reason starts with the water itself. In many areas, so-called “hard water” comes out of the tap. It contains a high amount of calcium and magnesium. While the water is running, you barely notice. It becomes an issue when it lands on metal, ceramic or stainless steel and then slowly evaporates.
As it dries, tiny mineral residues remain behind. They crystallise, build up layer by layer, and over time create the familiar white, rough-looking crust around:
- the base of the tap and the seals
- joins between the sink and the worktop
- the drain and overflow area
- grooves, grout lines and small recesses
The more often hot water runs, the quicker this happens. Heat speeds up crystal formation. That’s why the kitchen sink often looks worse than the bathroom basin, even though water splashes there too.
Many people then reach for aggressive supermarket descalers. They do work fast, but they often contain strongly caustic substances. They can irritate skin, require good ventilation, and may damage delicate finishes - such as brushed stainless steel or copper - over time.
"If you want something gentle, inexpensive and effective, an old home remedy gets you surprisingly far: vinegar, lemon, water - that’s all you need."
Gran’s mix: vinegar and lemon instead of harsh chemicals
The idea behind this trick is simple - and easy to explain scientifically. White household vinegar contains acetic acid, while lemon juice provides citric acid. Both acids react with the mineral deposits and loosen the bond between the limescale and the surface.
The key point: used together, the two acids are more effective than either one on its own. Because the acids are slightly different, they attack different bonds in the limescale, making the mixture especially efficient.
How to make the anti-limescale mixture properly
For a standard clean of the kitchen sink, the following amount is enough:
- 250 ml white household vinegar
- 250 ml water
- juice of one medium lemon
Proceed as follows:
- Pour the vinegar and water into a heat-resistant container.
- Squeeze the lemon and add the juice.
- Stir briefly to combine.
- Warm the mixture in the microwave for about 30 seconds, until it is comfortably warm.
- Pour into a spray bottle.
Warming it up is not just a minor detail. Warm liquid reacts faster; the acid molecules move more energetically and can penetrate the limescale structure more easily. That’s what makes the difference between “it sort of works” and “wow, that really lifts it off”.
Use: how limescale comes off without scrubbing
Before you use the mixture, the sink should be roughly clean. Wipe away food scraps, grease or crumbs first. Otherwise the solution sticks to grime instead of sitting directly on the limescale - and it loses effectiveness.
A sparkling sink in just a few steps
- Remove any loose dirt from the surfaces.
- Generously spray the warm vinegar–lemon mixture onto all limescaled areas.
- Don’t forget grout lines, seals and the area around the tap.
- Leave it to work for at least 20 minutes; for heavy build-up, closer to 30 minutes.
- Wipe off with a damp microfibre cloth.
In many cases, the cloth wipe is enough and the limescale comes away as flakes or streaks. For tight gaps around the tap or under the fitting, an old soft toothbrush works well. It lets you target specific spots without scratching the material.
After that comes an important step people often miss: rinse thoroughly with clean water. If acid is left on the surface for too long, fine dull patches can develop over time, especially on high-gloss chrome.
"After cleaning, always rinse with clean water and buff dry - it protects the surface and prevents new water marks."
Finally, dry everything with a clean cloth. It may sound trivial, but it keeps the shine for longer because no new droplet rings can form.
How to keep the sink limescale-free in the long term
If you don’t want to start the battle against limescale from scratch each time, routine is what helps. Rather than a big deep clean every few months, a small weekly treatment achieves far more.
A practical kitchen rhythm:
- once a week: a quick application of the mixture on the sink and tap
- after each wash-up: a quick wipe to dry, especially around the tap
- every few months: unscrew the aerator (perlator) and descale it separately
These short sessions stop thick, hard layers from forming - the kind that are difficult to remove later. If you live in an area with very hard water, you could also consider a simple water filter or a small softening unit. That reduces mineral content and, in the long run, protects your dishwasher, kettle and washing machine as well.
Where the mixture works - and where you should be careful
The vinegar–lemon solution suits many, but not all, materials. Here’s a quick overview:
| Material | Suitable? | Note |
|---|---|---|
| Stainless-steel sink | Yes | After a short contact time, rinse well and buff dry. |
| Chrome tap | Yes | Don’t leave it on for long; do not leave overnight. |
| Ceramic sink | Mostly yes | Test first in an inconspicuous area. |
| Natural stone (marble, limestone) | No | Acid can etch the stone permanently. |
| Sensitive specialist coatings | Only with a test | Follow the manufacturer’s guidance; try on a small area first. |
Particular caution is needed with natural-stone worktops. Acid doesn’t just attack limescale there - it can damage the stone itself. If you’re unsure, always test in a hidden spot first.
Why natural options are often the better choice
The three ingredients in this mixture offer several advantages: they’re inexpensive, found in almost every kitchen, and readily biodegradable. Nothing goes down the drain that would need special disposal. At the same time, they’re kinder to fittings - as long as you respect the contact time and the material.
Another benefit: the mixture doesn’t smell sharply pungent like some industrial descalers. Vinegar is noticeable, but the lemon juice softens the odour, and after rinsing it fades fairly quickly.
Practical, everyday tips
If you use the trick regularly, small routines develop quickly. For example:
- Keep the spray bottle near the sink and use it briefly after a big cooking or washing-up session.
- For heavily limescaled spots, lay kitchen paper over the area, spray the mixture on top, and let it act like an “acid compress”.
- Put the aerator in a glass of the warm solution - after 30 minutes, the water flow is usually even again.
If you like, you can add one or two drops of essential oil (e.g. lemon or lavender) to the cold mixture for a more pleasant scent. It hardly changes how it works on limescale, but it does make cleaning feel nicer.
Even with this home remedy, nothing stays limescale-free without any effort at all. But if you build the short contact time of the vinegar–lemon mixture into your household routine, you gain two things: fittings that look like new - and the satisfaction of doing it without harsh chemicals.

Comments
No comments yet. Be the first to comment!
Leave a Comment