
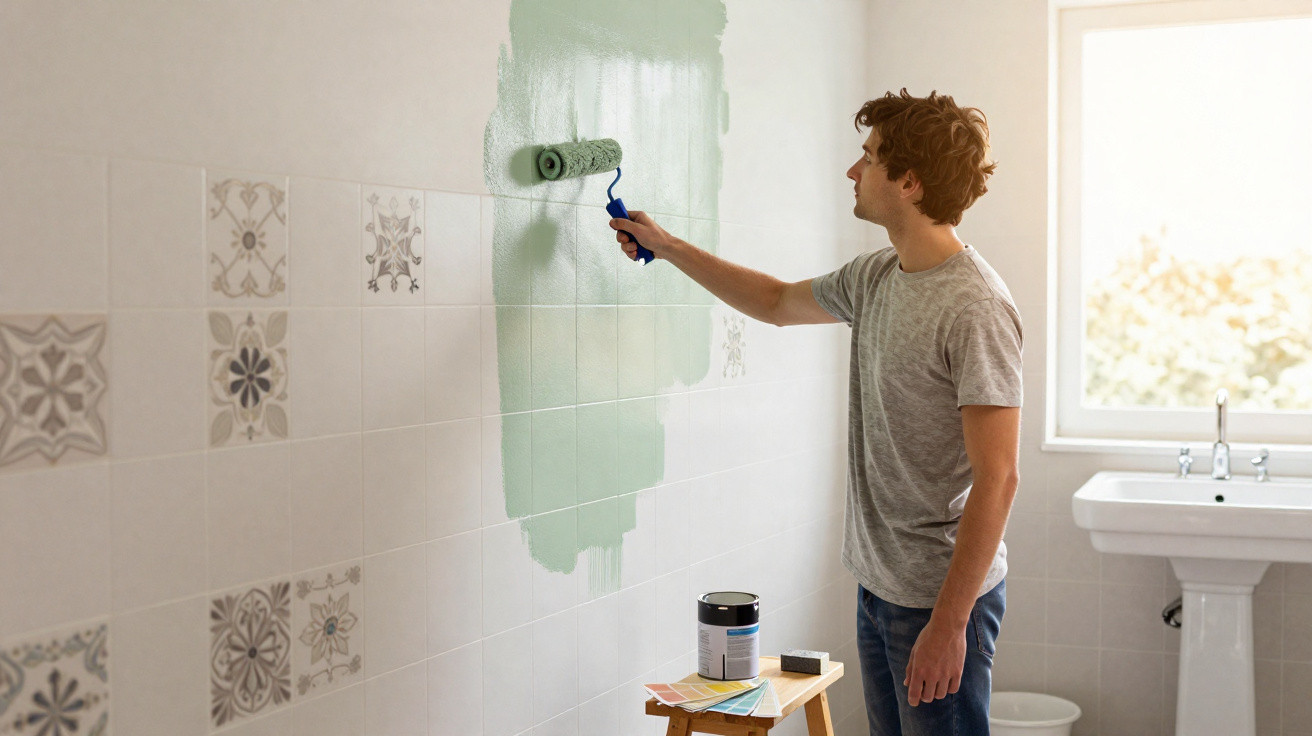
Painting old tiles has become a popular way to refresh kitchens, bathrooms and utility rooms without the mess of demolition or lengthy building work. It allows you to change the colour, hide stains and bring a more modern look using reasonably priced materials-so long as you follow each stage carefully and choose the right products.
How to assess the condition of tiles before painting
Before you apply any tile paint, it is essential to check the overall condition of the wall covering and spot issues that could ruin the finish. Loose or cracked tiles, hollow-sounding areas or active leaks must be fixed in advance, including any problems in the grout.
If these structural faults are ignored, the paintwork is far more likely to peel, blister and stain within a short time, which quickly undermines the durability of the visual update. In some situations, it is worth speaking to a professional to confirm whether moisture is coming from pipework or from the wall behind the tiles.
Watch a video on the YouTube channel Thaís Bittencourt- Revê Interiores that covers the key stages for safely painting old ceramic wall coverings using epoxy paint:
How to choose the ideal tile paint for each room
The type of tile paint you pick has a direct impact on adhesion, moisture resistance and day-to-day cleanability. For wet areas-such as shower enclosures and walls near the sink-water-based epoxy paints or synthetic enamels made for smooth surfaces are usually recommended.
On walls that are less exposed to water, some high-performance acrylic paints may also be suitable, provided the manufacturer states that this use is permitted. To help you compare what is available, it is useful to check a few practical points:
- Suitability for smooth tiles and a clear statement on the label.
- Resistance to humidity, splashes and mild cleaning products.
- Drying time and full curing time before direct contact with water.
- Whether a specific primer can be used to improve adhesion.
How to prepare tiles and apply paint step by step
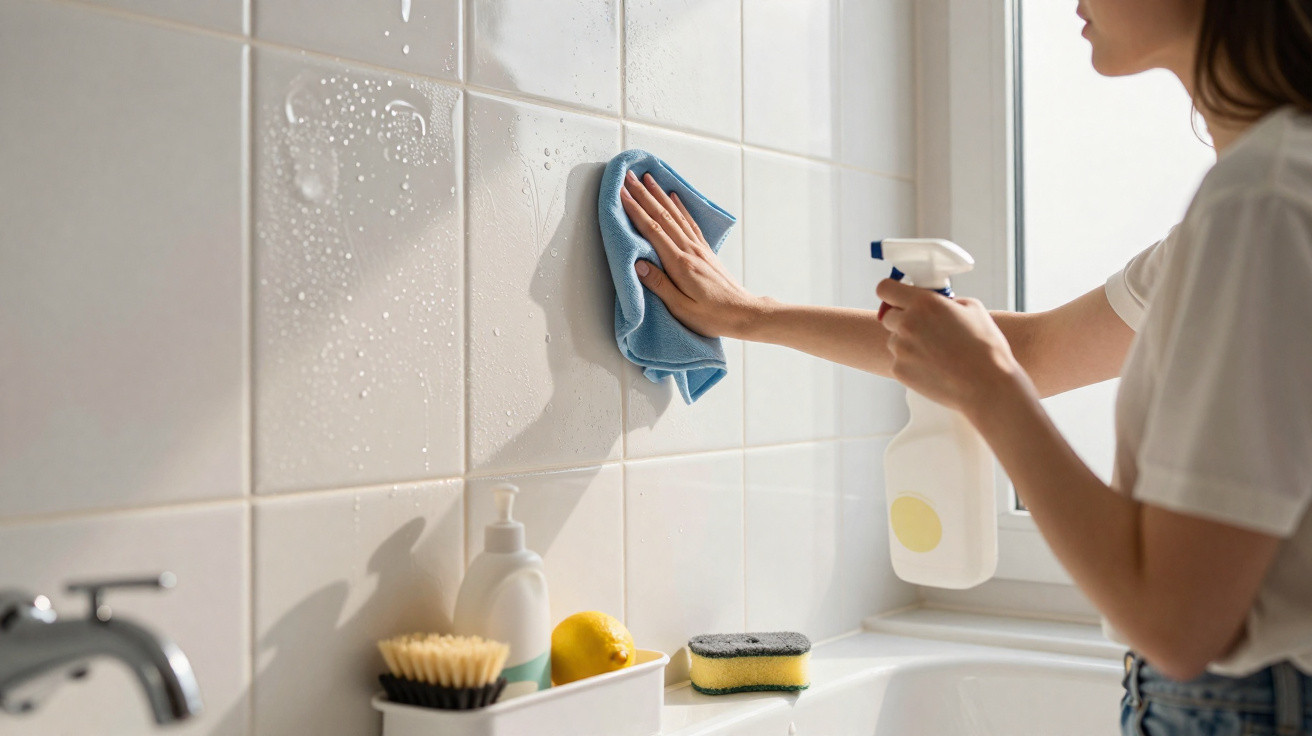
Surface preparation is crucial if tile paint is to bond properly and resist peeling. The tiles must be clean, dry and free from grease, soap residue, mould or dust; in kitchens, using a degreaser and an abrasive sponge is often non-negotiable.
After cleaning, a light sanding with fine sandpaper is typically advised to dull the original glaze, create key for the coating and check the joints. Once everything is ready, the painting can be set out in straightforward, sequential steps:
- Protect the area: cover floors, worktops, taps/fixtures and furniture with plastic sheeting or cardboard; use masking tape along skirting boards, sockets and taps.
- Apply the primer: use a foam roller or a low-pile mohair/wool roller in thin, even coats, following the stated drying time.
- First coat of paint: apply the tile paint thinned as directed on the label, using a roller on larger sections and a brush for corners and grout lines.
- Additional coats: once dry, apply further coats to fix any thin patches; with dark tiles, a third coat may be required.
- Final finishing: remove masking tape while the paint is still slightly damp at the edges and touch up with a fine brush if needed.
How to improve paint durability in damp areas
A common concern is how to stop tile paint from peeling in humid spaces, particularly in shower enclosures and bathing areas. The longevity of the finish depends on solid surface preparation, selecting the appropriate paint and respecting the curing time before exposing the wall to direct water.
To boost protection, many professionals apply a compatible varnish or sealer over the paint, especially where the water spray is frequent. For everyday care, it helps to use neutral detergents, avoid highly abrasive sponges, keep the bathroom well ventilated and watch for signs of leaks-because moisture coming from behind the tiles can cause bubbling even when the paintwork has been done correctly.

Comments
No comments yet. Be the first to comment!
Leave a Comment