
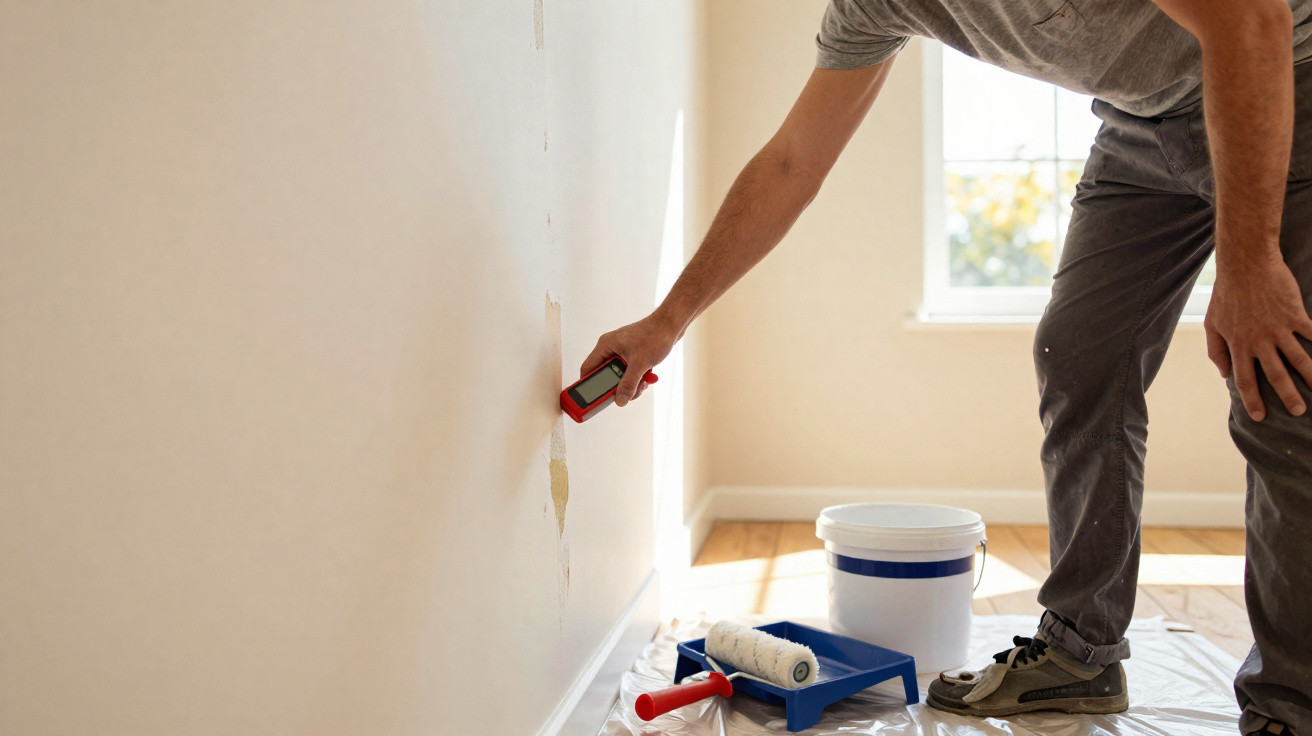
Moisture in the wall often shows up first as a small stain, yet over time it can cause blistering in the plaster, paint to peel away, and even leave the surface gritty or “eaten away”. More than a cosmetic nuisance, moisture indicates that some part of the building is allowing water through or trapping excessive vapour-something increasingly common in 2026, with denser developments, ageing façades, worn installations and limited ventilation.
What causes moisture in an internal and external wall?
Specialists generally group the causes of moisture in walls into three main categories: filtration, capillarity and condensation. Filtration is water entering from outside-rain getting in through cracks in façades, roof slabs, poorly sealed joints, or leaks in concealed pipework-often accompanied by plaster that looks swollen or sounds hollow when tapped.
With capillarity, water rises up from the ground because an adequate barrier is missing, creating a horizontal band close to the skirting with whitish salt deposits. Condensation, meanwhile, is linked to indoor vapour (hot showers, cooking, drying clothes) combined with poor ventilation, and is frequently seen in cold corners, behind wardrobes, and in bathrooms and kitchens.
Watch a video on the YouTube channel Mestre do Acabamento that explains how to permanently solve the problem of rising damp and walls that keep peeling due to moisture:
How do you correctly identify the type of moisture in the wall?
Pinpointing the source of a wall with moisture is crucial if you want a repair that lasts. Marks that always appear in the same spot-near stopcocks or plumbing risers-often point to a leak. Damp bands that climb evenly from the floor suggest capillarity, while mould that keeps coming back in colder periods tends to indicate condensation.
A few signs make it easier to interpret what’s happening and act as a warning that a more technical intervention may be needed:
- A lingering musty smell or dark fungal growth in corners.
- Paint that repeatedly “bubbles”, and plaster that crumbles when touched.
- Stains that return even after several coats of paint.
- Moisture that appears in a specific area right after heavy rain or after frequent shower use.
How to treat moisture in the wall step by step
Once the cause has been confirmed-and issues such as roof defects, pipework problems or a lack of ventilation have been addressed-the repair itself follows straightforward stages. Start by protecting the area with dust sheets, ensuring good airflow, and using gloves, goggles and a mask, especially where there is mould or heavy dust. Then remove everything that is loose: flaking paint, filler that is no longer bonded, and any hollow or detached sections of plaster.
With the substrate exposed, brush the surface to remove salt deposits and dust; mouldy patches should be treated with a dedicated product, following the stated dwell time. After that, the wall must dry naturally-using cross-ventilation, dehumidifiers or moderate heating-before applying a preparatory primer, repair mortar, sanding, and finally a paint suitable for damp-prone areas, ideally with an anti-mould additive in bathrooms, kitchens and utility rooms.
Which materials, tools and precautions ensure a good result?
When the base is solid and dry, strengthen the surface using sealers and repair mortars suited to either internal or external use, applied in thin layers and allowed to cure properly to prevent cracking. On older, very porous walls, a preparatory primer helps bind and stabilise the substrate-provided any degraded material has already been removed.
Certain tools make the job easier and help the fix last longer, including scrapers and filling knives, a hammer and cold chisel, brushes, sandpaper, plastering trowels and floats, plus rollers and brushes. Sticking to each product’s drying times, avoiding rushed repainting, and keeping up a basic routine of airing rooms are the kinds of practical details that prevent constant rework and keep the wall in better condition for longer.

Comments
No comments yet. Be the first to comment!
Leave a Comment