
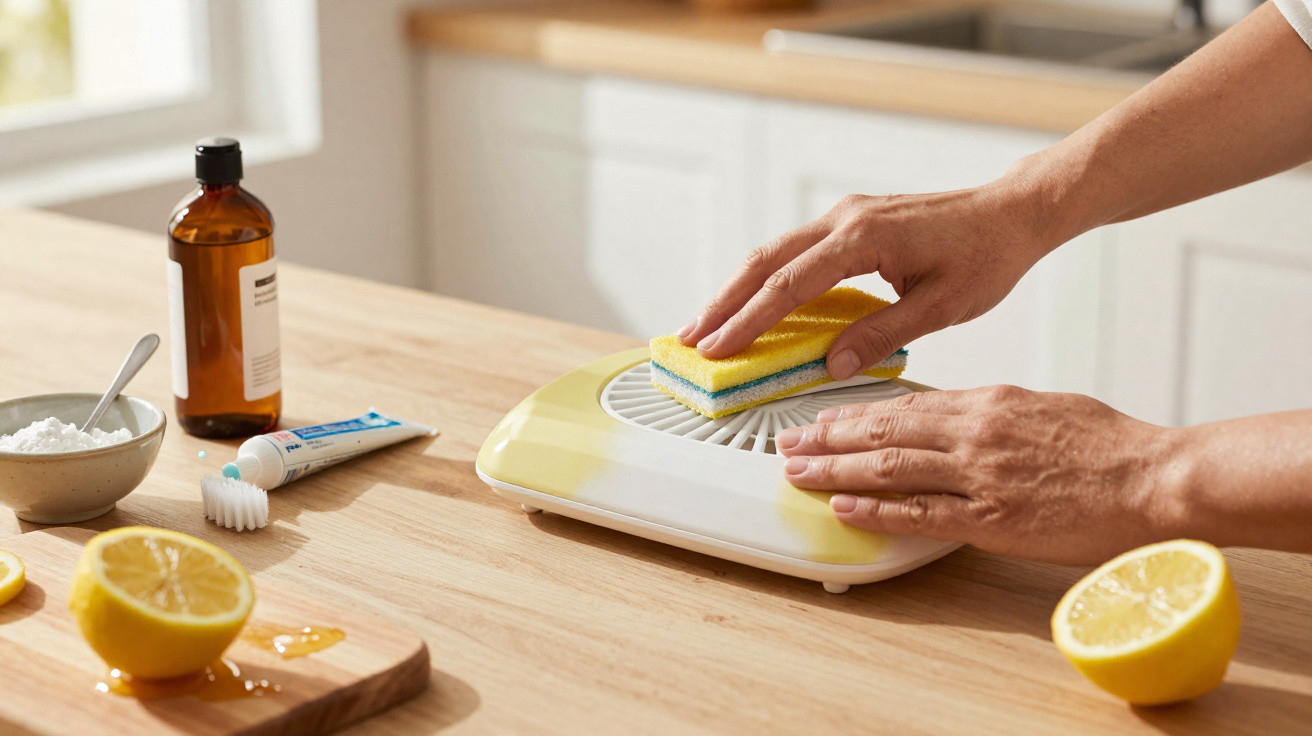
Reaching straight for harsh chemicals or scrubbing like mad is a common reaction - and it often leaves plastic looking even worse. In reality, plenty of yellowed plastics can be noticeably brightened using simple household items. The key is knowing what causes the yellowing, which mistakes make it permanent, and which approach suits which object.
Why plastic turns yellow - and the mistakes that make it worse
Yellowed plastic usually isn’t a hygiene issue. It is most often the result of three factors working together: sunlight, heat and grease. Over time, plastic surfaces can oxidise, colour pigments shift, and dirt along with kitchen fats can seep in. What started as bright white gradually becomes beige - or even a grimy yellow.
These everyday items are especially prone to it:
- Casings of kitchen appliances (kettle, toaster, food processor)
- Light switches and socket surrounds
- Remote controls, game controllers and PC accessories
- Plastic storage boxes, measuring jugs and kitchen utensils
"If you want to rescue plastic that’s turned yellow, start by testing a gentle method - don’t reach for heavy-duty chemicals straight away."
A few common missteps can damage plastic for good or even ‘bake in’ staining:
- Water that’s too hot: Very hot water can warp plastic or leave the finish looking dull.
- Abrasive scourers: Scouring powder, steel wool or rough sponges scratch the surface - it then looks flat and attracts dirt faster.
- Strong chlorine bleach: Neat, undiluted bleach can leach the material, turn it grey, or make it brittle.
- Dishwasher cleaning: High temperatures and aggressive tablets can speed up yellowing in many plastics, especially cheaper containers or lids.
Before you try any method, stick to one simple rule: identify the type of plastic as best you can, then test on an inconspicuous area first - for example, the underside of a casing or the inside of a lid.
Trick 1: Hydrogen peroxide - the heavy-hitter for stubborn yellowing
Hydrogen peroxide (often casually referred to as “oxygenated water”) is one of the most effective options for heavily yellowed plastic. You can buy it from pharmacies and chemists, usually in a range of strengths.
For many lighter plastics, a mid-strength product is enough. What matters is following a clear, careful process:
- Put on gloves and protect the work surface.
- Clean the item first so grease and loose dirt don’t get in the way.
- Apply hydrogen peroxide evenly - depending on the shape, use a brush, cloth or cotton wool.
- Cover with cling film so it doesn’t evaporate too quickly.
- Leave it to work for an appropriate time for the product and plastic, checking regularly.
- Rinse thoroughly with water, then dry and buff.
"Hydrogen peroxide can lift deep-set yellowing - but only if the contact time and concentration suit the plastic."
Whether sunlight enhances the effect depends on both the concentration and the plastic itself. Some “retro-bright” approaches deliberately use UV light to boost whitening. With sensitive items - such as older consoles or collectibles - it pays to be cautious: do a short test first on a hidden spot.
Trick 2: Toothpaste as a gentle plastic polisher
Toothpaste works a bit like a very mild car polish at home. It contains gentle abrasives that lightly smooth the surface, helping to remove greying and fine marks. It’s a good fit for slightly yellowed plastics or plastic that has simply gone dull.
Which toothpaste works best - and which to avoid
- Better: plain white toothpaste with no strong “whitening” claims and no gritty particles.
- Worse: gel toothpastes, highly whitening specialist pastes with lots of abrasive content, or products containing coarse crystals.
A common method is:
- Put a small amount of toothpaste onto a soft cotton cloth.
- Rub over the surface in circular motions, without pressing too hard.
- Use a soft toothbrush for grooves, edges and textured areas.
- Wipe with a slightly damp cloth, then dry and buff.
For light switches, remote controls or the front panel of household appliances, this “quick polish” is often enough to make them look fresher again. It won’t turn badly aged, yellowed plastic bright white overnight, but it can make the colour far more even.
Trick 3: Talc and cornflour - a ‘paste treatment’ for grease staining
If cooking grease and kitchen vapour are the main culprits, a blend of talc (talcum powder) and cornflour can be worth trying. Both powders absorb oils and discolouration from the surface and can leave a more matte, even-looking white.
Basic recipe for the grease-absorbing paste
- 2 tablespoons talc
- 2 tablespoons cornflour
- A little water, until it forms a thick paste
- Optional: a squeeze of lemon juice
How to apply it:
- Mix the paste until it’s spreadable.
- Apply to the affected plastic with a spoon or brush.
- Leave it until the paste dries and becomes slightly crumbly.
- Carefully wipe or vacuum off the residue.
- Rinse with clean water and dry thoroughly.
"The powder paste works like a sponge: it binds to grease and can even out the colour again."
This often makes a noticeable difference in the kitchen - for example on cooker hood panels, cupboard handles, or containers stored close to the hob. If you’re unsure, make the paste thinner the first time, then increase the thickness on later attempts.
Trick 4: Lemon - a fresh finish for odour and shine
Lemon juice on its own won’t produce a completely new, bright white finish, but it’s excellent as a final step once the plastic has already been cleaned. The acidity can loosen light staining and, importantly, neutralise odours.
Options include:
- Neat: rub half a lemon directly over the surface, leave briefly, then rinse.
- Diluted: add a little lemon juice to your cleaning water and wipe over.
- With salt or bicarbonate of soda: for tougher plastics, sprinkle a little salt or bicarbonate of soda onto a cut lemon and rub gently.
On glossy, delicate plastics, use a soft cloth and keep pressure light to avoid scratching. Lemon is particularly useful for fridge interior parts, plastic chopping boards, or food storage containers that previously held strongly scented foods.
What helps prevent yellowing from coming back
To stop plastic turning yellow again soon after treatment, a few simple habits help:
- Avoid direct sun: devices and boxes that sit on sunny windowsills yellow faster.
- Keep away from heat sources: don’t store plastic parts right next to the hob, oven or radiators.
- Clean regularly with mild products: wiping more often with a soft cloth and gentle cleaner is better than occasional heavy-duty cleaning.
- Remove greasy films early: especially in kitchens, invisible layers from cooking vapour can build up and attract pigments over time.
- For expensive appliances: check the manual to see whether certain cleaners are prohibited.
For plastics that are particularly sensitive to light, there are specialist UV-protectant sprays that create a thin protective layer. These are more common in car care and for outdoor items.
When to leave it alone - and what can’t be saved
Even with the best intentions, there are limits. Some plastics yellow all the way through because the material itself has changed chemically. In those cases, no paste will fully restore it - at best, you’ll only achieve a small visual improvement.
Be especially careful with:
- very old electrical items with brittle casings
- collectibles, consoles or retro computers with sentimental or collector value
- parts with printed icons that could lift off easily
In situations like these, overly aggressive treatment can do more harm than good. If you’re uncertain, increase intensity step by step and stop as soon as the plastic starts to look dull, soft or blotchy.
Practical examples and extra everyday tips
Many people notice the difference quickly on common household items:
- Switches and socket surrounds: clean first with a slightly damp cloth and a little pH-neutral soap, then test toothpaste on small areas.
- Yellowed food processor: polish the front with toothpaste, and treat heavily discoloured side panels with hydrogen peroxide.
- Kitchen storage boxes: tackle greasy marks with the talc–cornflour paste, then rinse with lemon water.
Understanding the basic chemistry behind the discolouration helps you choose the right method: oxidation from light and air often responds well to hydrogen peroxide, greasy films tend to suit powders and mild acids, and dull surfaces can be refreshed with a gentle polish.
If you combine the four tricks patiently and always test on a small area first, you’ll quickly find that many supposed “plastic write-offs” are nowhere near ready for the bin. That saves money and resources - and helps your home, kitchen and office look noticeably fresher in the process.

Comments
No comments yet. Be the first to comment!
Leave a Comment