
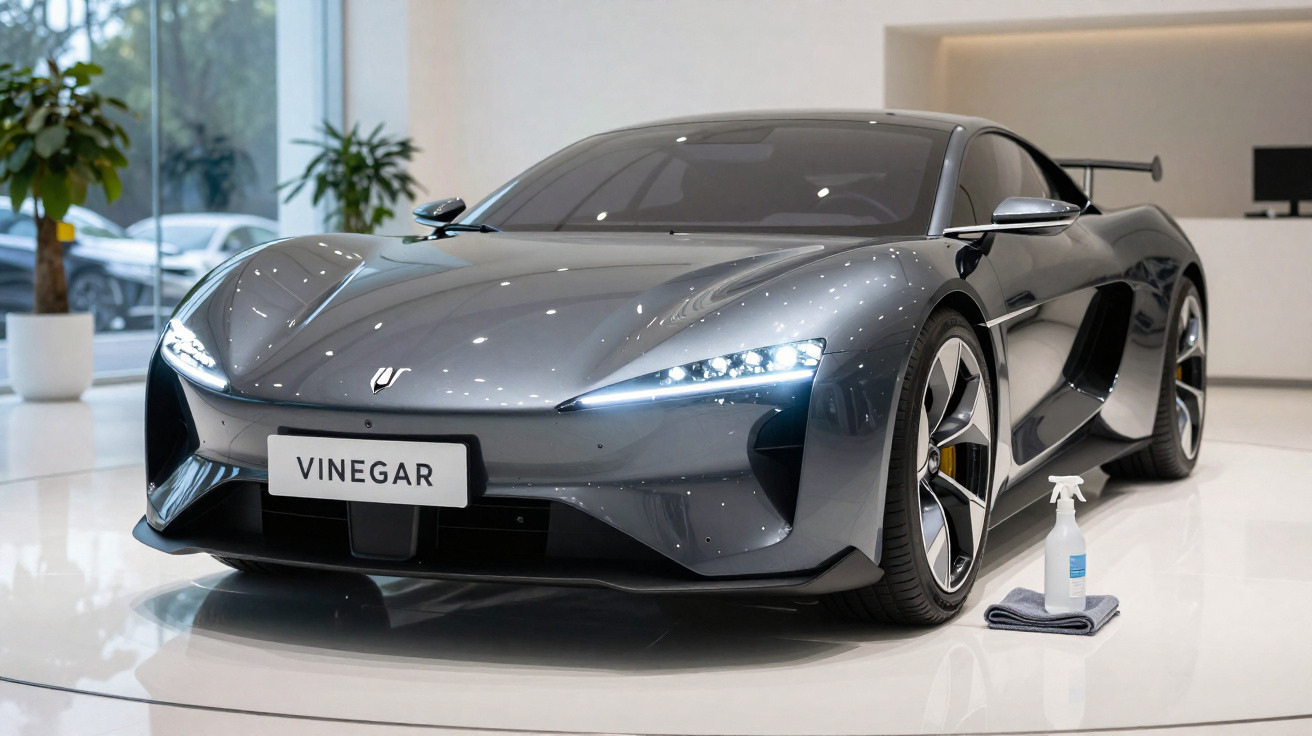
If you drive after dark, you may have noticed it: your headlights no longer seem as bright as they once did. Instead of looking clear and transparent, the lenses often appear cloudy, yellowed and covered in fine scratches. A garage visit, a polishing kit or specialist cleaners can all sound like time and money. Yet there’s a low-key helper from the kitchen cupboard that many households already have to hand.
Why modern headlights yellow so quickly
Older cars often used glass headlamps, but most modern vehicles rely on plastic-more specifically, polycarbonate. It’s lightweight and shatter-resistant, but it’s also noticeably more delicate.
- UV radiation attacks the surface and causes it to yellow over time.
- Road salt, insects and grime leave stubborn deposits behind.
- Micro-scratches from car washes and incorrect cleaning roughen the lens.
The result is that light scatters off the dulled surface. The beam becomes shorter and more diffuse, and can even create more glare in some situations. Many drivers don’t spot the gradual change-until a nasty surprise on a dark country road.
"Clear headlights aren’t about looks-they’re about safety, for you and for other road users."
The kitchen miracle: plain household vinegar
Here’s the good news: for typical traffic film and light greying, there’s something that’s already in most kitchens-vinegar. Specifically, clear (colourless) household vinegar, usually based on acetic acid.
Vinegar helps to break down:
- limescale and water spots
- insect residue
- greasy smears and road dirt
- light surface oxidation marks
In many cases, this everyday staple can stand in for pricey cleaners from the car-care aisle and deliver a surprisingly visible improvement within minutes.
Step-by-step: how to bring your headlights up brilliantly with vinegar
1. Getting the car ready
Park the car in the shade and make sure the paintwork and plastic aren’t hot. That helps prevent marks and is kinder to the materials.
- Rinse the headlight lenses with water to remove loose dirt.
- Dry the area around the headlights with a cloth.
- Optional: mask the paintwork around the headlight with painter’s tape to prevent drips.
2. Preparing the vinegar correctly
Use standard clear household vinegar, or vinegar essence diluted slightly with water depending on its strength. Temperature matters here.
- Pour a little white vinegar into a heat-resistant bowl.
- Warm it using a bain-marie or carefully in the microwave.
- Aim for lukewarm-clearly warm, but not hot.
"Lukewarm vinegar works better: the warmth helps lift dirt and residue without stressing the plastic."
3. Applying it and letting it work
Now for the actual cleaning.
- Use a soft microfibre cloth or a pump spray bottle.
- Put vinegar onto the cloth, or gently spray it directly onto the headlight.
- Wet the surface evenly, but don’t soak it until it drips.
- Leave it for a few minutes so deposits can loosen.
During this time you don’t need to do anything, but do keep an eye on it so vinegar isn’t running in streams over the paint.
4. Gentle finishing and thorough rinsing
Once it has had time to work, the key stage is wiping.
- With a clean, slightly damp microfibre cloth, wipe the lens in circular motions.
- Go over heavily soiled areas again gently, but avoid aggressive rubbing.
- Rinse thoroughly with plenty of clean water.
- Dry with a dry cloth using minimal pressure to prevent smears.
"Many drivers say that after just one pass the headlight looks noticeably clearer-and the car seems a few years younger."
Important warnings: protecting paintwork and plastic
As effective as vinegar can be, it is still an acidic product. If you work carelessly, you can end up with dull patches on the paint.
- Never leave vinegar sitting on car paint for long.
- Wipe away runs and drips immediately with a damp cloth.
- Use only lukewarm vinegar-never boiling liquid.
- Don’t use rough sponges or abrasive cleaners, as they can scratch the plastic.
If you want to be extra cautious, mask the area around the headlights with painter’s tape. It takes a couple of minutes and can save you from dulling the clear coat.
When vinegar isn’t enough-and what to do instead
Vinegar cleans, but it won’t make a heavily worn headlamp look factory-fresh. If the lenses are badly yellowed or deeply scratched, the kitchen fix has its limits.
| Problem | Is vinegar suitable? | Possible alternative |
|---|---|---|
| Light haze, dirt, water spots | Yes, very good | Regular cleaning every few months |
| Obvious yellowing, matt surface | Partly | Headlight polishing kit from an automotive retailer |
| Deep scratches, cracks, stone chips | No | Replacing the headlight at a garage |
Dedicated polishing kits typically include sanding sheets in several grits, polishing compound and UV protection. They can restore many headlights significantly-but they require more time and care.
Greater safety with clear headlights
Clean, clear headlights aren’t just an aesthetic upgrade. They can also make a tangible difference to safety. Tests show that yellowed plastic lenses can shorten the light beam noticeably, meaning potholes, pedestrians or wildlife at the roadside appear later in your field of view.
Keeping lenses clean helps avoid this, and it can even prevent unnecessary expense: during an MOT test, severely hazed headlights can be recorded as a defect. In the worst case, the car won’t pass until the issue is fixed.
Practical tips for everyday use
To help the result last as long as possible, a simple care routine pays off:
- When washing the car, always wipe the headlights with a soft cloth.
- In summer, don’t let heavy insect deposits dry on for days.
- After cleaning with vinegar, apply a thin layer of plastic protectant or suitable paint protection if appropriate.
- Once or twice a year, check brightness critically in the dark-a quick test on an unlit road is enough.
If you’re tempted to try other household remedies, be careful. Toothpaste, bicarbonate of soda or cream cleaner are often recommended online, but they can leave micro-scratches. Vinegar is among the gentler options-as long as you follow the rules above.
Why vinegar works so well
Vinegar contains acetic acid, which helps dissolve many mineral and organic deposits. That’s exactly what builds up on headlight lenses: dried water spots, insect residue, soot and dust particles, and sometimes a thin layer of surface oxidation.
Used for a short time and at the right dilution, the acid targets these films without seriously damaging the polycarbonate itself. Combined with the light mechanical action of a microfibre cloth, it creates an effective cleaning result without needing abrasives.
Using this approach doesn’t just improve visibility-it also feels satisfying: the effort is minimal, the cost is pennies, and the car quickly looks cleaner and more up to date. For many drivers, humble vinegar becomes the secret star of the cleaning cupboard-far from the salad bowl, and firmly in the service of road safety.




Comments
No comments yet. Be the first to comment!
Leave a Comment