

In one particular situation, that habit is exactly what makes stains refuse to budge.
If you do the laundry the way your parents or grandparents taught you, you’ll probably turn T‑shirts, jeans and jumpers inside out before they go anywhere near the washing machine. It’s often treated as a little insider trick: colours last longer and fabrics bobble less. The catch is that, in a very common scenario, this routine helps stains settle in rather than wash out - and the supposedly “fresh” top can still look grubby once it’s dry.
Why we wash clothes inside out in the first place
The logic behind turning garments inside out is sound. During a wash cycle, the outer face takes the most punishment: it rubs against the drum, zips, buttons and other items. Flip the garment and that more visible, more delicate side ends up protected on the inside.
“Washed inside out, clothing often looks ‘new’ for longer because the outside gets less abrasion.”
This is especially useful for:
- Dark denim, which can otherwise look washed out quickly
- Black and dark T‑shirts, where colour tends to fade sooner
- Printed or flocked tops, where the design can wear away
- Fine knits and fabrics that bobble easily
- Underwear and close‑fitting clothing - here the wash solution reaches sweat and deodorant residue more effectively
For items like these, washing inside out is a sensible move - as long as the outside is merely worn, not visibly dirty.
The crucial mistake: washing inside out even when there are visible stains
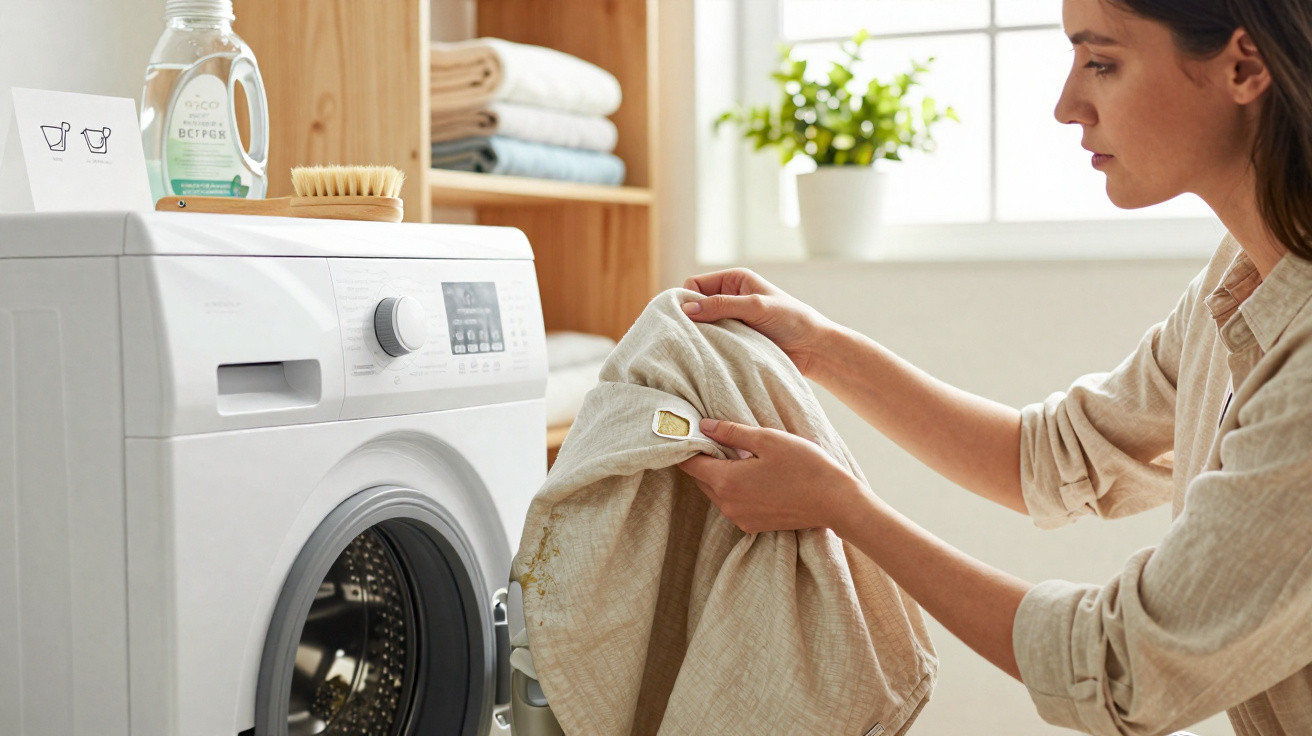
It becomes a problem when the outer side has marks or stains, but the item still gets turned inside out in the basket and then again in the machine. At that point you end up achieving the opposite of what you intended.
“A stain needs the full force of water, detergent and movement - if you hide it on the inside, you take away that chance.”
Once the garment is inside out, tomato sauce across the chest, grass on a knee, or make‑up on the collar is suddenly folded into the interior. That dirty area then:
- sits protected within a crease of fabric
- presses against other textiles instead of being freely rinsed
- gets less direct water flow and less mechanical action
The result is familiar: the item comes out of the wash smelling clean, yet after drying you can still see edges, shadows, or exactly the same greasy mark as before.
Types of stains that become particularly stubborn this way
Some kinds of dirt react badly to this mistake, especially once they’ve had time to dry in:
- Grease and oil (cooking fat, butter, salad dressing)
- Strongly coloured sauces such as tomato or curry
- Outdoors dirt: mud, soil, grass
- Cosmetics: make‑up, foundation, lipstick on collars or sleeves
These substances can sink deep into the fibres. If the stain isn’t tackled directly, it often spreads into the weave, leaves tide marks, or reappears after drying - frequently worse than before, because heat and time can effectively bake the pigments in.
The simple rule: when to wash inside out, and when to wash the right way round
“One sentence is enough as a reminder: Outside dirty - wash the right way round. No visible stains - protect it by washing inside out.”
That makes sorting much more straightforward:
| Situation | What makes sense? |
|---|---|
| Dark T‑shirt, worn only, no stains | Wash inside out to protect colour and print |
| Jeans with grass stains on the knee | Wash the right way round, treat the stain first |
| Hoodie with a large print, light deodorant marks inside | Inside out, so the print is protected and the underarm area is properly cleaned |
| Blouse with make‑up on the collar | Wash the right way round, rub in pre‑treatment on the collar first |
| Sports top with sweat odour but no stains | Inside out, so the inside gets thoroughly cleaned |
Only in a few cases is a compromise worth considering. Very delicate prints or thick flock designs may still be better washed inside out even when there’s an outer stain - but then the mark needs more thorough pre‑treatment and the wash cycle may need to be a bit more intensive.
How to manage stains efficiently before the wash
The real gamechanger happens before you press start: take a quick look, spot the stain, and pre‑treat appropriately. Turn that into a habit and you’ll avoid a lot of repeat washes.
“Pre‑treatment beats brute force: a few minutes of soak time achieves more than aggressive scrubbing in the machine.”
For common everyday stains, these steps tend to work well:
- Grease stains: dampen the area slightly, add a drop of washing‑up liquid, and massage in gently.
- Protein‑based stains (sweat marks, blood): work with cold water and use a suitable stain remover - never start with hot water, or the protein can set.
- Highly coloured sauces such as tomato or curry: treat with an enzyme stain remover or a classic stain soap, leave briefly, then rinse out.
- Mud and soil: let it dry, brush off thoroughly, and only then wash.
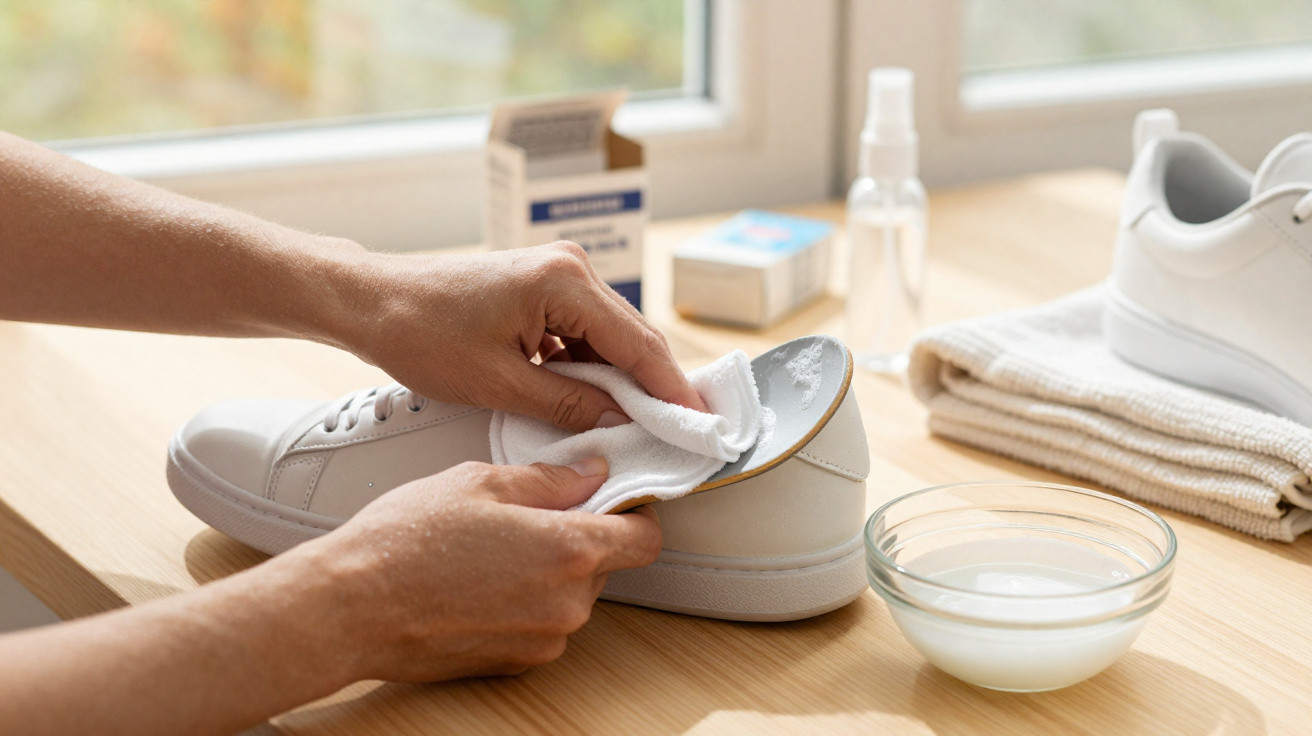
- Deep‑seated odours (e.g. underarms): add a little bicarbonate of soda or washing soda to the damp area, rub lightly, and leave to sit.
Time matters more than force: it’s better to leave it for five to ten minutes and rub only gently with fingers or a cloth, so you don’t roughen the fibres. A quick rinse afterwards also helps prevent soap or stain‑remover residue - especially sensible on delicate fabrics.
What programmes, temperature and the drum have to do with stains
Whether a stain disappears doesn’t depend only on the “inside out or right way round” question. Your programme settings and how full the drum is make a big difference.
- Temperature: 30 to 40 °C is often enough, provided the stain has been pre‑treated. Higher temperatures can actually set stains if they haven’t been loosened first.
- Spin speed: delicate fabrics benefit from a lower spin; hard‑wearing laundry can cope with more revolutions.
- Don’t overload the drum: if the machine is crammed, there’s barely any room for movement. Items get pressed together and water can’t reach stained areas as well.
- Detergent amount: too much can leave a film and make colours look dull; too little won’t clean properly. The dosing guide on the pack is a good reference.
It also helps to close zips and hook‑and‑loop fastenings. That not only prevents scratches and pulled threads, but also reduces small‑scale abrasion on printed areas.
How to choose correctly in seconds while sorting
The key moment isn’t the start button - it’s the laundry basket. A brief check of each item is enough:
- Is there a visible stain, mark or edge anywhere?
- Where does the garment experience the most wear when worn (underarms, collar, seat, knees)?
- Could this item damage others (metal hooks, an open zip)?
If you spot something heavily soiled, it’s usually better to keep it separate or wash it with a few similar items. That way the dirt is less likely to spread through the whole load, and you won’t end up running the machine again “as punishment”.
“The real question with every garment is: which side needs protecting - and where does the dirt genuinely need to come out?”
What many people don’t realise: tumble dryers and irons can set stains
One small detail with a big impact: if an item still has a mark on it and you put it in the tumble dryer or apply a hot iron, the heat can lock the remaining dirt into the fibres. After that, getting it out becomes much harder.
That’s why it pays to check after washing: can you still see the stain? Then don’t dry the garment - pre‑treat again and wash it once more, this time the right way round, with the stain facing out.
Once you keep these basics in mind, the difference is noticeable: fewer greyish edges, less of that “clean‑but‑musty” feeling, and far less frustration with tops that smell fresh yet still look a bit unkempt. Turning clothes inside out remains a useful trick - just not in every case, and not automatically for every item.



Comments
No comments yet. Be the first to comment!
Leave a Comment