
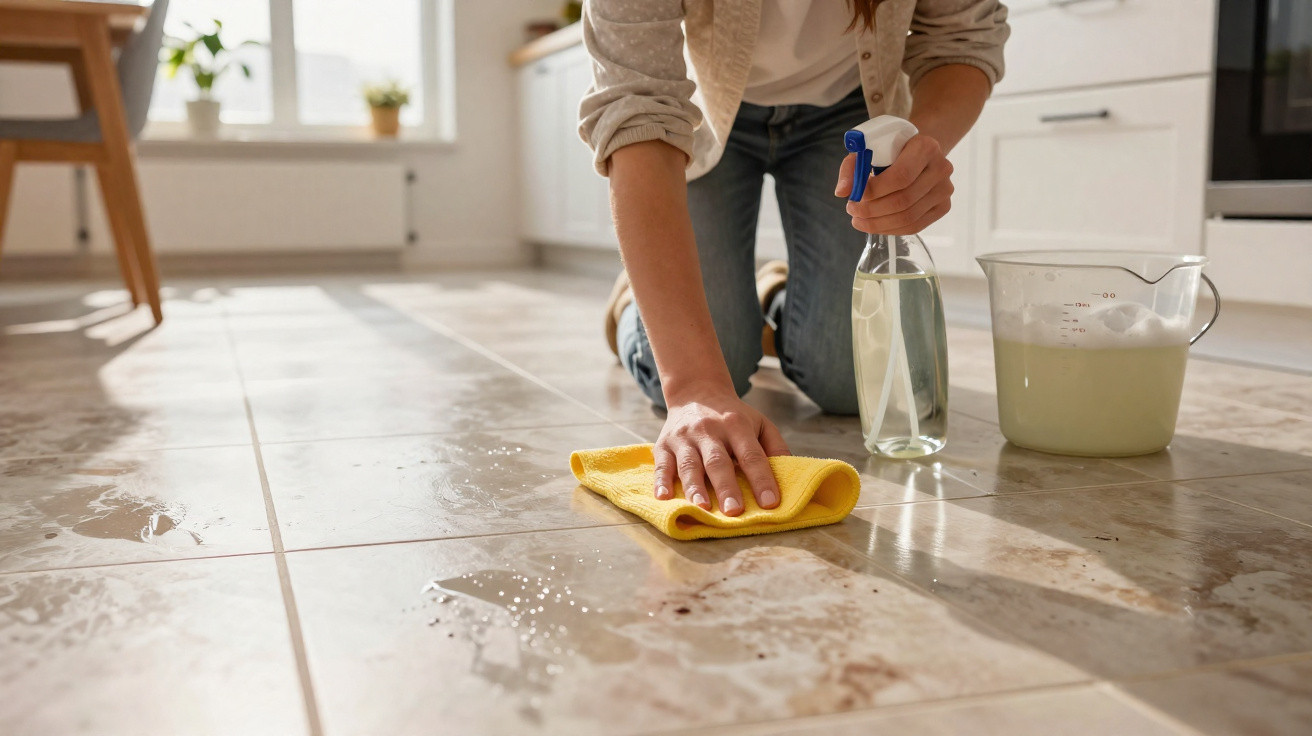
Anyone with a porcelain stoneware floor in the kitchen or living room will recognise the familiar frustration: streaks after every mop, a dull haze, and unsightly marks that simply refuse to shift. It’s tempting to reach for lemon juice, bicarbonate of soda, or harsh cleaners. Cleaning professionals warn, however, that many of these options do more harm than good. One classic cupboard staple can work far better - provided you use it correctly.
Why many porcelain stoneware floors lose their shine over time
Porcelain stoneware is considered hard-wearing, low-maintenance and almost indestructible. In everyday use, the reality often looks different. The surface becomes less glossy, starts to look patchy, and streaks appear after each clean. There are several common reasons:
- Overly strong or unsuitable cleaners: Many people follow a “more is better” approach and use aggressive multi-purpose cleaners or highly acidic mixes.
- Unmeasured home-remedy combinations: A bit of lemon here, a spoonful of powder there - with a different dose every time.
- Residue that leaves a surface film: Surfactants, soap deposits or poorly dissolved powders settle on the top layer.
- Moisture left behind: If the floor isn’t dried, streaking and water marks are much more likely.
Unglazed or matt-finish porcelain stoneware is particularly prone to this, often more than people expect. While it can be cleaned effectively, it doesn’t respond well to extreme pH levels or abrasive products. When these experiments become routine, the original sheen can be dulled for good.
Lemon and powders: why popular kitchen tricks often backfire
Household favourites sound appealing: lemon juice for a “fresh” scent, powder to “scrub without chemicals”. Professionals in commercial cleaning take a far more cautious view.
Lemon juice is highly acidic. In small amounts and used occasionally, it is usually harmless. But if it’s added to every bucket of mop water or applied undiluted, it can attack the glazed surface. Microscopic damage can develop, creating tiny pockets where dirt clings more easily.
Powdered products with an abrasive effect - including supposedly gentle home remedies - can slightly roughen the surface if you scrub firmly. At first, you may not notice anything. Over time, though, the floor can develop an increasingly dull layer that’s difficult to wipe truly clear.
Too many self-mixed cleaning cocktails leave a milky film that makes the floor look grey and flat - even straight after cleaning.
Another issue is mixing different products together, which can create combinations with an unpredictable pH. One time it’s too acidic, the next it’s too alkaline - and either extreme can damage stoneware in the long run.
The underrated “miracle” cleaner from your kitchen cupboard
Professionals in commercial cleaning often rely on something most people already have at home: clear household vinegar, ideally a colourless vinegar with a high level of purity. When diluted properly, it cuts grease, offers a mild disinfecting effect, and leaves very little residue behind.
The ideal mix for bright, clean porcelain stoneware
The key is getting the dilution right. A widely recommended base mix is:
- 1 part clear household vinegar
- 3 parts hand-warm water
Add the solution to a bucket used only for floors. The warm water noticeably boosts the grease-cutting action and helps loosen dried-on residue.
Then comes the second essential: a microfibre mop or microfibre floor cloth. Microfibre lifts dirt more effectively than traditional cotton and helps ensure the vinegar solution isn’t merely spread around, but actually picked up again along with the loosened grime.
Step-by-step: how professionals clean porcelain stoneware
- Remove loose dirt: Vacuum or sweep thoroughly so grit and sand cannot scratch the surface.
- Mix the vinegar solution: Combine one part clear household vinegar with three parts hand-warm water in the bucket.
- Wring out the microfibre: Squeeze the mop or cloth well - the floor should be only slightly damp.
- Mop the area: Work in straight passes and avoid leaving puddles. If the floor is heavily soiled, rinse the mop in the bucket in between.
- Rinse with clean water: Use a second clean cloth with plain water only to remove any vinegar traces.
- Dry by hand: Go over the floor with a dry microfibre cloth until no droplets remain. This is what creates visible shine.
The manual drying step is the underestimated trick: it prevents streaks and water marks and brings back the original look of the stoneware.
Everyday care: how to keep your stone floor looking good long-term
If you maintain porcelain stoneware regularly and gently, you’ll rarely need special “rescue” methods. For weekly cleaning, professionals recommend a straightforward combination:
- Hand-warm water
- A splash of pH-neutral floor cleaner with no gloss additives
- A well-wrung microfibre mop
The same rule applies: finish by wiping as dry as possible. In kitchens in particular, this helps prevent cooking grease and dust from bonding into a stubborn surface film.
How to deal with stubborn stains properly
Rather than loading the whole bucket with aggressive additives, specialists advise treating stains directly and only where needed:
- Greasy marks: Sprinkle a small amount of powder onto the spot, work it in with a soft brush in circular motions, then rinse thoroughly with clean water.
- Rust stains: Mix a paste from clear vinegar and powder, apply only to the affected area, leave for about 15 minutes, then rinse away carefully without harsh scrubbing.
This keeps the intervention local and avoids putting unnecessary stress on the rest of the floor.
Mistakes that permanently ruin the shine of porcelain stoneware
To protect a floor you value, it’s worth avoiding a few common pitfalls:
- Constant use of harsh cleaners: Strongly acidic or strongly alkaline products can attack the surface.
- Scouring powder or hard pads: These cause micro-scratches and make the finish more prone to holding dirt.
- Using too much cleaning product: Heavy doses leave sticky residue that attracts dirt.
- Leaving standing water: Puddles encourage limescale edges and staining, especially in light-coloured grout lines.
A better approach is prevention: a sturdy doormat area at the entrance, felt pads under chairs and tables, and never dragging heavy furniture across the floor. This reduces scratching and the amount of sand carried indoors.
Shine boosters: when oil or wax can make sense
For special occasions - or when the floor looks particularly dull - some people reach for shine products intended for other surfaces. Professionals recommend restraint, but mention two options for a temporary effect:
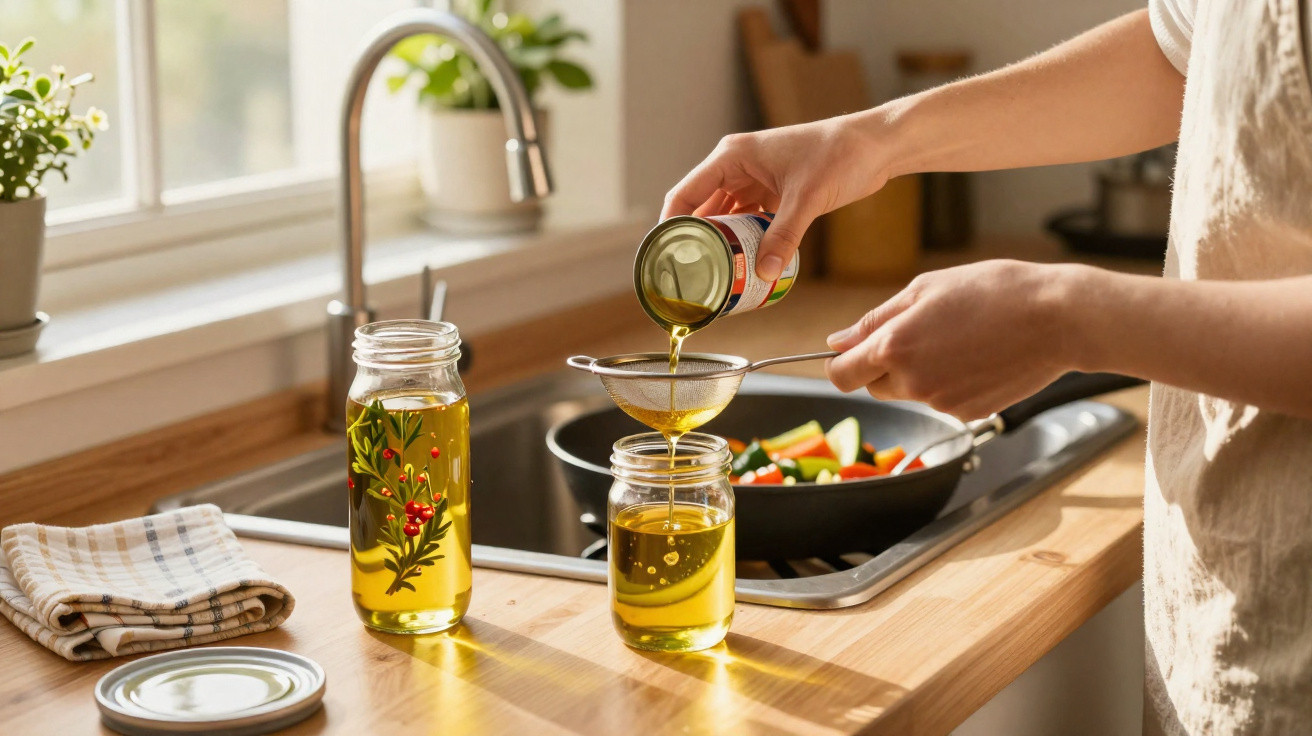
- A trace of cooking oil: Put a very small amount on a soft cloth and apply only to particularly dull patches, then buff hard with a dry cloth.
- Beeswax: Spread a thin layer, let it dry fully, then rub vigorously until only a light sheen remains.
These methods are best treated as occasional shine boosters, not part of regular cleaning. Too much oil or wax makes the floor slippery and attracts dust.
What porcelain stoneware actually is - and why that matters for cleaning
Porcelain stoneware sits within the ceramic tile family. It is fired at very high temperatures, is barely porous, and absorbs almost no water. That’s exactly why it’s so popular in high-traffic areas such as kitchens, hallways and open-plan living-dining spaces.
However, low porosity has a downside: anything left on the surface as a film is immediately visible. Incorrect cleaners or over-dosing don’t disappear “into the material” - they sit on top as a noticeable layer. That’s why a clear, easy-to-rinse product used sparingly typically delivers better results than an uncontrolled mix of multiple substances.
If you stick consistently to diluted household vinegar, a neutral cleaner, microfibre, and a final drying pass, you’ll often see a difference after only a few cleans: the floor doesn’t just look clean, it starts to look as it did when it was first laid - clear, even and pleasantly glossy, without looking greasy.

Comments
No comments yet. Be the first to comment!
Leave a Comment