
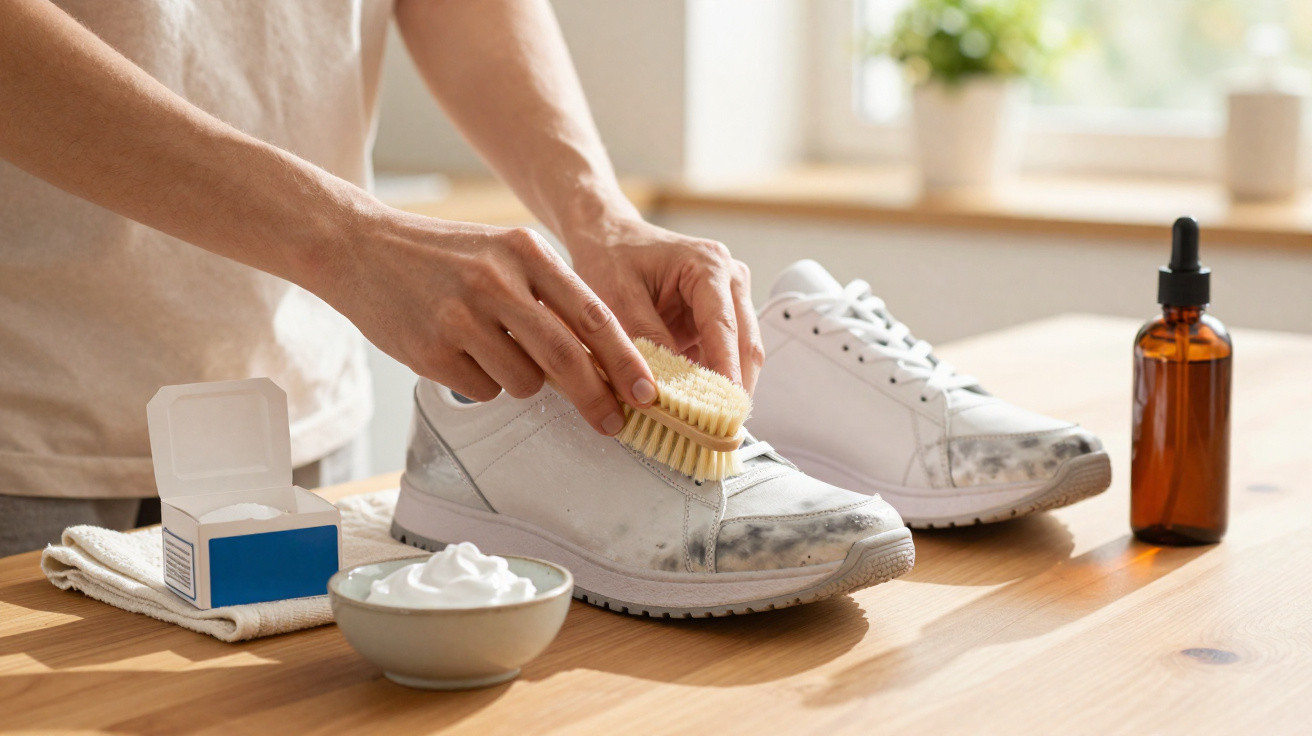
Many people instinctively reach for the washing machine at this point. A short cycle, 30°C, done - or so they assume. In reality, that habit slowly wrecks your favourite pair. There is another approach that costs next to nothing, needs no specialist cleaner, and still leaves you with impressively white trainers.
Why the washing machine quietly destroys white sneakers
Heat, friction, moisture: bad news for glue and stitching
Online, you’ll often see the advice to wash trainers on a delicate cycle. It sounds easy - but it’s a gamble. Inside the drum, far more is happening than you can tell from the outside.
- Mechanical stress: Constant knocking around during the wash loosens stitching and wears the materials.
- Warmth and damp: Adhesives soften, and the bond between sole and upper gradually loses strength.
- Loss of shape: Shoes can warp, especially at the heel and toe box.
They may still look fine straight after the wash. The payback tends to come on the next longer walk: squeaky soles, early separation, cracked materials.
The illusion of cleanliness: when stains simply relocate
There’s also a visual trick that catches many people out. Water penetrates deep into fabric or leather. Rather than rinsing dirt away completely, it can partially redistribute it.
That’s how those yellowish tide marks and patches appear as the shoes dry. Detergent residue makes it worse: it sits in the fibres, binds with dust, and means the shoes pick up grime even faster outdoors.
"If you put your sneakers in the drum, you save a bit of time - and often end up losing a pair of shoes."
The natural power pair: household products instead of harsh chemicals
Sodium bicarbonate: a gentle abrasive with a brightening boost
The fix is already sitting in many cupboards: sodium bicarbonate, commonly sold as “bicarbonate of soda” (or plain bicarb, without additives). It works on two fronts.
- The fine crystals act like a very mild abrasive, lifting stubborn particles.
- Its lightly alkaline action visibly brightens yellowed areas.
- Odours fade because bicarb neutralises acids.
You’ll notice the difference quickly on white rubber and fabric. Surfaces feel smooth and clean again, rather than dull or slightly greasy.
Black soap: cuts grease without drying the material out
The second ingredient is soft black soap made from plant oils. It comes from traditional household cleaning and, surprisingly, suits trainers very well.
This soap:
- breaks down grease, road grime, tar and grass marks reliably,
- is much gentler than many solvent-based shoe cleaners,
- helps condition faux leather and leather thanks to the oils it contains.
Together they complement each other: bicarbonate of soda handles brightening and light mechanical cleaning, while the soap tackles grease and stubborn traces of city asphalt or the local park.
Mixed in two minutes: how to make the cleaning paste
For one pair of trainers, a small bowl with the following is enough:
- 2 tablespoons bicarbonate of soda
- 1 tablespoon soft black soap
The right texture: closer to toothpaste than soapy water
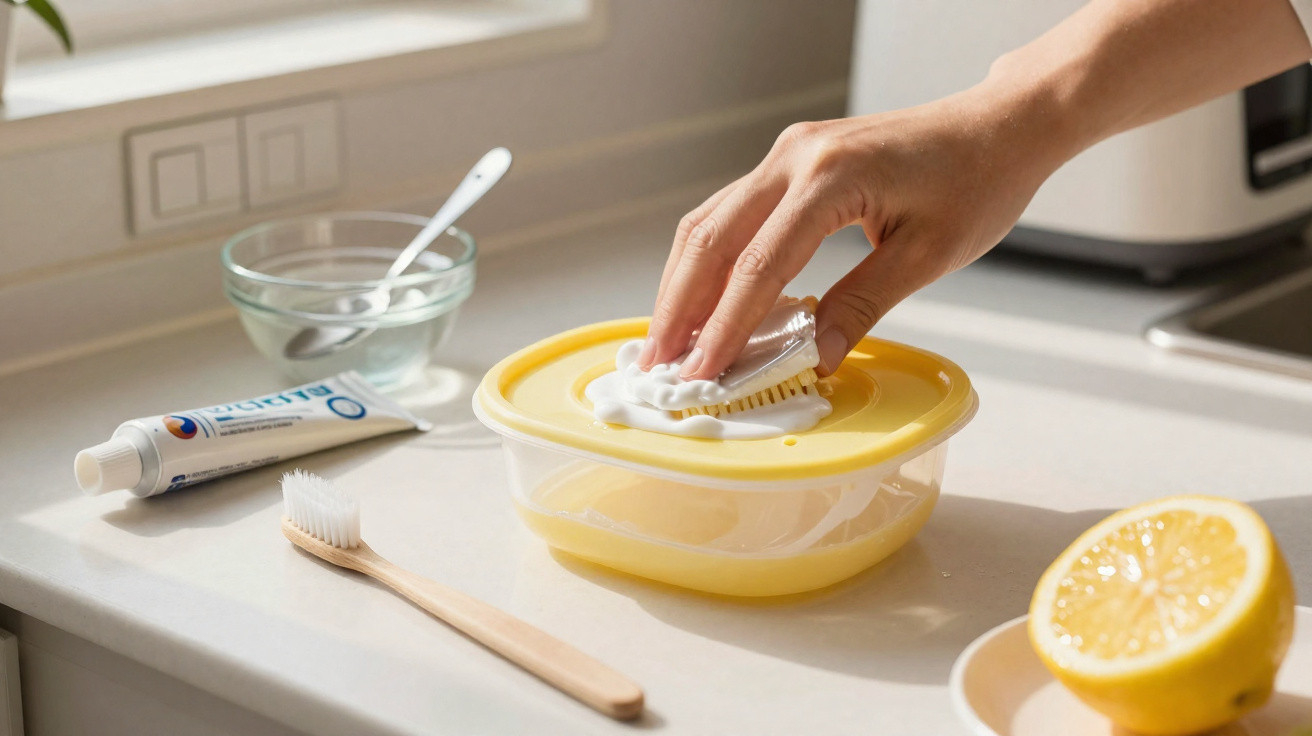
Stir both ingredients vigorously in a small bowl. You’re not aiming for a liquid, but a thick, creamy paste that clings to the shoe instead of running off.
A useful guide: it should be about the consistency of shaving foam or a slightly firm toothpaste. If it turns out too runny, mix in a bit more bicarbonate of soda. A little foaming is normal and shows the mixture is active.
Why using very little water is the real trick
The key advantage of this method is that you don’t soak the trainers. The paste works mainly on the surface, which reduces the risk of water marks, warped insoles, or cardboard-like internal components swelling up.
"The drier the cleaning process, the longer the sneaker keeps its shape - and that’s exactly where the paste beats any machine wash."
Step by step: how to get white sneakers properly bright again
Target the worst areas with a brush
An old toothbrush or a soft nail brush is all you need. Pick up a little paste on the bristles and apply it in small circular motions.
Take extra care around:
- the rubber edge running around the shoe,
- yellowed areas on the sole,
- creases over the instep,
- the lace eyelets and the edge of the tongue.
With fabric trainers, you can work it gently into the weave. With smooth leather, use less pressure and keep the brush flatter.
Let it work instead of scrubbing yourself silly
Once all the problem areas are covered, the easy bit starts: wait. About 15 minutes is usually enough. During that time, the soap loosens grease and road dirt, while the bicarbonate of soda tackles discolouration and binds odour-causing particles.
If the soles are heavily marked, it can be worth leaving the paste on a little longer - and then extra scrubbing is often unnecessary.
Removing it properly: not a running tap, but control
Why the tap should stay off
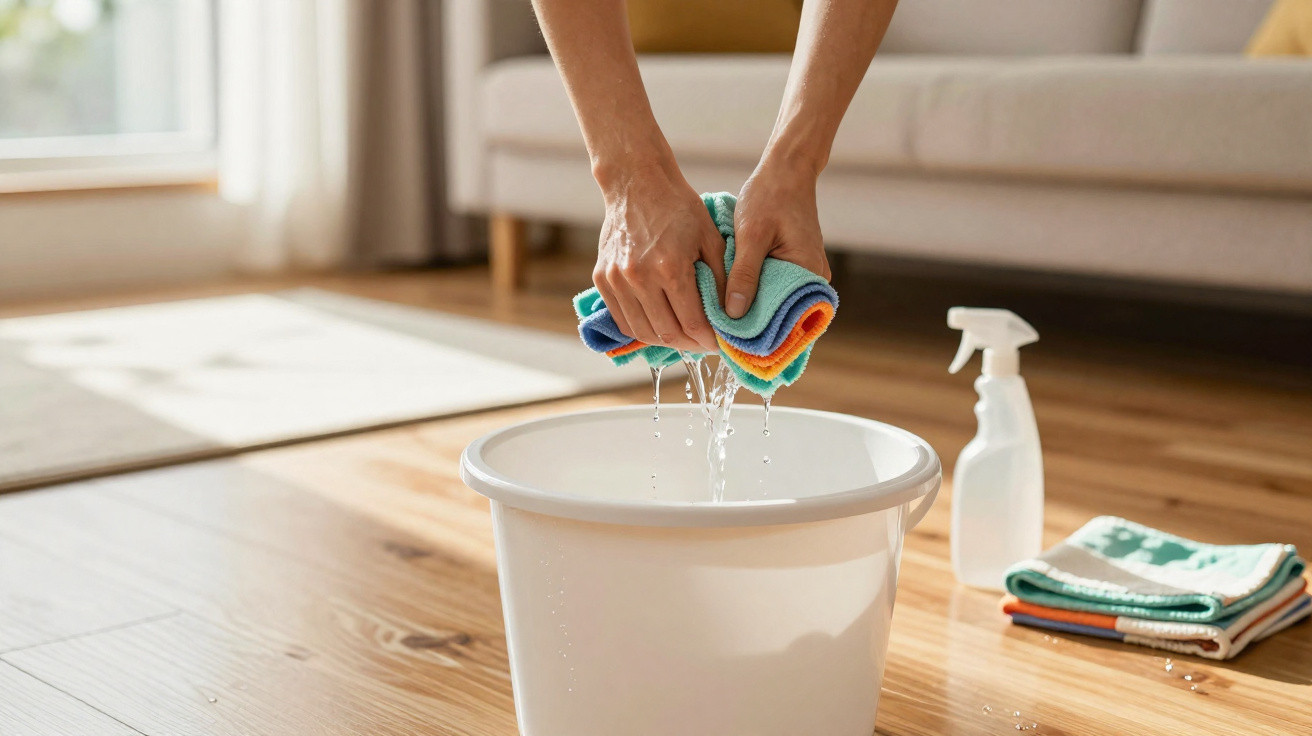
Resist the urge to rinse under the tap. Instead, dampen a microfibre cloth and wring it out well.
Wipe the paste away gradually, rinsing the cloth in between. That keeps moisture to a minimum, helps the shoe hold its shape, and keeps the inside drier.
Dry with patience - not on the radiator
To dry, place the trainers somewhere airy and out of direct sun. Heat sources such as a radiator, hairdryer, or strong sunlight can quickly cause cracking, hardened material, and fresh yellow marks.
Loosely stuffing kitchen roll or newspaper into the shoes speeds drying and supports the shape at the same time. Replace the paper once or twice if needed.
How to keep shoes white for longer
A waterproofing spray as an invisible shield
Once the trainers are completely dry, add protection. A clear waterproofing spray for textiles and/or leather forms a thin film over the surface.
- Water beads and is less likely to soak in.
- Dust and road dirt cling less.
- New marks are quicker to remove.
A light mist from about 20–30 cm away is sufficient. Let it dry briefly and the shoes are ready to wear again.
A small routine after every wear
If you care about your trainers, turn upkeep into a tiny habit. A few seconds after taking them off is enough:
- brush off loose dust with a soft brush,
- wipe fresh marks with a damp cloth,
- tackle heavier scuffs on the sole with a cleaning rubber or a “Magic Eraser”.
That stops dirt building up in layers, and you’ll need a full deep clean far less often.
More than looks: why the gentle method is worth it
Keeping sneakers out of the machine noticeably extends their lifespan. Glue, stitching and cushioning all benefit from a softer approach. It also helps your budget indirectly, because the urge to replace them after just one season drops significantly.
There’s an environmental upside too: fewer replacements mean fewer resources used, less transport, and less waste. Bicarbonate of soda and black soap put far less strain on wastewater than aggressive specialist cleaners.
This method also works for leather shoes, with one extra tip: once dry, apply a thin layer of clear leather conditioner. It keeps the material supple and reduces cracking along crease lines.
Anyone who tries it once tends to notice it quickly: white sneakers look almost new again, without the drum wash and without expensive “pro” sprays from the shoe aisle. That’s exactly why this simple two-ingredient paste is a household trick that fits neatly into any spring wardrobe.
Comments
No comments yet. Be the first to comment!
Leave a Comment