
As the years pass, even high-quality plastic tends to discolour. Sunlight, warmth and greasy splashes gradually turn bright white into a dull cream. The good news is that a few straightforward household remedies can noticeably brighten a lot of that yellowing again - provided you choose the right approach and avoid common mistakes.
Why plastic turns yellow - and what makes it worse
In most cases, yellowing comes from a mix of UV light, heat and grime. Sunlight attacks certain components within the plastic; the surface oxidises and takes on a yellowish tint. In kitchens, a thin film of grease also builds up, which then attracts dirt and nicotine like a magnet.
“UV radiation, heat and grease are the main reason bright white slowly becomes a dull yellow.”
Before you start, it’s worth doing a quick material check: are you dealing with hard, smooth plastic (light switches, casings of electrical appliances), or softer, slightly flexible plastics (storage tubs, toys)? The more delicate the surface, the more gently you should work.
Mistakes that make yellowing worse
Many well-meant cleaning attempts do more harm than good. Typical pitfalls include:
- Water that’s too hot: heat can warp plastic and even “bake in” staining.
- Harsh abrasives: powders or rough sponges scratch the surface, and dirt then clings even faster.
- Chlorine-based cleaners: they can attack the material, leaving it brittle and patchy.
- Putting everything in the dishwasher: some plastics yellow faster when exposed to hot water, alkaline detergents and drying air.
A quick test on an inconspicuous spot (back, underside or inside) will show whether your chosen method agrees with the plastic. If the surface changes, turns matt or becomes blotchy, stop immediately.
Brightening yellowed plastic with hydrogen peroxide
Hydrogen peroxide - commonly sold as “hydrogen peroxide solution” or an “oxidising agent” - is among the most effective options for very light, heavily yellowed plastics, such as appliance housings in the kitchen or computer accessories.
What you’ll need
- Hydrogen peroxide solution (at your chosen concentration, usually 3–12%)
- Disposable gloves
- Cling film or a shallow dish
- A soft cloth or a brush
There’s no need to pick an unnecessarily strong concentration. For most household items, a mid-range strength is perfectly adequate. Stronger solutions are best left to experienced users and should only be used with extra care.
Step by step to a brighter white
- Give the item a basic clean first so grease and dust are removed.
- Apply the hydrogen peroxide evenly - with a cloth, a brush, or by placing the item in a shallow dish.
- Cover any areas that aren’t submerged with cling film so the solution doesn’t evaporate too quickly.
- Leave it to work for a while depending on the solution strength, checking regularly.
- Rinse thoroughly with water and dry.
“Patience pays off: it’s better to treat briefly more often than to go too aggressive in one go.”
On some plastics the process speeds up in sunlight; on others, a bright room is enough. The only reliable approach is to proceed gradually and watch how the material responds.
Toothpaste as a gentle polisher for switches and appliances
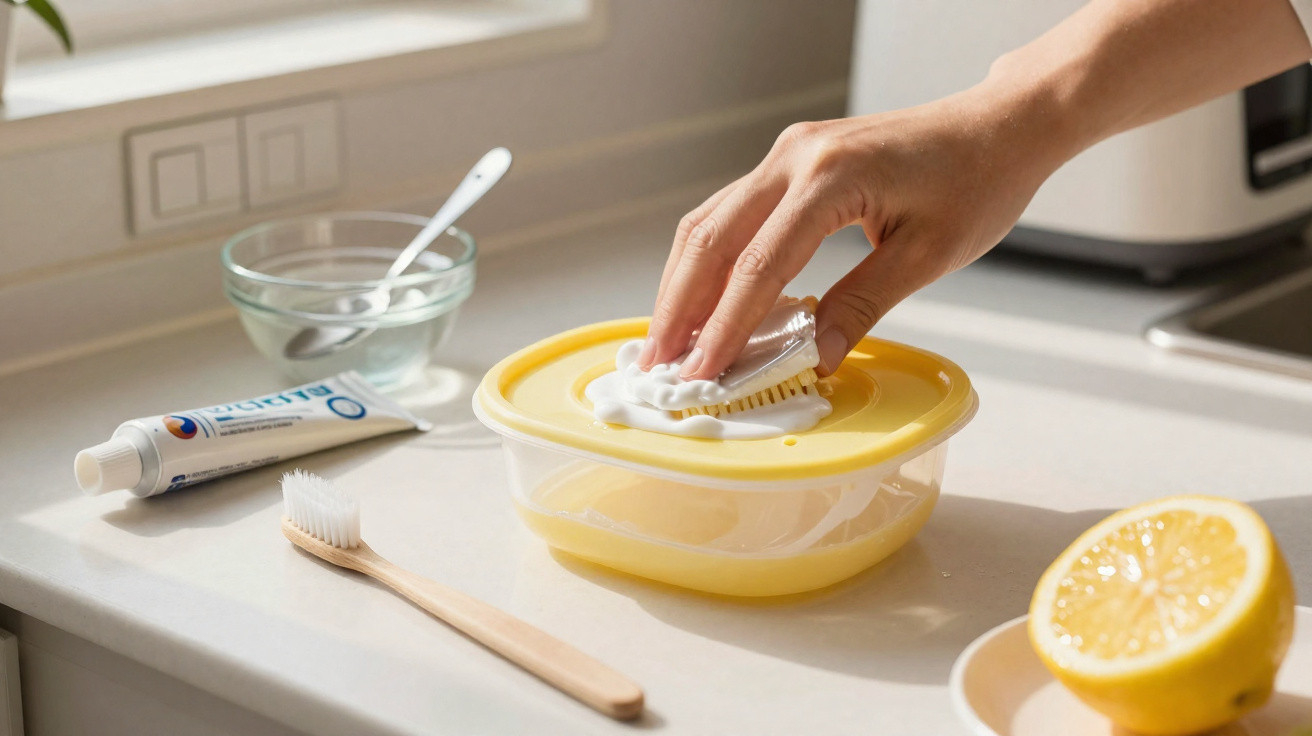
Ordinary toothpaste works like a very mild polishing compound. It’s ideal for freshening slightly yellowed or dull surfaces without sanding them down.
Which toothpaste works - and which doesn’t
- Best choice: mild white toothpastes without harsh granules.
- Less suitable: highly abrasive “whitening” pastes or products with coarse particles.
- Avoid: gel toothpastes with colourants that could stain the plastic.
Popular targets include light switches, remote controls, fridge handles and the front panels of small appliances. On deeply yellowed surfaces, this method has its limits - but it can still improve the overall look.
How to get the “polished” effect
- Put a small amount of toothpaste onto a slightly damp, soft cloth.
- Work the surface in circular motions without pressing too hard.
- Use a soft toothbrush for grooves and textured details.
- Remove residue thoroughly with a damp cloth, then buff dry.
If you notice the shine or texture changing significantly while polishing, stop - the plastic is probably too sensitive.
Talcum and starch as a “grease magnet” for dirty plastic
When grease is part of the problem, a blend of talcum powder and starch can help. These powders draw oily residue out of the surface, making the white look more even.
A simple paste for greasy film
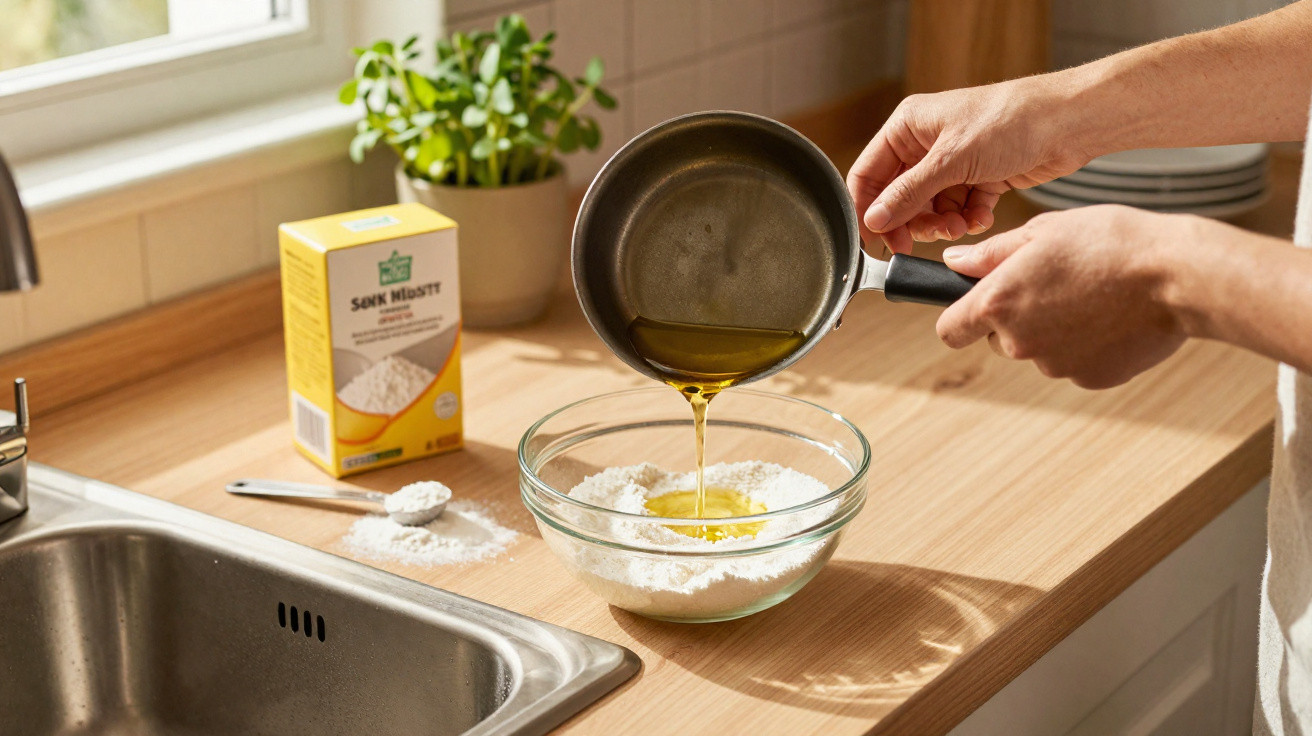
- 2 tablespoons talcum powder
- 2 tablespoons cornflour (cornstarch)
- Enough water to form a spreadable paste
- Optional: a splash of lemon juice
Apply the mixture to a dry, lightly pre-cleaned surface and spread it evenly. After 20 to 60 minutes (depending on how dirty it is), rinse it off with water.
“The paste acts like blotting paper for grease - the more calmly it sits, the more even the result.”
Always rinse thoroughly at the end so no powdery residue remains, which could later turn tacky or attract new dirt lines.
Lemon as a fresh finishing touch for odour and shine
Pure lemon juice - or lemon juice diluted with water - works well as a finishing step. The acidity loosens light deposits, neutralises odours and makes pale plastics look fresher.
When lemon is enough - and when it isn’t
- A good idea: slightly yellowed containers, plastic chopping boards, kitchen items with lingering smells.
- Limited effect: deeply set, older discolouration on appliances or switches.
- Extra care required: sensitive plastics or coloured parts you don’t want to fade.
Depending on the item, you can use neat juice, a juice-and-water mix, or combine it with a little table salt or bicarbonate of soda. Keep contact time short and rinse afterwards so the acid isn’t left on the material for too long.
How to keep plastic white for longer
If you want newly brightened plastic parts to stay lighter, a few small habit changes can make a noticeable difference day to day.
- Don’t leave appliances in direct sunlight for long periods.
- Wipe light switches and handles regularly with a mild cleaner.
- In the kitchen, clean up grease splashes promptly rather than letting them dry on.
- Don’t clean delicate plastics at unnecessarily high temperatures.
For certain outdoor items, a thin layer of specialist plastic care product with UV protection can also be worthwhile. It acts a bit like sun cream and can significantly slow the ageing process.
What to know before using household remedies
Not every stain can be removed completely. Some plastics have aged throughout, meaning the material itself has changed colour. In those cases, you can usually only brighten or even out the shade to a limited extent.
With hydrogen peroxide in particular: wear gloves, don’t inhale it or swallow it, and keep it away from children. On sensitive surfaces, lacquered parts or printed areas, it can do more damage than good - always test very cautiously on a hidden area first.
A patch test is also sensible with toothpaste or citric acid. What glass, ceramic or stainless steel easily tolerates can quickly cause scratches or matt patches on soft plastic.
Everyday practical examples
Common candidates for a refresh include:
- Light switches and socket surrounds in hallways or kitchens
- Housings of food processors, kettles or bean-to-cup coffee machines
- Plastic storage boxes, especially for pantry goods or freezer items
- Computer and console cases, keyboards and mouse shells
For heavily yellowed appliance casings, a combination can work well: clean thoroughly with a degreaser first, then treat with hydrogen peroxide, and finish with a little lemon. Slightly yellowed switches often look noticeably fresher with a mix of toothpaste and a bit of lemon water.
If you use these methods thoughtfully and quickly check how each item reacts, you can rescue many yellowed plastic pieces - and replace far less. That’s kinder to both your budget and resources.
Comments
No comments yet. Be the first to comment!
Leave a Comment