
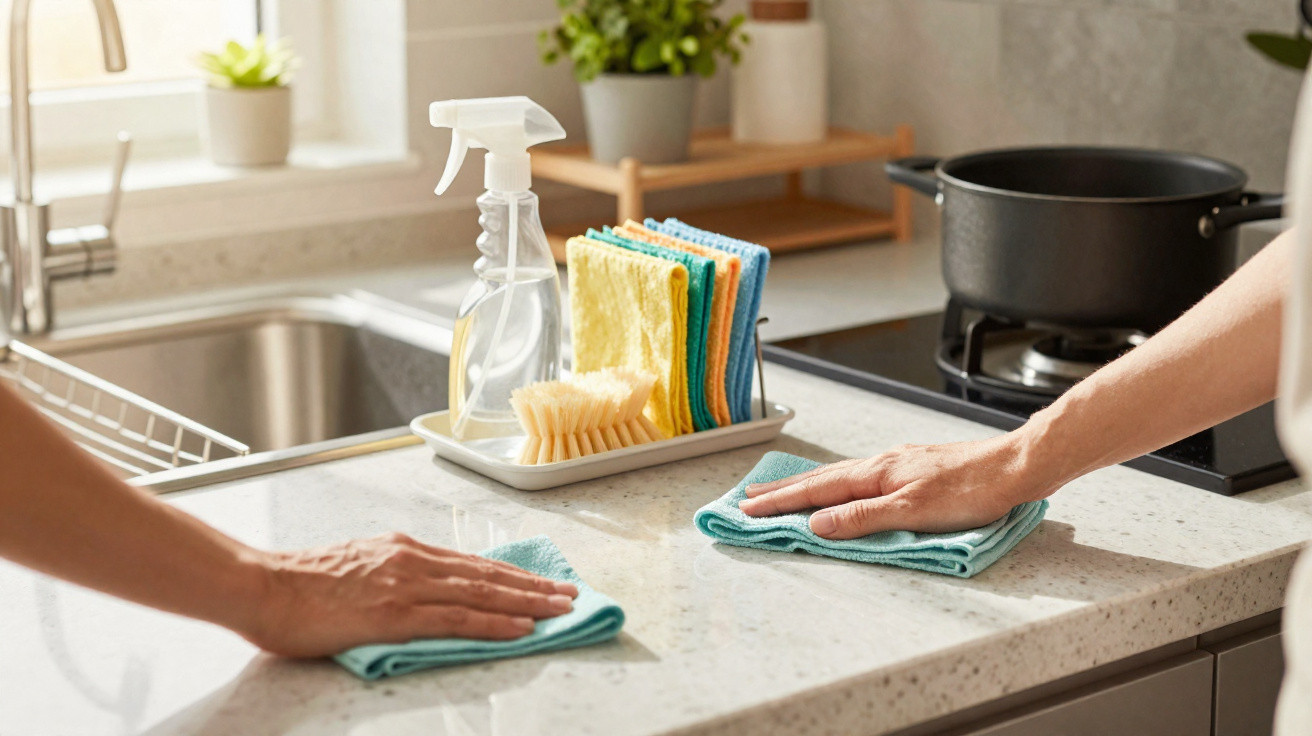
The worktop is only just sticky enough to get on your nerves. In the bathroom, there’s that faint limescale haze that makes it feel as though nothing is properly clean, even after you’ve scrubbed. You grab the sponge, put two things away, wipe one corner… then stall. You’re not sure where to start, or what will actually give you the biggest payoff first.
Most of us have had that moment where you spend an hour “cleaning” and, when you look back, the room only seems slightly less chaotic. You’re tired, you’ve worked up a sweat, you’ve even used that new mint-scented spray. And yet the surfaces still don’t have that smooth, crisp, almost glossy finish you see in adverts. So you start wondering whether the problem isn’t the product at all… but the order you’re doing things in.
This one sequence quietly changes everything
One thing stands out when you watch people who are genuinely efficient at housework: nearly all of them follow a kind of choreography. The same pattern, every time. They don’t just do “a bit of everything”. They start high, move across surfaces, and finish with the floor. Above all, they clearly separate the “sorting the mess” phase from the “cleaning” phase.
That isn’t obsessive tidiness for its own sake. It’s a way of avoiding going back to the same spot twice. Each action sets up the next. You clear clutter to open up the surfaces. You dust so grime doesn’t drop onto a worktop you’ve already wiped. You degrease before you disinfect. Your energy moves in one direction only. Nothing goes backwards.
A survey by the APPA (American Personal & Professional Cleaners Association) found that professionals save up to 30% of their time simply by sticking to a fixed sequence. One single mum in London, interviewed for the study, said she cut her Saturday “big clean” from four hours to two hours forty just by changing the order of her steps. No new products. No miracle gadget. Just a mental route: top to bottom, dry to wet, visible dirt to invisible germs.
In real life, it looked like this: she’d walk into the kitchen and, without stopping, scoop up anything that didn’t belong in that room into a basket. Only after that did she touch the surfaces. No washing up “between two WhatsApp messages”. One block to put things away, one block to wash, one block to wipe. Her brain stopped constantly switching gears. Her body did too.
It makes perfect sense when you think about it. When you mix tasks-some tidying, some washing up, some mopping-you create a “transition cost”. Your brain has to re-orient itself with every tiny change: posture, tool, product, goal. You burn out faster without really knowing why. It feels like you’ve run a marathon, even though the room barely looks different.
A single, consistent sequence cuts down that background noise. You always know what’s next. You can even set a timer and drop into it like a running playlist. And, practically speaking, surfaces end up cleaner because you’re not re-dusting them with dirt falling from elsewhere. Cleaning becomes less of a fight in every direction and more like a wave that moves forward.
The time-saving cleaning sequence, step by step
Here’s the sequence that genuinely changes the game in a kitchen or bathroom: 1) declutter, 2) dust and shake out, 3) degrease/remove marks, 4) rinse/damp-wipe, 5) targeted disinfecting, 6) finish with the floor. On paper it’s nothing revolutionary. But the order matters more than “miracle” products.
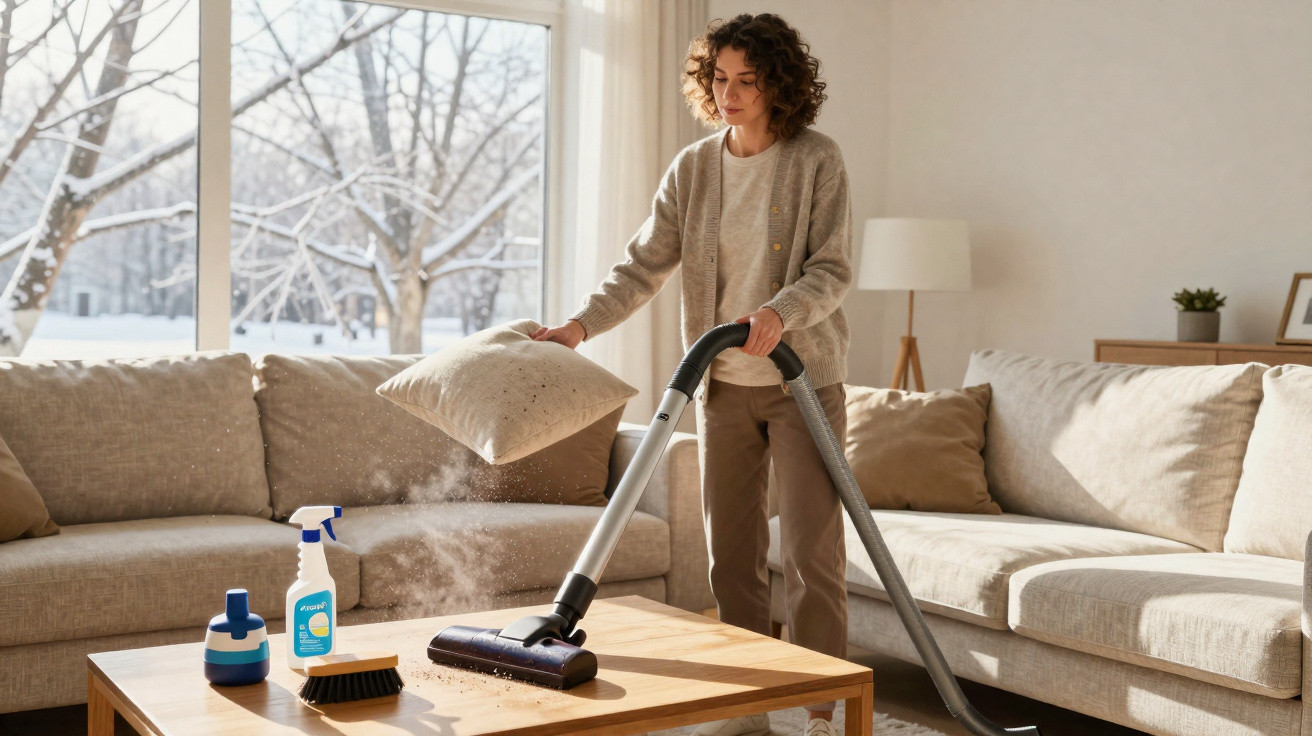
Start with a “transit basket”: everything that has no business being there goes in. No overthinking-just collect. Post, a toy, that dirty mug from the sitting room. You can drop them off elsewhere afterwards. Only then do you move onto the surfaces. Dust from the highest point down: shelves, tops of units, handles, splashback. Let the dust fall wherever it wants… you’ll deal with it at the end with a damp cloth and the brush.
Next comes the stage for products that are actually useful. Spot the greasy or marked areas: hob, sink, basin, around the taps, frequently touched handles. Spray your degreaser or your homemade mix (warm water + a little washing-up liquid or vinegar, depending on the surface). Leave it to work for at least 5 minutes-don’t start scrubbing like you’re doing hard labour.
While it’s dwelling, move on to something else: empty the bin, put a load of washing up on, fold a couple of tea towels. This is where you “find” time-because the product is working, not your shoulder. When you come back, the grease lifts in a few passes instead of a full-on battle. Only after that do you take the day’s clean damp cloth to wipe down, then you finish with the floor in one go. One room, one closed loop.
This sequence works in nearly every room, but there are a couple of common traps. First trap: trying to make everything perfect immediately. You start reorganising drawers in the middle of a “surface” session and you’re straight back into mental clutter. Second trap: using the same cloth for too long. After a while, you’re not cleaning-you’re spreading.
Let’s be honest: nobody truly does this every day. Nobody swaps out a microfibre for every square metre. You can stay realistic, but keep one simple rule: one cloth for “cleaner” surfaces (table, worktop you’ve already cleared), another for the tougher zones (hob, sink, bathroom), and a third for dry dust. Even if it’s not perfect, you’ve already prevented a big chunk of dirt transfer.
Another classic mistake is spraying, scrubbing immediately, then complaining that “this product doesn’t work”. Most cleaners need a bit of contact time. Let them sit while you continue your sequence. You get better results without adding minutes-you’re just placing the minutes more intelligently.
“The key isn’t cleaning harder, it’s cleaning in the right direction,” says Sarah, 39, a former hotel housekeeper who now works as a home organiser. “Once you’ve got your sequence, you can be tired, you can be rushed, and you still run through it. It’s almost muscle memory.”
To help you picture it, keep this loose, non-military checklist in the back of your mind:
- Remove anything that’s been left out, without stopping to do deep sorting.
- Dust top to bottom, dry, and let whatever falls fall.
- Spray anywhere that’s sticky or greasy-shiny, and leave it to work while you do something else.
- Wipe with a clean cloth, thinking “from cleanest to dirtiest”.
- Finish with the floor once, when everything else is done.
| Key point | Details | Why it matters to readers |
|---|---|---|
| Always start dry, finish wet | Begin with dusting, sweeping and shaking out textiles, then switch to sprays and damp cloths. Keep one cloth for dry dust and separate cloths for wet jobs. | It stops muddy streaks and that “grey film” on worktops, so surfaces look and feel clean rather than smeared. |
| Work top-to-bottom, left-to-right | Choose a starting corner, move across, then drop down a level and repeat, finishing on the floor. | You avoid re-contaminating areas you’ve already cleaned and you reduce the mental load of deciding “what next?” every 30 seconds. |
| Use dwell time to save time | Spray degreaser or bathroom cleaner and leave it 5–10 minutes while you take the bin out or clear another zone. | The product does the heavy lifting, so you scrub less and finish faster with fewer harsh movements. |
A sequence that frees your head, not just your countertops
Once you’ve tried “sequence cleaning”, something subtle shifts: you stop feeling guilty about every untouched corner. You know exactly what you covered today and what can wait until tomorrow. You can do one wave through the kitchen and another through the bathroom without that constant feeling of a never-ending job.
This approach doesn’t promise a Pinterest house 24/7. What it gives you is a framework you can drop into-even when you’re exhausted, even with children under your feet. You can do the short version (declutter + a quick wipe of the critical surfaces), or the full version when you’ve got more time. The skeleton stays the same.
And something happens almost without you noticing: surfaces stay clean for longer. Because you remove the greasy layer before you disinfect. Because you don’t drop dust back onto what you’ve already wiped. Because you’re no longer mopping in the middle of a crumb ballet.
Maybe the real revolution isn’t the latest ultra-tech spray, but this very simple line: the same order, the same direction, every time. Once your body knows the dance, you can put music on, let your mind drift, and move from one unit to the next. And later, when you place your hand on a smooth worktop, you can feel instantly that it isn’t “less dirty”. It’s clean-properly clean. Try it, tweak it, build your own version of the sequence, and see what it changes in your home on an ordinary Wednesday evening.
FAQ
- Do I really need separate cloths for each area? You don’t need a huge set, but using at least two cloths (one for “cleaner” surfaces, one for the really grimy zones) makes a real difference. You can simply pick two different colours and wash them together at the end.
- How often should I follow the full cleaning sequence? For most people, once a week is enough for the full version in the kitchen and bathroom. On other days, you can do a 10-minute mini-sequence: declutter, a quick damp wipe on the most-used areas, and you’re done.
- What if I only have 15 minutes to clean? Keep the same logic, just compressed: 3 minutes to clear what’s lying around, 5 minutes to quickly dust eye-level surfaces, 7 minutes to degrease and wipe the sink, table and hob. You keep the order, even if you don’t finish everything.
- Do I need special “pro” products for this sequence to work? No. Washing-up liquid, an all-purpose cleaner, optionally white vinegar (not on marble or natural stone), and a few microfibres are enough. The real magic is the timing and the order, not the label on the bottle.

Comments
No comments yet. Be the first to comment!
Leave a Comment