
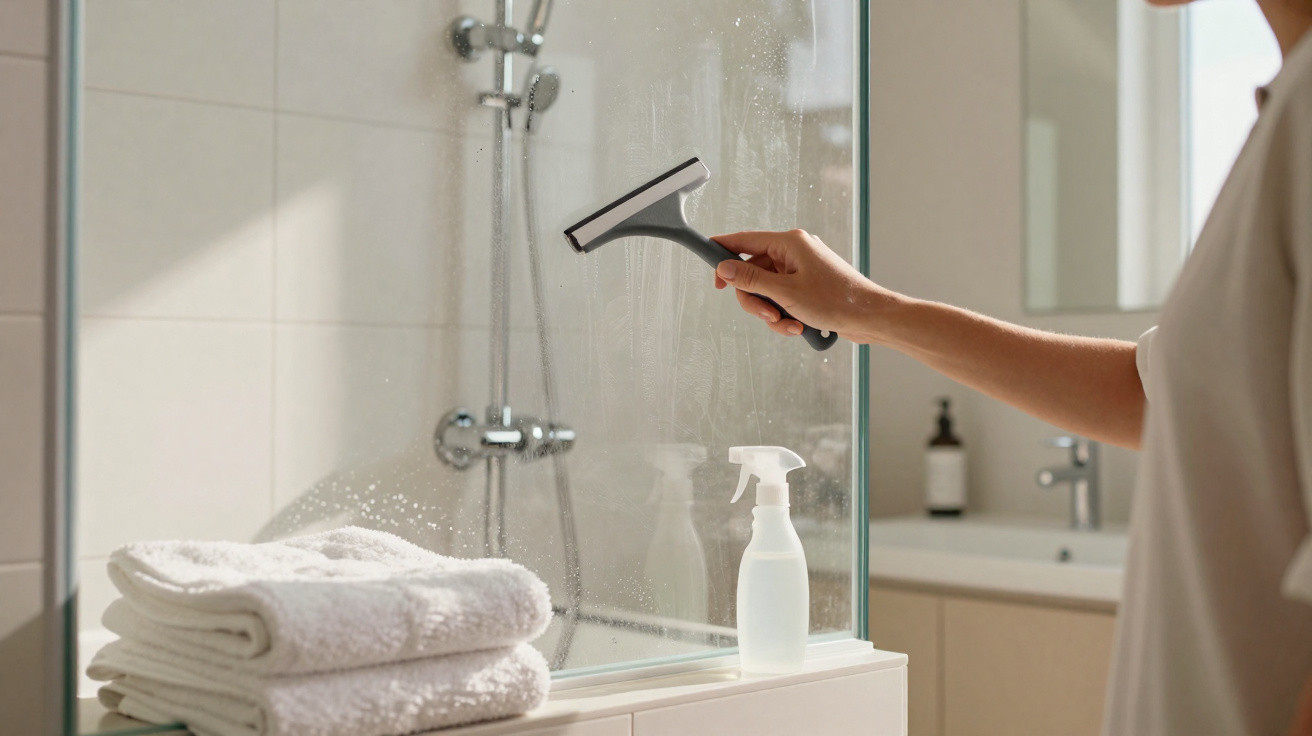
Walking into a well-kept hotel bathroom often prompts the same question: how do they get the glass shower screen to look so spotless, so clear, so “like new”? At home, you can feel as though you scrub until your arms ache, try pricey specialist cleaners - and still end up with that cloudy, dull grey film on the pane. The professionals’ method is surprisingly straightforward, inexpensive, and uses very little chemistry.
Why shower glass turns cloudy so quickly at home
For the hotel approach to make sense, it helps to understand what’s actually making the glass look so poor. Because it isn’t simply “a bit of dirt”.
Hard water: limescale as the main culprit
In many areas, tap water contains lots of minerals. When water evaporates on the shower screen, it leaves behind mainly calcium and magnesium salts. Those pale, hard deposits are exactly what later shows up as the familiar streaks and spots on the glass.
Over time, the residue can build into a proper crust. If you leave it too long, ordinary bathroom cleaners struggle to shift that layer. Even harsher products then tend to work only slowly or need a long dwell time.
Soap, shower gel and body oils: a sticky accelerator
On top of the limescale, there’s a second unpleasant layer: leftover soap, traces of shower gel, and body oils. Combined with mineral deposits, they create a greasy film that clings stubbornly to the glass.
This cocktail causes several problems at once: the surface looks dull and grubby, fresh limescale sticks more readily - and the shower screen can seem to lose its shine almost permanently.
| Substance causing the problem | Appearance | Can be removed with |
|---|---|---|
| Limescale | White, hard, rough on the surface | Acids such as vinegar or citric acid |
| Soap residue / oils | Grey, greasy film | Surfactants - i.e. degreasing cleaners |
That’s the key point: a single spray often struggles to remove both completely in one go. This is where many hotels rely less on chemicals and more on a particular tool.
The hotel secret: an unremarkable sponge with a big impact
“The trick used by professional cleaning staff isn’t in an expensive specialist bottle, but in a white sponge made from melamine resin.”
What’s really behind the “magic sponge”
The so-called “magic sponge” is made from melamine resin foam. In technical terms, it’s a plastic whose structure looks like extremely fine sandpaper under a microscope. Millions of tiny, firm fibres bite into the grime layer and lift it off the glass mechanically.
In everyday use, that means the sponge behaves like an ultra-fine eraser. It doesn’t grind away the glass itself - it removes only the surface layers of limescale and soap film sitting on top.
Mechanical cleaning rather than a chemical blitz
In hotels, time matters. Cleaning teams can’t apply ten different products and wait around for them to work. With a melamine sponge, they take a different route:
- Dirt is removed by tiny “micro-scrapers”.
- Strong chemicals are needed far less often.
- Taps, grout lines and glass can be tackled with a single tool.
The result is fewer products, lower costs, and quicker visible results. That’s why larger hotels in particular use this method widely.
How hotels use a melamine sponge, step by step
1. Wet the sponge properly
The sponge should never be used dry on the glass. It needs to be fully soaked with water and then gently wrung out until it’s only damp. Only then does the foam structure work at full strength and glide in a controlled way over the surface.
2. Use minimal pressure
Many people assume: more pressure equals a cleaner finish. With melamine, the opposite approach works better. Hotel staff rely on calm, circular movements with a light touch. The sponge does most of the work by itself; pushing harder simply wears it out faster.
“Gentle, even movements usually produce a better result than frantic scrubbing.”
3. Rinse the area thoroughly afterwards
Once the entire shower screen has been treated, a thin film of loosened residue and tiny sponge particles can remain. Staff rinse these away carefully with clean water. For a streak-free finish, they then use a squeegee to pull water downwards from top to bottom.
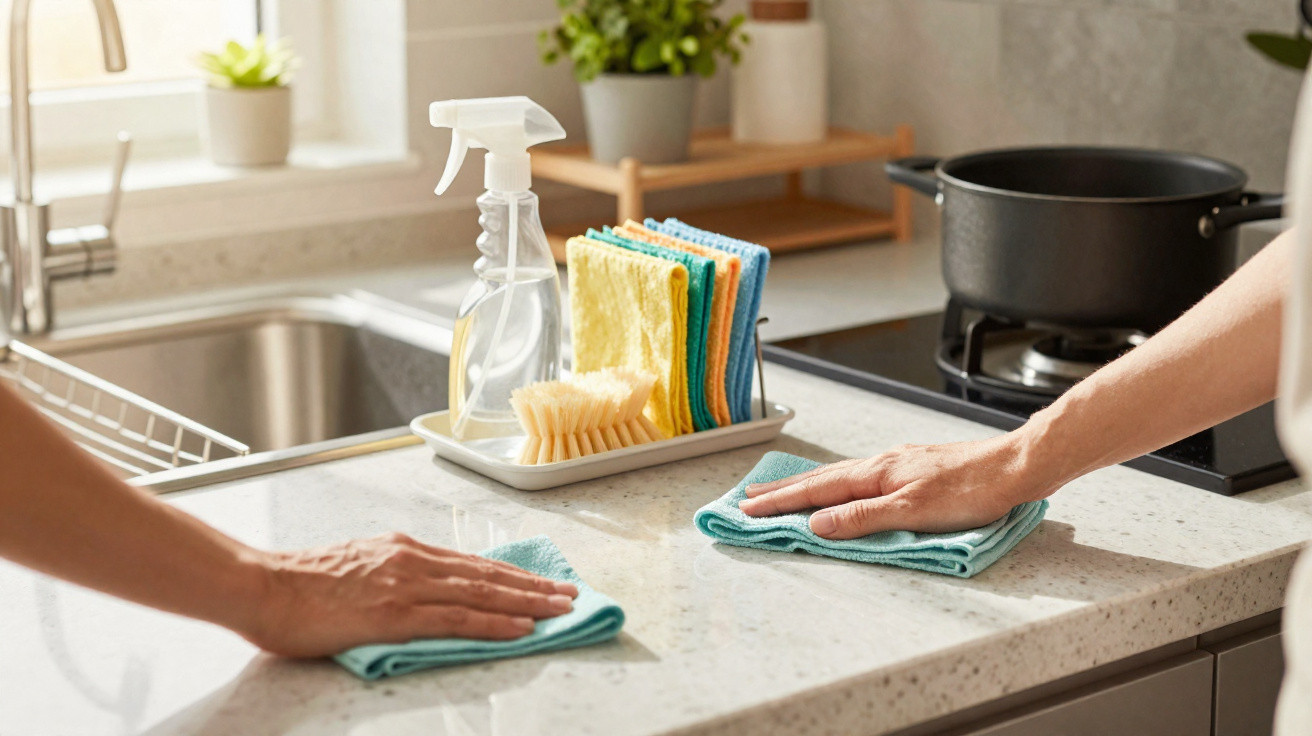
To finish, many housekeeping staff wipe over frames, edges and taps with a microfibre cloth. That’s what makes the shower enclosure look as though it has just been installed.
How to copy the professional trick at home
Where to buy melamine sponges
These sponges are no longer a secret product. You’ll find them in many chemists and supermarkets in the cleaning aisle, often in own-brand packaging. DIY stores and online retailers also sell them in larger multipacks. The exact name varies, but the white, slightly firm foam is usually the same.
A plan for a heavily scaled shower
If your shower screen has years of build-up, an effective approach is:
- Remove loose dirt and hair using a standard bathroom cleaner.
- Wet the shower screen.
- Run a damp melamine sponge over the glass in strips, focusing on the dull areas.
- Rinse the sponge in between so the pores don’t clog up.
- Finally, rinse everything well, squeegee off the water, and dry the edges.
You’ll usually notice a change after just a few minutes: the glass looks clearer, light reflects evenly again, and the characteristic milky haze fades away step by step.
Cost and environmental trade-off
Compared with specialist cleaners, the sponge is very inexpensive. One pack is often enough for many uses. At the same time, you can significantly cut down on strong cleaning chemicals, reducing the burden on wastewater and indoor air.
However, the trick isn’t completely “green”: melamine sponges are plastic and end up in the general waste once worn out. If you use them efficiently, avoid opening a new one for every small job, and also rely on gentler reusable options such as microfibre cloths, you can strike a workable compromise.
How to keep the glass clear for longer, like in a hotel
A daily 30-second routine with a squeegee
Cleaning professionals swear by one simple habit: pull water off the glass with a squeegee straight after showering. It takes barely 30 seconds, but it prevents most limescale marks from forming later.
If you make this a routine, you’ll only need the melamine sponge occasionally for a deeper clean - and you’ll save a lot of time.
Vinegar water as light limescale prevention
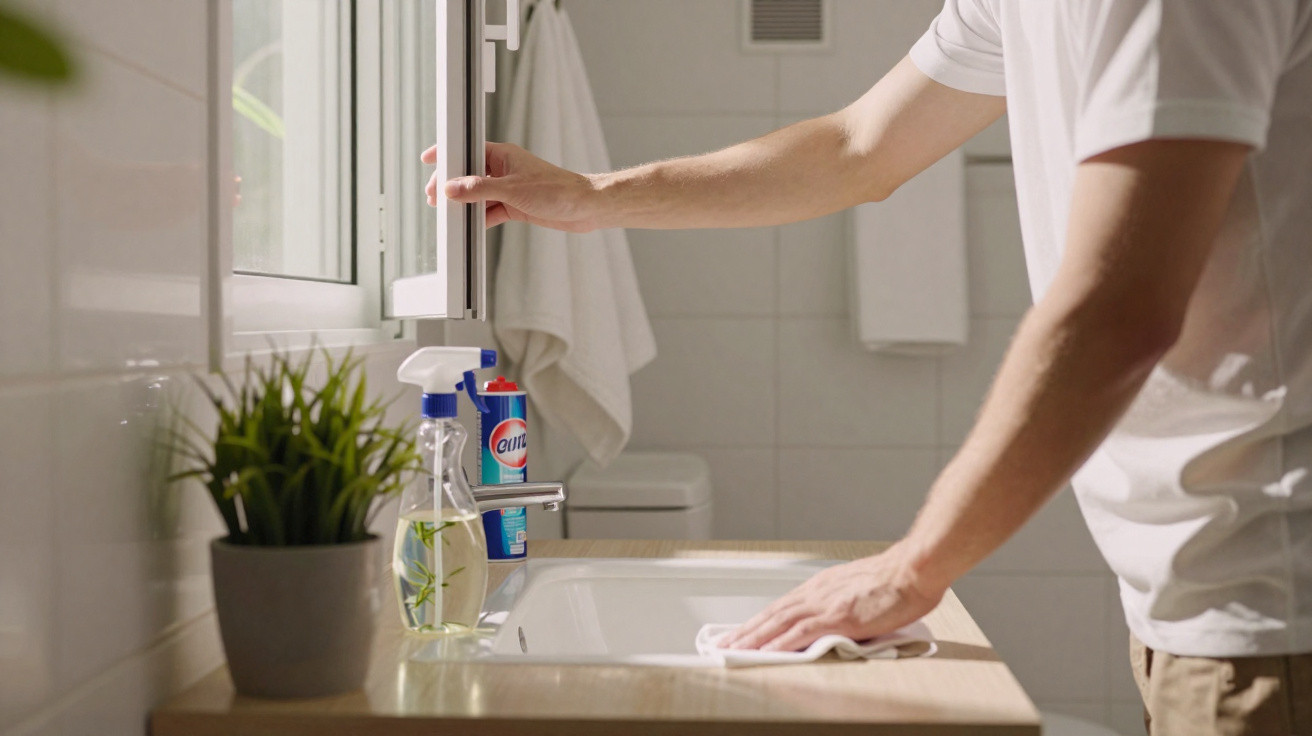
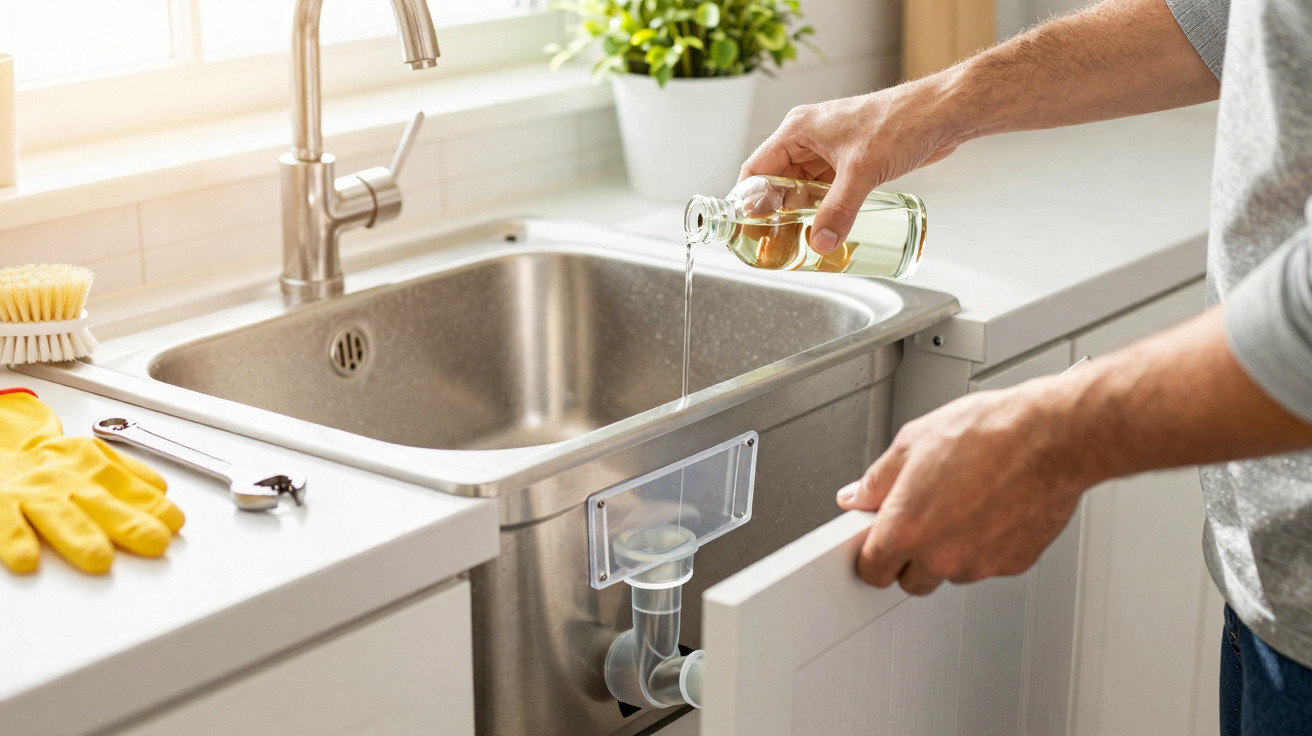
As an extra, it can be worth keeping a spray bottle filled with a mix of water and everyday household vinegar. A fine mist on glass and taps after use helps dissolve fresh mineral traces before they harden.
Vinegar isn’t suitable for sensitive materials such as natural stone, though. In that case, follow the manufacturer’s guidance and, if in doubt, switch to neutral cleaners.
Good ventilation to reduce damp and mould
Humid air doesn’t only contribute to limescale marks - it also encourages mould in grout lines and silicone. If you open a window after showering or leave the extractor running longer, the room dries out faster. The less time moisture lingers in the bathroom, the less often you’ll need stronger products.
What to watch out for when using a melamine sponge
Not every surface can handle micro-abrasion
Even though the sponge works very finely, it is still an abrasive. On high-gloss plastics, delicate paintwork or certain coatings, it can leave faint marks. It’s particularly well suited to glass, ceramics and robust tiles; on other surfaces, it’s best to test first on an inconspicuous spot.
Sensible combinations with other cleaners
In many cases, water alone is enough. If you need extra bite on extremely stubborn patches, you can briefly apply a mild bathroom cleaner beforehand and rinse it off again. The sponge then lifts the remaining residue without requiring litres of chemicals.
This creates a practical “toolkit” approach: light dirt handled with a squeegee and vinegar water, moderate build-up with a mild cleaner - and, for the bigger jobs, the hotel-style melamine sponge.

Comments
No comments yet. Be the first to comment!
Leave a Comment