
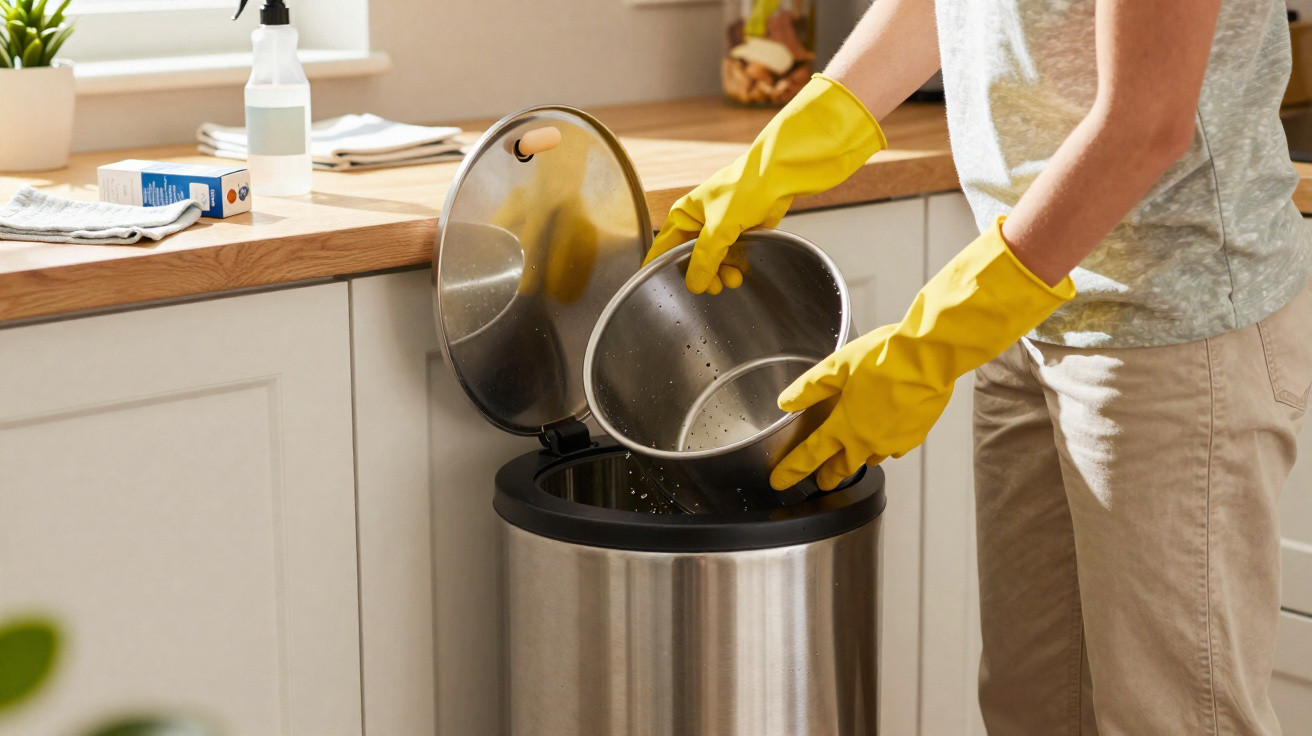
You wipe down the worktop, scrub the sink and mop the floor. Yet right beside it sits a quiet hygiene nightmare: the kitchen bin. In most homes, people simply swap the liner and flip the lid shut again. What is really going on inside is something many households completely ignore.
The underestimated dirt magnet in the kitchen
Using a bin liner can feel like a guarantee of cleanliness. The logic seems simple: if the liner protects the bin, the bin stays clean. In reality, that rarely holds true. Liners tear, slip out of place and leak. Liquid from food scraps almost always finds a way to escape.
That is where the trouble starts. Over time, a film builds up on the inside walls: grease, sauces, sticky juices and tiny food particles. It is an ideal environment for micro-organisms - warm, damp and full of nutrients.
"The kitchen bin is one of the dirtiest surfaces in the home - often noticeably more problematic than the toilet."
While worktops, the sink and chopping boards are cleaned routinely, the bin itself is often left untouched for months. On the outside, dust, splashes of cooking fat and fingerprints accumulate. On the inside, bacteria and mould spores can spread quickly.
One unmistakable red flag is the familiar “bin smell” that lingers even when the lid is closed. If there is a constant musty, slightly rotten odour around the bin, the container itself has already become part of the problem.
Why the bin should be cleaned weekly
Hygiene specialists advise that giving the bin a proper clean roughly once a week makes sense. At the latest, it should be done after three to four liners have been emptied. Many people are surprised by this, as they have been cleaning the bin only once a quarter - or even less often.
A practical compromise for everyday life: if weekly is not realistic, aim for a fixed fortnightly routine, assuming nothing has leaked. But one rule has no exceptions: if any liquid gets into the bin, or the liner has a hole, it needs cleaning immediately.
"Spilled leftovers must never sit in the bin for days - the smell and germ load then increases almost explosively."
Acting straight away saves you from unpleasant deep-clean sessions later and lowers the risk of mould, maggots and stubborn odours that can spread through the whole kitchen.
Step-by-step: how to get a kitchen bin properly clean
You do not need specialist equipment for a thorough clean. Most of what you need is already in a typical household.
A quick basic clean in six steps
- Empty the bin completely and remove any stuck-on bits - if needed, use disposable gloves and an old scraper or a piece of card.
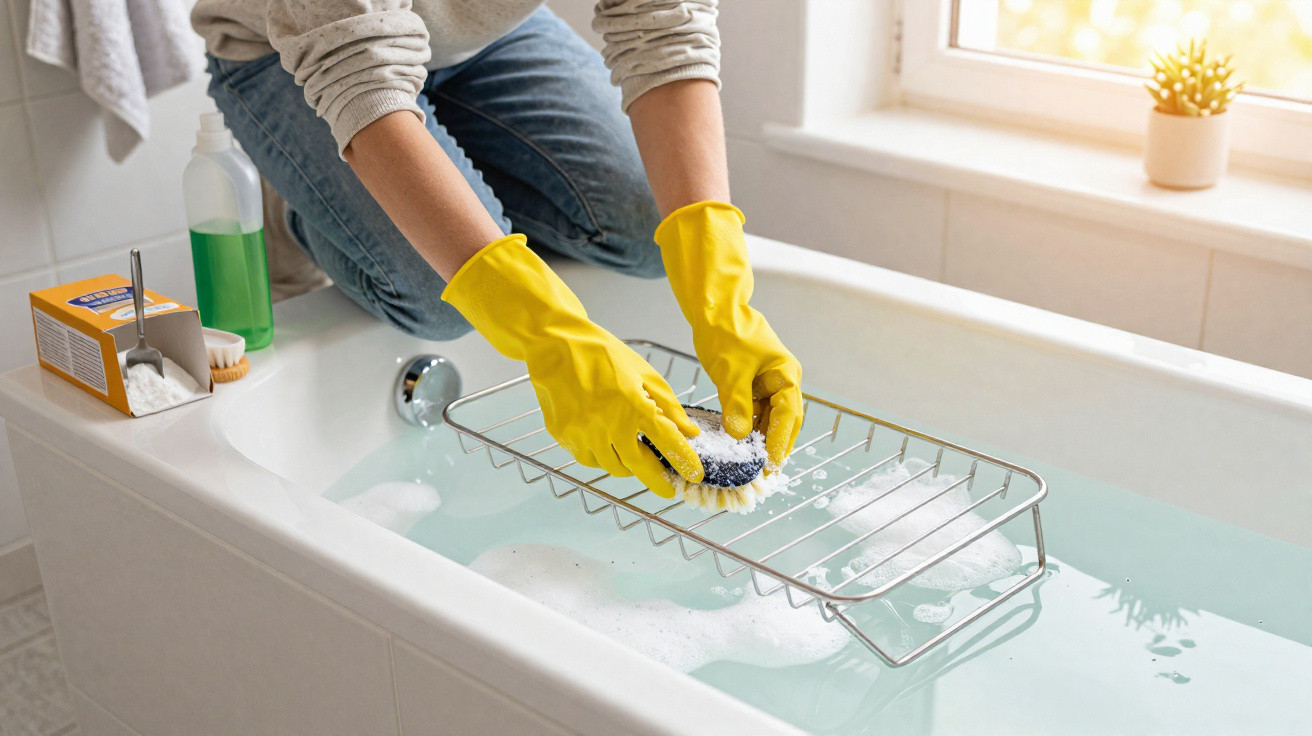
- Fill the container with hot water and washing-up liquid, or rinse it very thoroughly. Hot water helps cut through grease; washing-up liquid tackles bacteria that create odours.
- Spray a degreasing disinfectant cleaner over the interior surfaces and leave it to work for a few minutes.
- Rinse everything carefully until there is no visible residue and no chemical smell.
- Dry the bin completely - ideally with kitchen roll or a clean cloth - so no moisture is left sitting inside.
- Finish by wiping the outside with a damp cloth: lid, pedal and rim, as greasy films and grime collect there easily.
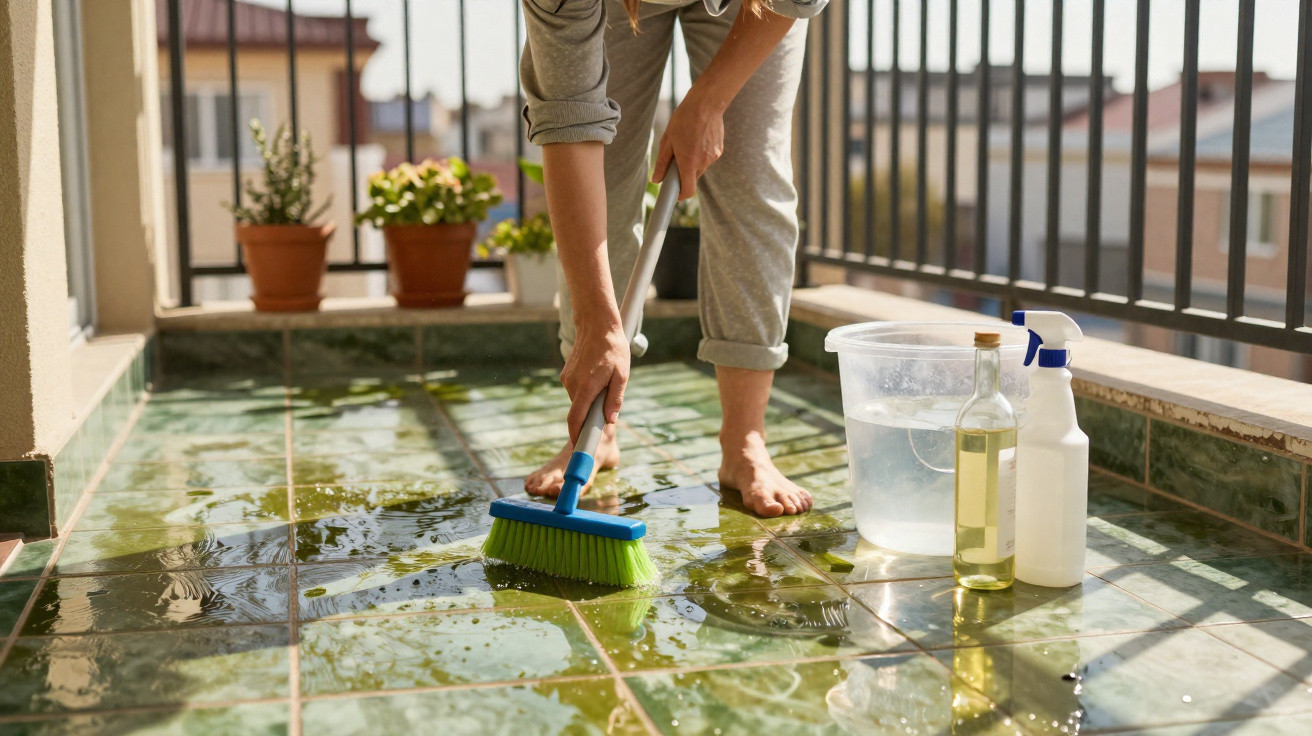
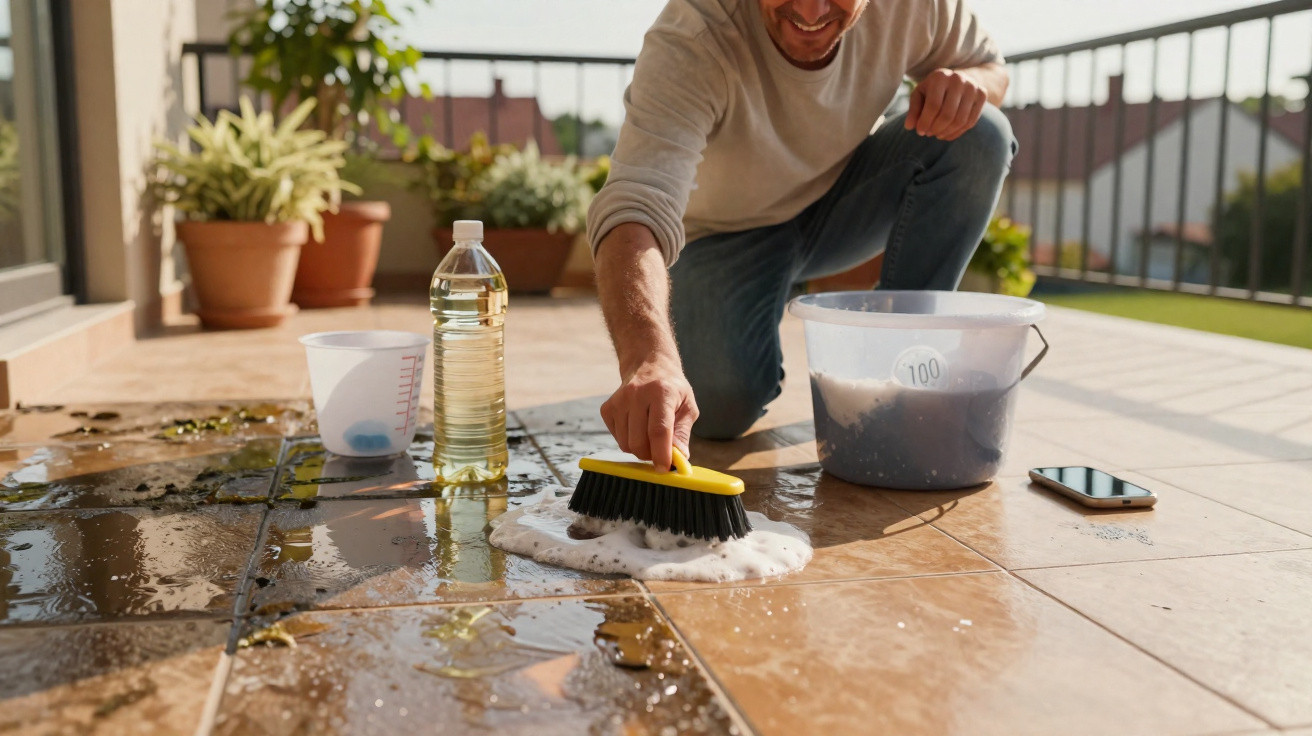
A handy trick: many people put the bin in the shower or bath and use the shower head. It makes rinsing far easier without soaking the whole kitchen area.
Mistakes that make cleaning harder than it needs to be
- Only rinsing the bin and skipping detergent - water alone will not remove a greasy film.
- Putting the bin back while it is still wet - dampness encourages new germs and mould.
- Masking strong odours with room spray - it does not remove the cause, it merely covers it.
Everyday habits that keep the bin cleaner for longer
If you want to scrub less often, start with what goes into the bin. Very wet and very greasy leftovers are the biggest culprits. They cling to the liner, seep downwards or leave slick streaks behind.
A few simple routines help a lot:
- Let very liquid scraps drain briefly first, or wrap them in paper.
- Once cooled, pour frying fat and leftover oil into a container and dispose of it separately rather than tipping it into the bin.
- Seal particularly smelly waste - such as fish, onion skins or old sausage - in an extra bag and take it out promptly.
What happens in your fridge also plays a part. As soon as food is visibly spoiled, the germ count and odour potential rise sharply. If rotten leftovers are rare, you will also need to reach for the sponge inside the bin less often.
How often the liner really needs changing
Many people wait until the liner is practically bursting. It may be convenient, but it is not hygienic. The longer rubbish sits in the bin, the more time bacteria have to multiply and smells have to develop.
"Better too early than too late: change the liner at two-thirds full - especially in summer."
In warm weather, contents turn quickly. Food scraps begin to ferment, maggots can develop and liquid gathers at the bottom. If you are a little more generous and replace the liner sooner, you usually notice within a few days that the kitchen smells noticeably fresher.
Compost, coffee grounds and more: what does not need to go in the bin in the first place
If you compost at home, you have a clear advantage. A large share of the smelliest part of general waste is made up of food scraps. The more organic waste goes into the compost, the more pleasant the kitchen bin remains.
Examples of waste that is easy to redirect:
- Coffee grounds and tea bags (without metal staples)
- Vegetable and fruit scraps
- Egg shells
- Leaves and flowers from wilted houseplants
Coffee grounds can also be used as fertiliser for some plants. Keeping them out of the kitchen bin also reduces moisture in the liner - an important factor in preventing mould and sudden odour blow-ups.
Health risks many people underestimate
A filthy bin is not just unpleasant because of the smell. Bacteria and fungi can settle on smeared surfaces and, in theory, be transferred to other areas - via hands, cleaning cloths or pets.
For sensitive individuals, young children or people with weakened immune systems, this exposure can be more concerning. Anyone handling an open bin and then failing to wash their hands may inadvertently move germs towards the fridge, chopping board or cutlery drawer.
There is also the issue of maggots and fruit flies. If the bin goes uncleaned for a long time and organic waste ferments inside, a single opportunity for flies to get in can trigger a full-blown infestation. In that sense, a weekly clean acts almost like insurance against a truly unpleasant moment.
Practical extra tricks for a more hygienic bin
If you want to reduce effort further, small add-ons can help. A few practical examples:
- Place a sheet of newspaper or kitchen roll at the bottom of the bin to catch minor leaks.
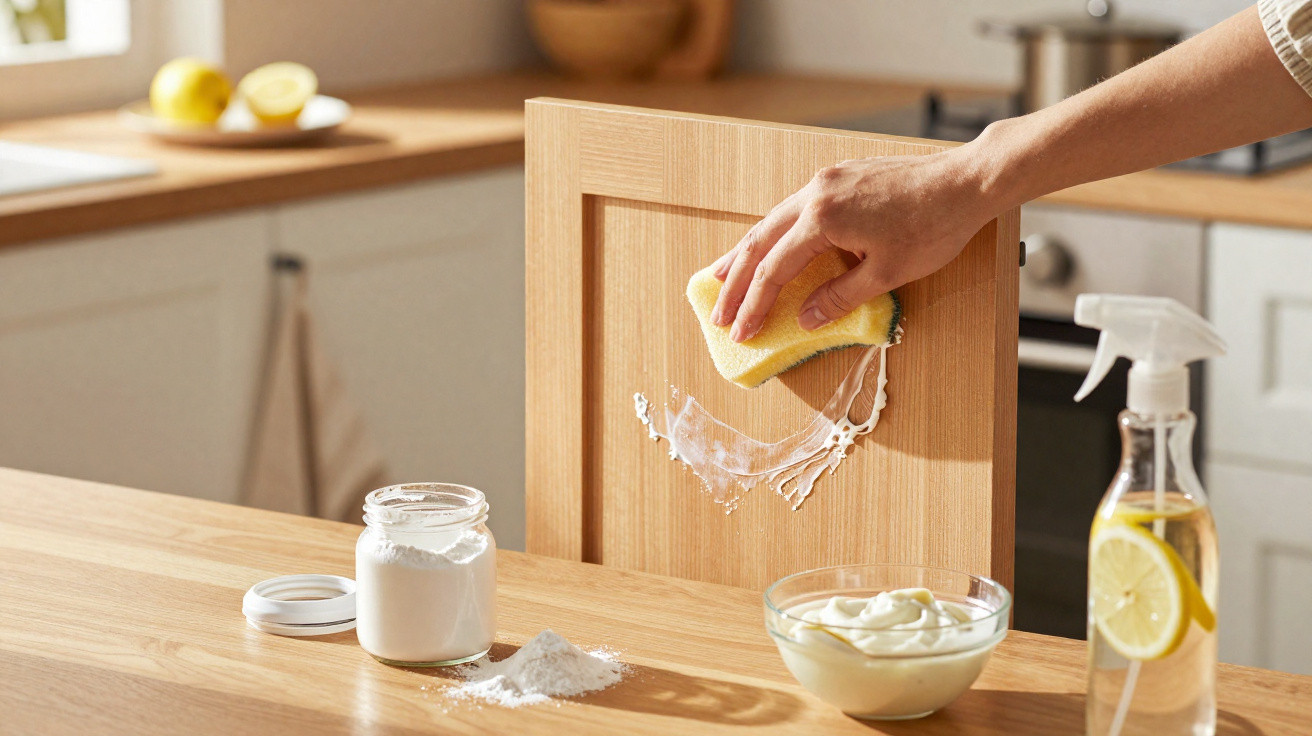
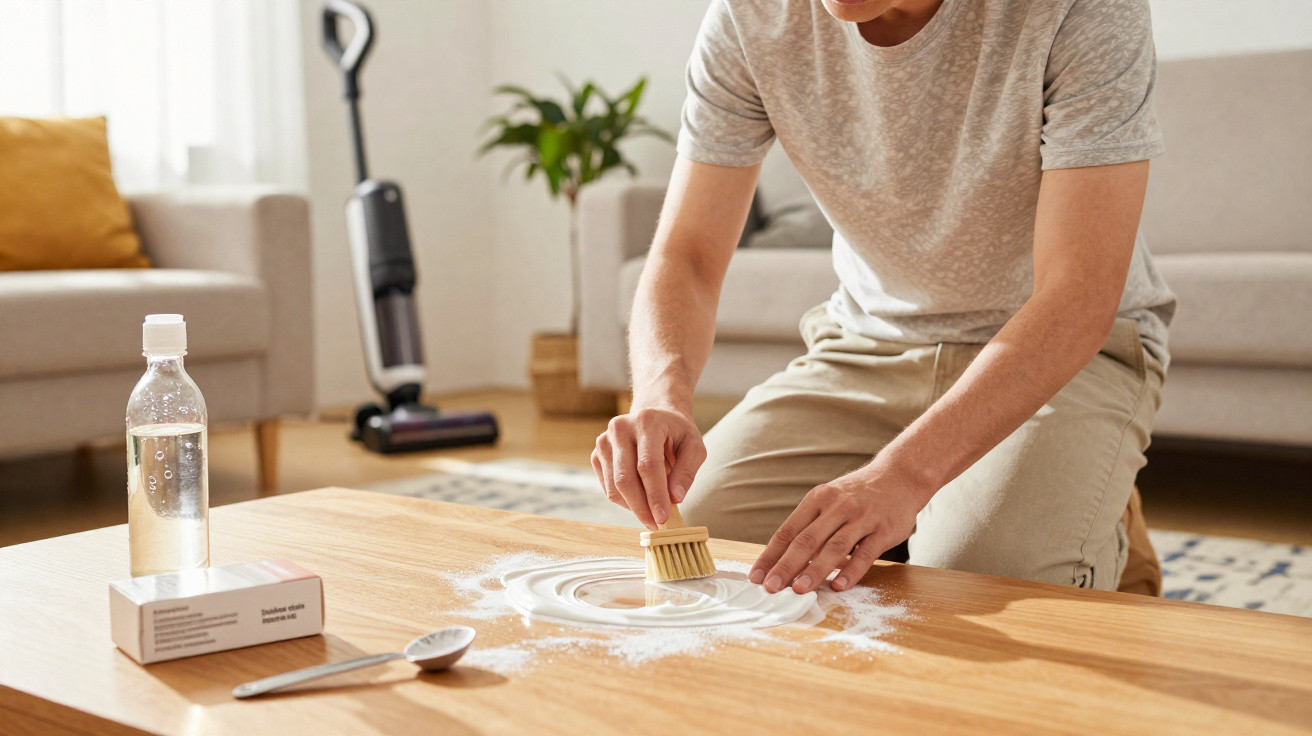
- Sprinkle a little bicarbonate of soda or baking powder on the bottom occasionally. The powder absorbs moisture and helps reduce odours.
- Wipe the inside of the lid with a mild cleaner whenever you change the liner - vapours and splashes often collect there.
If you use a pedal bin or sensor bin, do not overlook the pedal or sensor area. These parts are often touched with slightly dirty hands, making them a prime spot for germs to build up.
The liner itself matters too. Very thin or undersized bags tear more easily or slip down into the bin. Choosing a well-fitting, sturdy liner that overlaps the rim properly prevents a lot of mess from the outset.
Why this extra cleaning routine is genuinely worth it
Spending five to ten minutes a week on the bin may sound like added work. But after a few weeks, most people find the “ick” factor drops dramatically, the kitchen smells more neutral and dealing with rubbish feels far less unpleasant.
A clean bin reduces the overall germ load in the home, prevents stubborn odours and can even save time in the long run - because a lightly soiled container is far quicker to clean than a bin that has been left to build up grime for months.
Comments
No comments yet. Be the first to comment!
Leave a Comment