
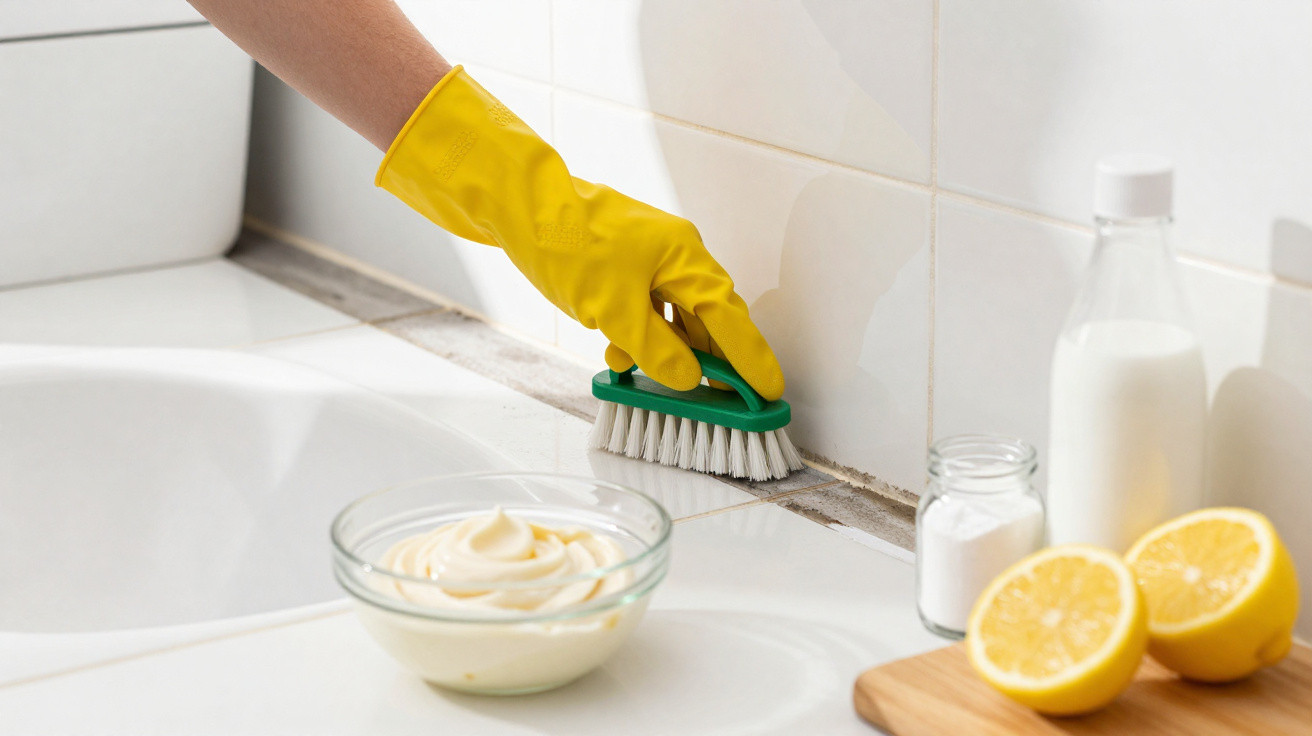
Reaching for a strong chlorine cleaner can backfire: sharp fumes, damaged surfaces and, in the worst cases, irritated airways. A straightforward blend of four everyday ingredients now claims something that sounds almost too good to be true - clean, noticeably lighter grout lines in about 15 minutes, without bleach and without pricey specialist products.
Why bathroom grout turns black so quickly
Grout is the weak point in almost any bathroom. Because it is porous, it absorbs water, holds on to soap residue and becomes an ideal breeding ground for mould and bacteria. Warm, damp air after a shower does the rest - dark patches are virtually inevitable.
Common triggers include:
- constantly high humidity in the bathroom
- airing the room too rarely or the wrong way
- residue from shower gel, shampoo and limescale
- microscopic cracks in the grout where dirt gets trapped
Traditional grout cleaners often rely on chlorine or harsh acids. They can be effective, but over time they may attack tiles, metal trims and silicone. That is exactly the problem the four-ingredient method is designed to avoid.
The quiet secret weapon: a mixture of four kitchen staples
“This simple combination of four household remedies breaks down black grout build-up in about 15 minutes - no chlorine, no acrid smell.”
This approach uses ingredients that many households already have to hand. It is intended to loosen mould, biofilm and grease without drying out the grout or etching it. You can tweak the exact amounts depending on how heavy the staining is.
Typical components of an effective grout mixture
Household cleaning experts often base these recipes on four broad groups of active ingredients:
- a mild alkali (for example, bicarbonate of soda or washing soda) to tackle grease and organic residue
- an acidic component (such as vinegar or citric acid) to shift limescale and soap deposits
- a gentle abrasive (e.g. baking powder or a fine scouring powder) for mechanical cleaning
- a surfactant add-on (such as a small squirt of washing-up liquid) to lift and emulsify grime
The key point is that none of these relies on chlorine or traditional bleaching agents. The cleaning effect comes from the combination - both chemically and through light scrubbing.
How to use the four-ingredient method properly
If you have never used a paste like this before, it helps to work methodically. That way you can judge the result, while keeping materials protected.
- Prepare the bathroom: Dry the shower or bath area, and remove loose dirt and hair.
- Mix the paste: Stir the four ingredients in a small bowl until you have a thick paste that will not immediately run off the grout.
- Pick a test spot: Try it first in an inconspicuous area to check the tile and grout tolerate the treatment.
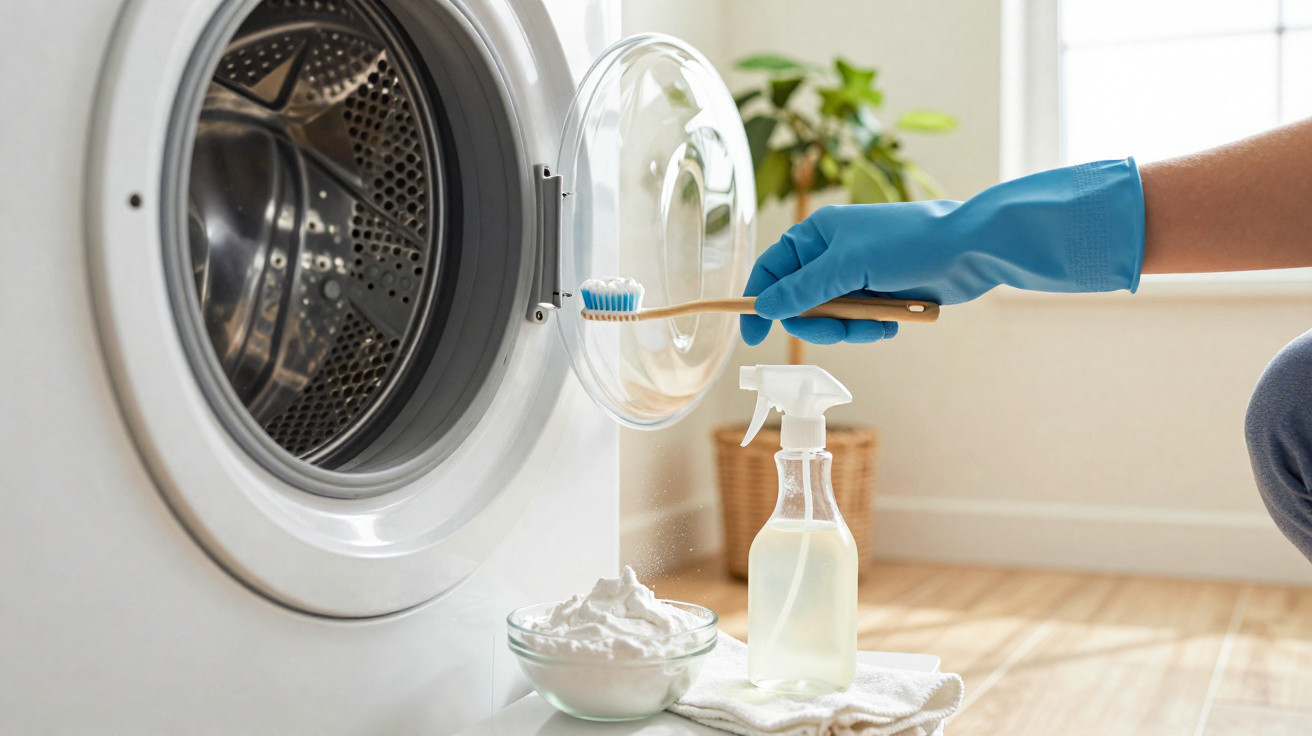
- Apply: Use an old toothbrush, a small brush or a narrow spatula to place the paste directly onto the grout lines.
- Leave to work: Wait around 15 minutes. During this time, mould and dark deposits start to loosen.
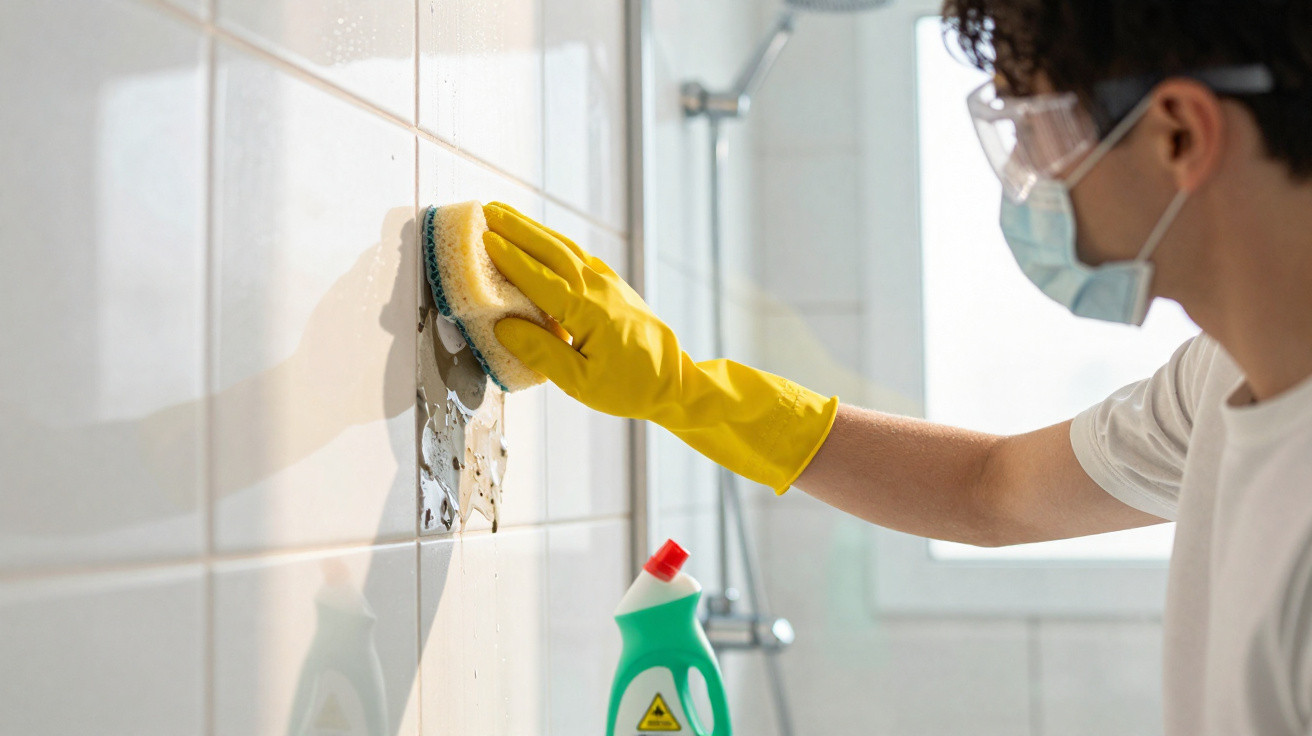
- Brush again: Work over the grout with the brush until the discolouration clearly fades.
- Rinse thoroughly: Wash everything off with warm water and remove all residue.
If your grout is heavily soiled, repeat the process a second time. In many cases, the improvement is already obvious after the first go.
How quickly you will see results - and why
The standout advantage of this method is how fast it works. The mixture acts in several ways at once: it loosens biofilm, attacks mould, removes limescale and supports mechanical brushing. That is why a relatively short contact time is often enough.
“Many users report visibly lighter grout after a quarter of an hour - without lots of scrubbing and without headaches from cleaning fumes.”
This does not “artificially bleach” the grout. Instead, it removes the build-up so the original shade shows through again, creating the impression of a freshly renovated bathroom.
Why this method is so inexpensive
Grout cleaners marketed as specialist products often cost noticeably more than standard multi-purpose cleaners. By contrast, the four-ingredient mixture is made from items that are typically already in the kitchen cupboard.
| Type of product | Cost per use | Notes |
|---|---|---|
| Specialist grout cleaner from the shops | medium to high | often contains fragrances and aggressive chemicals |
| Four-ingredient household mix | very low | ingredients are usually already available; can be topped up in bulk packs |
As well as saving money, it can save a trip to the DIY shop or chemist. Once you have adjusted the mix to suit your bathroom, you can make it up in minutes.
Gentle on surfaces, better for the bathroom air
Many people are sensitive to harsh cleaning products. Irritating fumes can affect the mucous membranes, and children and pets breathe the same air. The four-ingredient method avoids chlorine-based bleaching agents, which can improve indoor air and help protect tiles, grout and fittings.
It also fits well with day-to-day routines where more people are trying to be more sustainable. Less aggressive chemistry going down the drain and reusable containers for the ingredients can noticeably reduce environmental impact.
How often should you clean grout this way?
If the grout is badly discoloured, it makes sense to start with a thorough “deep clean”. After that, touching up once a month is usually enough - or more often if the bathroom is used heavily, for example in families with several children.
A quick “grout check” during the weekly bathroom clean can be useful:
- Are faint grey shadows starting to appear?
- Are there areas that stay stubbornly damp?
- Does the shower smell musty even though it has just been cleaned?
If you spot early signs like these, the four-ingredient mix often works particularly quickly because the dirt has not yet sunk in deeply.
Mould in grout: when does it become serious?
Light staining and surface mould can often be managed well with household methods. However, if grout is crumbling, blackened areas will not brighten at all, or the substrate feels damp, there is often a bigger issue behind it - such as a leaking shower screen or a construction defect.
In situations like that, even the best mixture has limited impact. The cause should be investigated and, if necessary, the grout replaced. A clean, dry base is essential if mould is not to keep returning.
Practical tips to keep grout lighter for longer
If you want the cleaning result to last as long as possible, a few small habits can help:
- After showering, use a squeegee to remove water from tiles and glass.
- Open the door or a window wide for a few minutes to clear moisture.
- Dry mats and towels regularly, and do not leave them sitting in the shower long-term.
- Once a week, do a quick pass with a softer grout brush, without strong products.
Small changes like these reduce overall moisture in the bathroom - and therefore reduce the conditions that allow mould spores to take hold.
What terms like “biofilm” and “mould” actually mean
When people talk about “biofilm”, they mean a slimy layer of bacteria, fungi and dirt particles that forms on surfaces. In grout, that film mixes with limescale and soap residue. That is exactly where the four-ingredient mixture comes in: alkali, acid, surfactants and gentle abrasion each target different parts of the film and lift it step by step.
In the Polish original, the word used here simply means mould. Mould spores are present in the air everywhere, but in bathrooms they become active because there is constant moisture and enough “food” for them. Regular, gentle cleaning can reduce spore build-up in grout - but mould growth can only be prevented long-term if moisture sources are consistently kept under control.
Risks and limits of household remedies in the bathroom
As convenient as DIY grout mixtures can be, they still require care. Strong acids at high concentration can damage natural stone, while very coarse abrasives can scratch delicate glazes. When combining products, you should also take care not to create irritating fumes - for instance by mixing strongly acidic and strongly alkaline substances.
A sensible approach is to start with a milder mix and plan for two rounds rather than expecting “maximum strength” immediately. A quick materials test in a hidden area will usually show whether your tiles, grout and seals tolerate the method well.


Comments
No comments yet. Be the first to comment!
Leave a Comment