
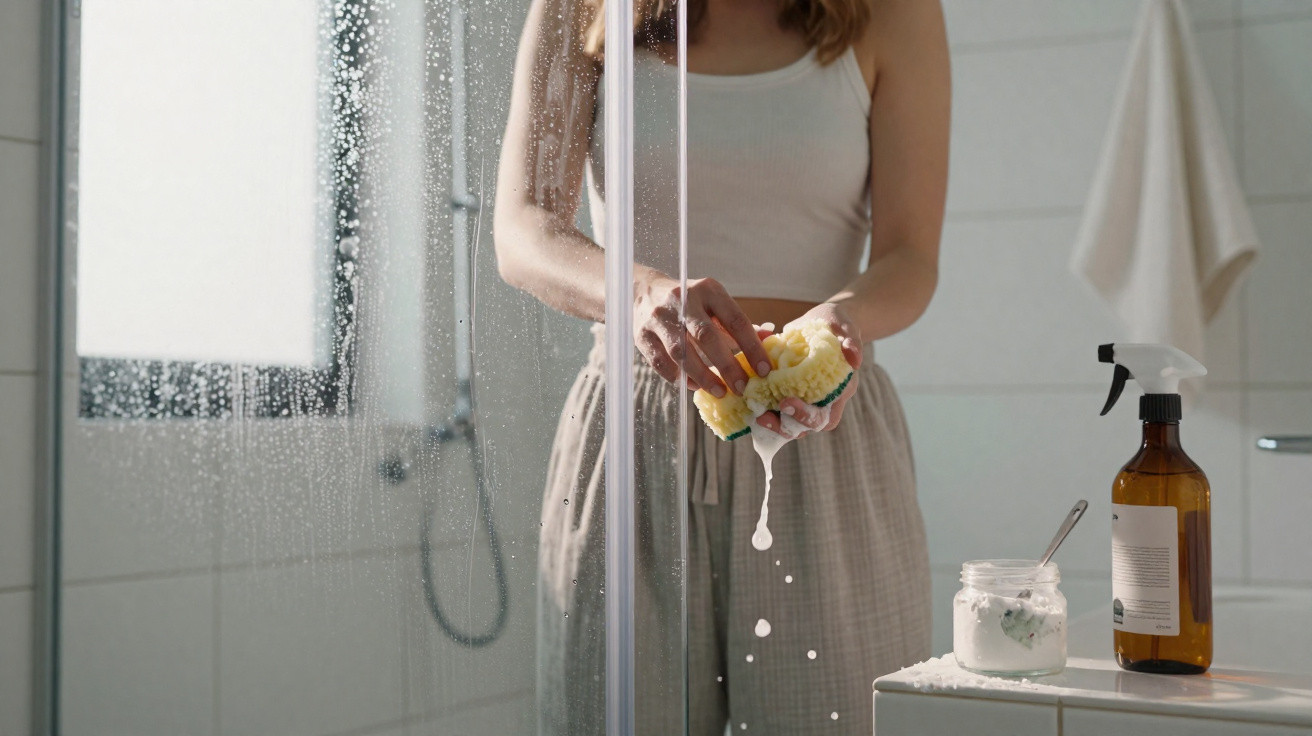
A cleaning specialist explains the real reason.
Videos on social media promise a miracle fix: sprinkle a bit of powder, wipe once, and the shower screen is meant to shine like new. In real bathrooms, it often ends with a stubborn film, limescale that still clings on, and growing frustration. A household and cleaning expert cuts through the myths around baking soda in the shower and shares an approach that’s far more manageable day to day.
Why so many people reach for baking soda first on the shower screen
Baking soda - best known in many kitchens as a raising agent - has built a reputation as an all-purpose helper: inexpensive, easy to buy, and widely seen as comparatively eco-friendly. It shows up in tip sheets for almost anything, from ovens to drains.
On paper, baking soda seems particularly convincing for a shower screen:
- it works as a mild abrasive and helps shift soap residue
- it can tackle stubborn limescale haze
- it’s neutral in smell and food-safe
- it avoids harsh industrial chemicals
The usual advice goes like this: mix baking soda with a little water into a paste, spread it on, leave it to work, then rinse away. For heavily soiled grout lines, many people make a stronger mix and scrub with an old toothbrush. In photo tutorials, the whole thing looks quick and nearly effortless.
"Baking soda can loosen limescale and soap residue very well - the only question is whether the effort stays realistic for everyday life."
Where baking soda on the shower screen falls short in real life
The concept sounds straightforward, but bathroom reality rarely is. A large glass surface, hot steam and limited time are not ideal conditions for paste-based cleaners.
The struggle with a slippery paste
Anyone who has tried to apply baking soda to a smooth, vertical surface will recognise the issue: the paste tends to slide down. You end up needing quite a lot, spreading it slowly, and some of it inevitably drops into the shower tray. There’s another catch too: to avoid white residue, you have to rinse exceptionally thoroughly.
That’s the sticking point. The method does work, but it is time-hungry. What should have been a quick tidy turns into a 30-minute deep clean. For many people, it’s simply too much to repeat every week.
When baking soda and vinegar cancel each other out
Another popular option is combining baking soda with white vinegar. It fizzes impressively, and on video it looks like a turbo-charged reaction. Chemically, though, something else is happening: acid and alkali partly neutralise each other. The result is a less punchy mixture that doesn’t clean as aggressively as many assume.
That’s why experienced cleaners tend to use baking soda in a targeted way: for very dirty grout, neglected corners that haven’t seen a brush in ages, or glass that has gone months without a squeegee. As a weekly routine, it’s only a limited fit.
Vinegar as a gel – a much more everyday-friendly approach
For regular shower-screen upkeep, more households are moving to a different principle: vinegar, but changed in form. Liquid vinegar runs down glass in seconds. That means it hardly stays in contact long enough to break down thick limescale, and it quickly feels like “nothing is happening”.
The trick is to turn the thin liquid into a gel that clings to the surface. A plant-based gelling agent from the kitchen, such as agar-agar, works well here. It thickens the vinegar without reacting with limescale itself.
How the vinegar gel works for a shower screen
The idea is simple: keep vinegar in place for as long as possible where the limescale sits. A typical home recipe uses a ratio of about 500 millilitres of vinegar to 2 grams of agar-agar, briefly heated and then left to cool. The result is a smooth gel.
Method for the shower screen:
- apply the gel to glass and grout using a sponge or brush
- wait 15 to 20 minutes so the acid can work
- rinse thoroughly with water
- wipe dry with a microfibre cloth
"The big advantage of vinegar gel isn’t the vinegar itself, but the extended contact time on the glass surface."
If you want, you can tweak the gel for specific issues: a little washing-up liquid for greasy, soapy films, or a small amount of lemon juice for extra shine. Overall cost and effort remain reasonable, and you can keep the mixture ready in a bottle in the bathroom.
Baking soda, vinegar gel or a ready-made spray – what suits which bathroom?
Not every flat, household or shower enclosure needs the same plan. In practical terms, it helps to choose based on condition and how much time you have.
| Condition of the shower screen | Suitable method | Effort |
|---|---|---|
| light water marks, weekly upkeep | vinegar gel or anti-limescale spray | low |
| noticeable haze, cleaned infrequently | vinegar gel with a longer dwell time | medium |
| heavily crusted limescale, old build-up | baking soda paste, possibly combined with vinegar gel | high |
| blackened grout, early signs of mould | concentrated baking soda solution plus a brush | high |
If you have very little time or don’t want to bother with mixing ratios, ready-made anti-limescale sprays still make sense. They often use acids similar to vinegar, but in industrially calibrated concentrations. Convenience is high; the downsides are usually a higher cost per use and a slightly greater chemical burden than the home-remedy option.
How to reduce the cleaning effort significantly over the long term
The best defence against limescale is simple: don’t let it harden in the first place. If you can manage a quick squeegee after every shower, you’ll have far less trouble each time you do a deeper clean. The fine water film won’t dry onto the glass; it goes straight down the drain instead.
Practical routines that have proved themselves in households:
- hang the squeegee somewhere visible in the shower rather than hiding it in a cupboard
- build a quick habit: the last person to finish wipes down glass and tiles
- once a week: use vinegar gel or a spray instead of just water
- for heavily scaled shower heads, soak them regularly in a vinegar solution
In areas with very hard water, it can also be worth looking into filters or water softeners. They reduce the amount of minerals that can settle on the glass in the first place. That doesn’t replace cleaning, but it can make it necessary much less often.
Where home remedies hit their limits – and what to watch out for
As popular as baking soda and vinegar are, they still need a bit of care. On natural stone - for example marble or certain limestone-based materials - vinegar can leave permanently dull patches. In those cases, it’s better to choose pH-neutral cleaners and, if in doubt, check the shower manufacturer’s guidance.
Glass isn’t completely indestructible either. Baking soda usually won’t scratch, but on very delicate coatings and with heavy pressure, fine marks can appear. A soft sponge and a light touch when scrubbing help avoid problems.
If you’re sensitive to strong smells or have breathing sensitivities, ventilate while cleaning or take short breaks. Vinegar fumes are far less harsh than many aggressive bathroom cleaners, but in a poorly ventilated bathroom they can still irritate.
Why the “perfect” trick matters less than a simple routine
The expert ultimately boils it down to a straightforward point: baking soda shows how powerful home remedies can be - but only if you have the time, willingness and energy for scrubbing. Vinegar gel, or a good anti-limescale spray, comes into its own when things need to be quick and the shower screen still has to look presentable.
If you choose a method that genuinely fits your day-to-day life, you’re more likely to keep it up and stop thick new limescale layers forming. In the end, it’s not the most dramatic product that keeps the shower screen clear, but the cleaning habit you can still manage even when you’re tired.
Comments
No comments yet. Be the first to comment!
Leave a Comment