
Many people reach for the washing machine on autopilot. A short cycle, 30°C, job done - or so they think. In reality, that habit quietly shortens the life of your favourite shoes. There’s a gentler, almost free way to clean white sneakers more effectively, keep them looking fresh for longer, and do it all without any specialist cleaner.
Why the washing machine secretly destroys your sneakers
Heat, friction, moisture: bad news for glue and stitching
Even when the care label suggests a gentle cycle, a washing drum treats sneakers like they’re sparring in a ring. Constant tumbling, paired with warmth and prolonged dampness, puts real strain on the materials. Glue points soften and lose their grip, while stitching is pulled in ways it was never designed to handle.
The result is predictable: the shoes may look clean when they come out, but they often end up with only a fraction of their original lifespan. First the sole starts to lift slightly, then a small split appears - and before long, they’re only fit for the bin.
The “clean” illusion: stains are pushed deeper
Wet fabric absorbs grime more readily - and that’s exactly what happens in a wash. Instead of lifting dirt away, the water often drives it further into textile or leather. Once the shoes dry, yellowish edges and dull shadowing appear, especially along seams and around the sole.
"What looks like ‘freshly washed’ later turns out to be the starting point for new, stubborn discolouration."
On top of that, detergent residue frequently clings to the fibres. Those leftovers attract dust and street dirt like a magnet. Your sneakers look bright for a moment, then seem to get dirty again even faster.
The better fix: a natural power duo from the kitchen
Sodium hydrogencarbonate: a gentle scrub with a brightening lift
Sodium hydrogencarbonate - more commonly known as bicarbonate of soda (plain, without additives) - is a true multi-tasker. Its fine crystals act like a micro-exfoliant for the surface, loosening grime from leather and fabric without scratching.
It also has a mild brightening effect. It helps shift the grey haze that builds up on white sneakers over time and can noticeably reduce light yellowing.
Black soap: deep degreasing that’s kinder to materials
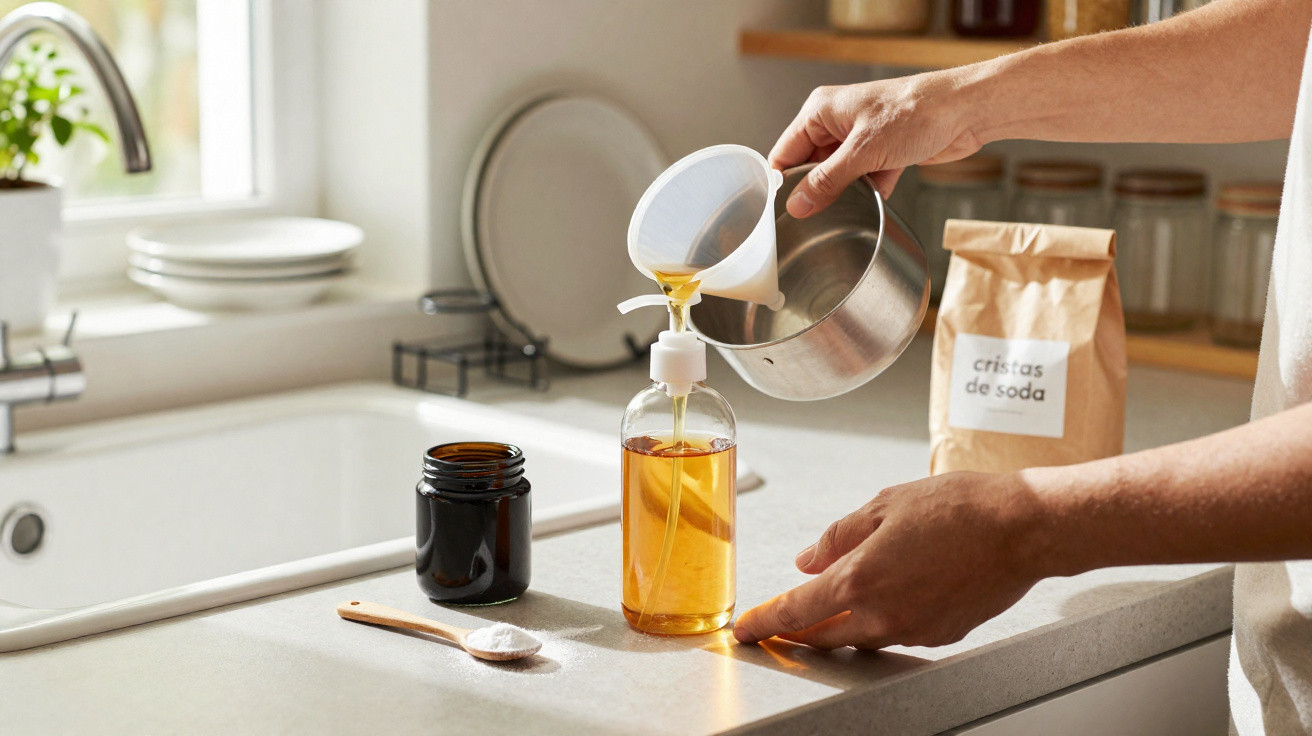
The second key ingredient is a soft, plant-based soap often sold as black soap. It’s typically made from olive oil or linseed oil. This traditional soap cuts through grease, road film, tar marks and grass stains surprisingly well.
Unlike harsh all-purpose cleaners, it doesn’t dry materials out. Faux leather, smooth leather and many textiles stay supple, and the shoes tend to look cared for afterwards rather than worn down.
"Using this duo is basically like bringing a small, eco-friendly shoe lab home - no chemical overload, no plastic clutter."
Recipe for the cleaning paste: two spoons, one bowl, done
For a standard batch that comfortably covers one pair of sneakers, you’ll need:
- 2 tablespoons sodium hydrogencarbonate (i.e. pure bicarbonate of soda)
- 1 tablespoon soft plant-based soap (black soap in paste form)
The right texture: not runny, more like toothpaste
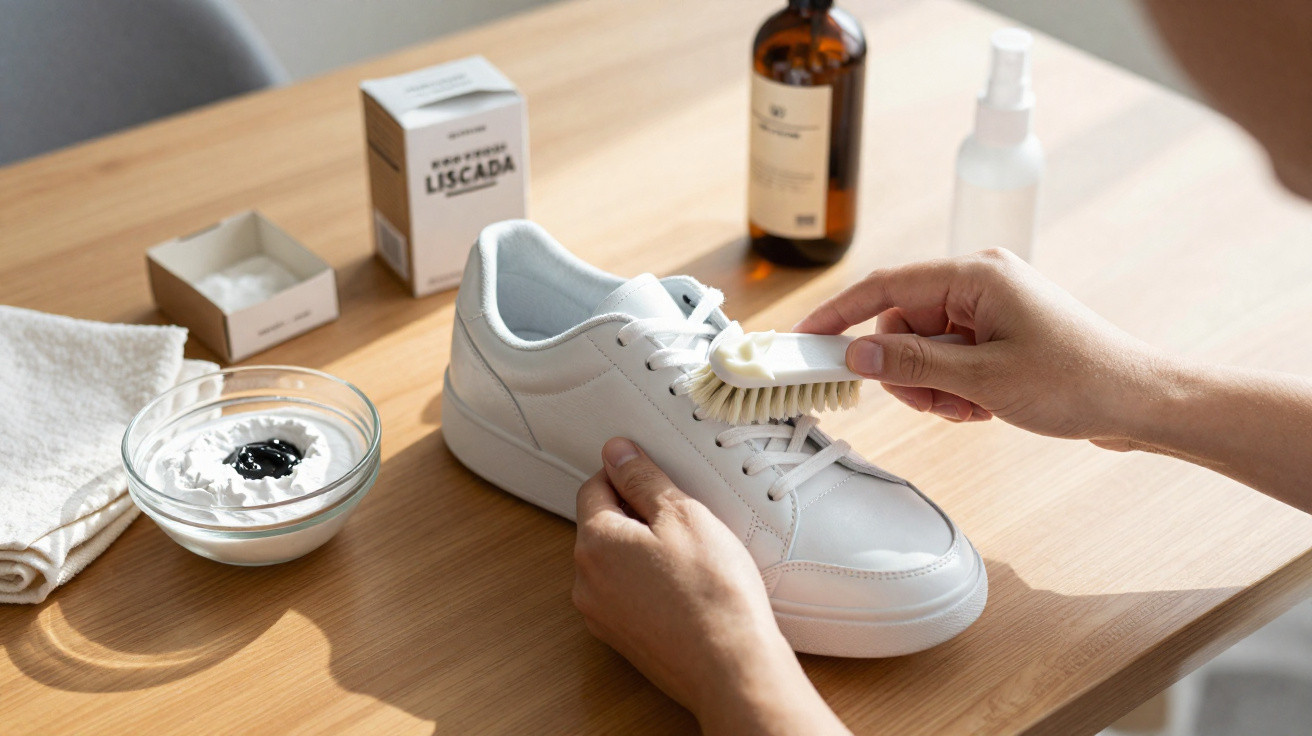
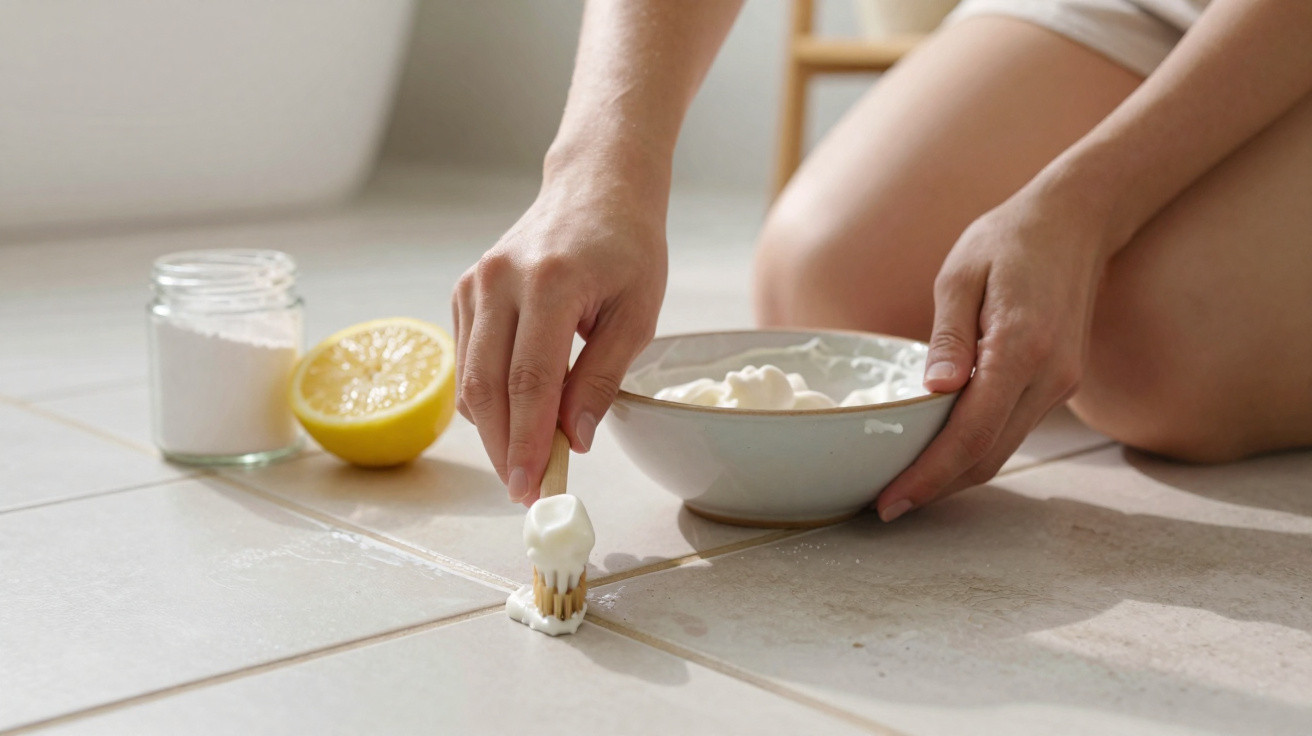
Mix both ingredients vigorously in a small bowl. You’re aiming for a thick, creamy paste - closer to shaving cream or a fat stripe of toothpaste than to soapy water.
If it becomes too thin, simply add a little more powder. A slight fizz while stirring is normal; it’s a sign the ingredients are reacting. The key point is that the paste should cling to the sneaker’s surface instead of immediately sliding off.
Why a thick paste makes all the difference
White sneakers don’t cope well with heavy soaking. That’s why this method works best with a compact paste: it tackles marks at the surface without saturating the entire shoe.
That way, stains lift without creating new tide marks inside the material. Moisture stays under control, and the shoe keeps its shape, colour and stability.
How to apply the method properly
Preparation and key areas
Start by removing the laces and insoles so you can reach every part easily. Brush off loose dust with a dry brush or wipe with a cloth.
For application, the best tools are:
- an old toothbrush, or
- a soft nail brush
Pick up a little paste and work it in using small circular motions. Be especially thorough on:
- the rubber sole and the join where it meets the upper
- yellowed side sections (the “midsole”)
- crease lines over the vamp where the shoe flexes as you walk
Leave it to work - the part where the paste does the heavy lifting
Once everything is covered, let the sneakers sit for around 15 minutes. During this time, greasy residue and road grime loosen while the powder’s brightening effect develops.
"The calmer you take this step, the less you’ll need to scrub later - the paste does most of the work for you."
Wiping and drying correctly: where most people go wrong
Skip the tap: lightly dampen a microfibre cloth
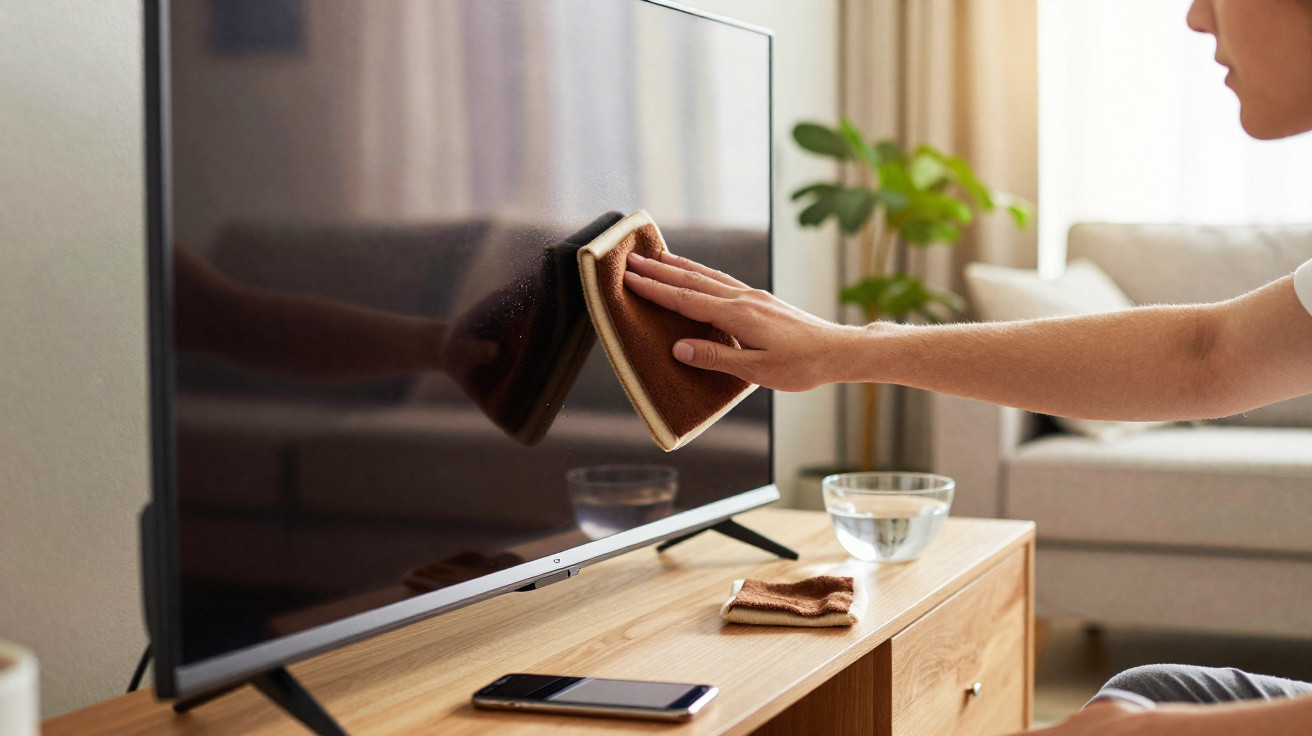
Don’t hold the sneakers under running water. That forces too much liquid back into the shoe and can cause fresh tide marks. Instead, dampen a microfibre cloth with clean water and wring it out well.
Wipe the paste away with gentle strokes, rinsing the cloth regularly. This removes residue without drenching the shoe. If a little powder collects in tight seam corners, use the brush with minimal water to lift it out.
Air-dry, don’t shock them with heat
Radiators, hairdryers and strong sun may feel tempting, but they’re tough on shoe materials. Heat dries leather and faux leather, encourages cracking, turns glue brittle, and can speed up yellowing on light areas.
A better approach is to leave the shoes to dry at room temperature in a shaded, well-ventilated spot. Stuff them with newspaper or other absorbent paper and replace it occasionally. This speeds drying and helps the shoes hold their shape.
How to keep your sneakers white for longer
A protective layer from a spray can
Once the shoes are completely clean and dry, it’s worth using an impregnation spray. It forms a thin barrier that helps repel water, dust and stains.
A few sprays every few weeks is usually enough. Give the can a quick shake, spray from a short distance, and let the shoes dry again.
A quick after-wear routine
If you do small touch-ups regularly, you can avoid big cleaning sessions. After a wet walk or a day in town, it’s often enough to:
- wipe off loose dirt with a damp cloth
- clean rubber soles with an “eraser” sponge or magic eraser
- air the insole occasionally or keep it odour-free with sodium hydrogencarbonate
This stops a thick film of grime from building up in the first place, so you’ll need the paste treatment far less often.
When the method works best - and when to be careful
Suitable and delicate materials
The sodium hydrogencarbonate-and-soap combination is particularly well suited to:
- classic canvas sneakers
- white rubber soles
- smooth faux leather
- smooth real leather with a durable finish
For very delicate materials such as suede, nubuck, or coated high-fashion sneakers, test first on an inconspicuous area. Apply a tiny amount, let it dry, and check that colour and texture remain unchanged.
Benefits for your wallet and the environment
Compared with specialist cleaners that often come in small plastic bottles and spray containers, this simple paste performs far better on waste and value. The core ingredients are useful for plenty of household tasks and don’t need to be bought just for sneakers.
Fewer bad purchases and less rubbish also mean you spend less and consume less - without giving up well-kept shoes.
How a cleaning trick becomes a style factor
White sneakers have long been more than sports shoes. They work with a suit at the office, a summer dress in the park, and joggers on a Sunday. Keeping them tidy makes you look instantly more polished and detail-aware - even if the rest of your outfit is intentionally relaxed.
With a bowl, two spoons and a few minutes, that effect is surprisingly easy to achieve. You can happily give the washing machine a rest - your sneakers will repay you with more brightness and a much longer life.

Comments
No comments yet. Be the first to comment!
Leave a Comment