
The shower enclosure is gleaming, the air smells of cleaner, and there’s that quiet satisfaction of a job done.
Half an hour later, the afternoon light hits through the window and ruins the illusion: dull patches on the tiles, chalky streaks, drip marks that make everything look dirtier than before you started. It’s infuriating. You scrub, you rinse, you wipe down-yet the wall or floor still looks like a neglected bathroom. If you live somewhere with hard, mineral-heavy water, you’ll recognise the pattern. If you rely on any “miracle” multi-purpose spray, you probably will too. What hardly anyone says out loud is that it’s rarely the grime itself. It’s what’s left behind afterwards. That’s where things get interesting.
Why do tiles look stained after you’ve cleaned them?
It’s easy to assume a “stained” tile just needs more elbow grease. In reality, what you’re seeing is usually the trail the cleaning process leaves behind: leftover product, limescale from the tap water, built-up soap, or grease that hasn’t been fully lifted. When light hits at an angle-especially side light from a window or a spotlight-every poorly rinsed droplet suddenly shows up.
The timing is deceptive. The moment you finish, the surface is still wet, so everything looks even. Only once it dries does the truth appear, brutally, as if the tile is exposing your method without mercy.
In home organisation consultations and professional cleaning work, this is one of the most common complaints. A cleaner in São Paulo once told me, with an awkward laugh, that she’d “lost” a client because the bathroom tiles went whitish every week, even after a spotless clean. In Curitiba, residents describe the same thing when the water is rich in minerals: a pristine shower enclosure, but dried droplets that sit there like tattoos. In older buildings, worn grout combined with very alkaline products can leave a dull halo around tiles-something people swear is stubborn dirt. Few connect those clues to how they dilute, rinse, and dry.
The explanation is far less glamorous than cleaner adverts make it sound. Almost every product leaves residue, especially when used neat or in excess. Tap water isn’t neutral either: it carries calcium, magnesium, chlorine, and more. If you wipe and let it air-dry, that mixture stays put as a thin film. Over time-layer upon layer-the tile loses its original sheen and starts to look permanently “marked”. And honestly, hardly anyone completes every step every single day. When life is busy, we skip the bit that doesn’t show immediately-then it charges interest later. Preventing marks isn’t only about “cleaning harder”; it’s about finishing the process properly.
The step-by-step routine that prevents marks before they appear
Professional cleaners tend to repeat the same mantra: clean, rinse, dry. It sounds obvious, but most households only do the first part. If you want tiles that don’t look stained after cleaning, the key is using less product and removing it fully from the surface.
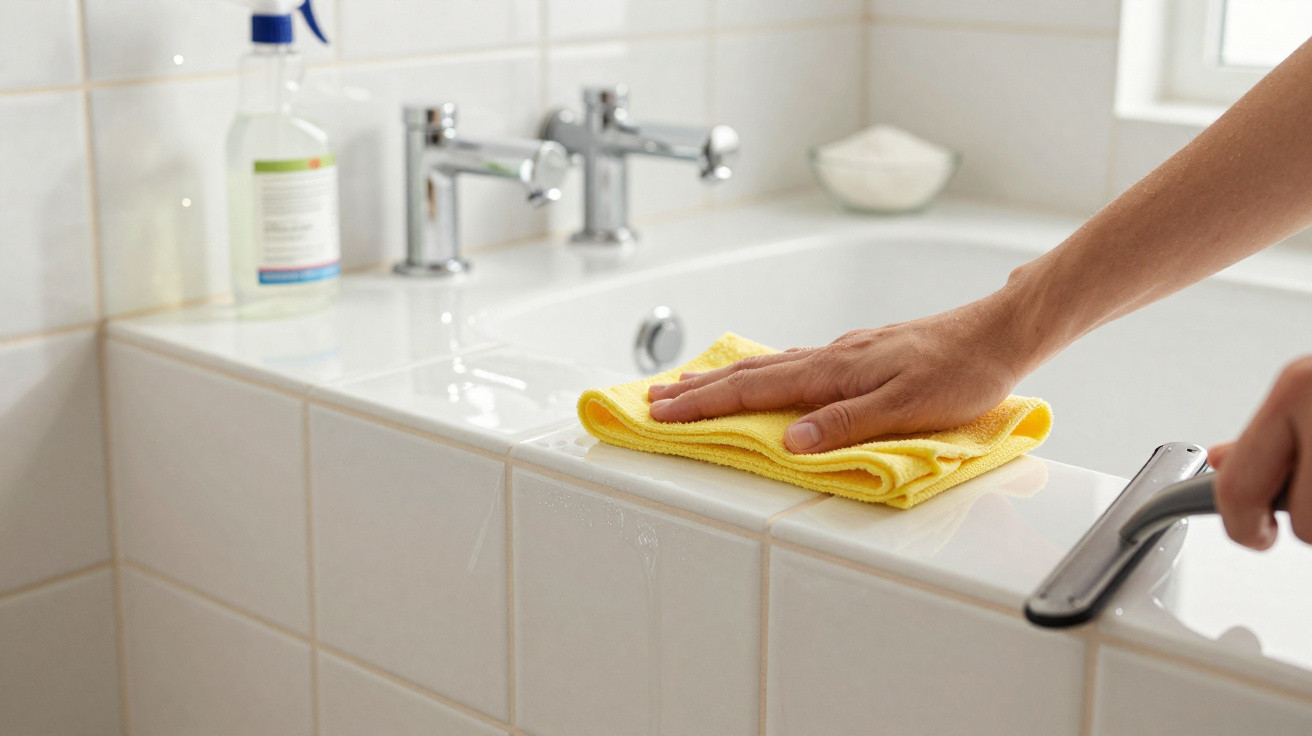
Using washing-up liquid or a degreaser diluted in warm water helps loosen grease and shower soap without brute force. After you’ve scrubbed, the stage that actually changes the outcome begins: a thorough rinse with clean water-ideally by wiping again with a damp microfibre cloth that’s been dipped in plain water only. Then comes the “final scene” almost everyone overlooks: drying. A dry cloth or a rubber squeegee removes excess water before it can evaporate and glue minerals and residue onto the tile.
In the rush of daily life, someone finishes a shower, sprays a “bathroom cleaner” onto the enclosure, splashes a bit of water over it, and moves on. When the marks show up later, the blame lands on light-coloured tiles, old grout, or a “bad product”. Others assume stronger chemicals mean better results-then it’s acid on top of acid, bleach mixed with everything, a sort of at-home lab that simply wears the surface down.
We’ve all had that moment where you look at the tile and think: I’ve just cleaned this-how can it look like this? Rather than questioning your ability, tweak the method: fewer chemicals, more rinsing, and a quick pass with a dry cloth at the end. It may sound fussy, but it completely changes how the tiling looks.
A building maintenance specialist often puts it like this: “Product cleans, water carries it away, a dry cloth saves the shine.” It’s straightforward, but it does require intention. To make it realistic day to day, it helps to treat it as a few quick rituals that slot into routine-without turning into a two-hour deep clean.
- Always dilute products and follow the label guidance to avoid a sticky film.
- Choose microfibre cloths, which grip residue rather than just pushing it around.
- After a shower, run a squeegee down the shower walls in under a minute, removing water before it dries into spots.
- Keep one dry cloth purely for finishing the tiles, lightly buffing the areas most exposed to light.
- Once a week, do a “rinse reset”: clean as usual, then rinse generously, as if you’re clearing the surface back to neutral.
Stain-free tiles: a visual habit, not an obsession
Once you realise most marks appear during drying, you start looking at the bathroom, kitchen, and utility area differently. It’s not about living with a sponge in your hand; it’s about adjusting the last part of the motion.
People who get into the habit of squeegeeing the shower enclosure after each wash often notice within days that dried droplets almost disappear. Those who cut back on product and strengthen the rinse see the surface reflect light more evenly again. That “truly clean” feeling stops depending on a harsh disinfectant smell and starts being about the smooth, residue-free texture you can feel as your hand glides over the tile. Small new habits replace the old tricks that only ever disguised the issue.
| Key point | Detail | Benefit for the reader |
|---|---|---|
| Control product use | Always use cleaners diluted and in small amounts | Prevents a dull film and chalky marks after drying |
| Rinsing and drying | Remove excess with clean water and finish with a dry cloth or squeegee | Keeps tiles looking clean for longer, with an even shine |
| Light, consistent routine | Add small daily actions, like pulling a squeegee down after showering | Reduces effort in bigger cleans and prevents build-up of stubborn marks |
FAQ:
- Question 1: Why do my tiles go whitish after I’ve cleaned them?
Answer: It’s usually cleaner residue plus minerals from the water drying on the surface. Without proper rinsing and drying, that mix creates a dull veil-especially in shower areas or anywhere grease is present.- Question 2: Does cleaning with just water fix the marking problem?
Answer: Water alone shifts light dust, but it won’t properly dissolve grease or shower soap. The best approach is a small amount of well-diluted product, then a clean-water rinse-using water as the “carrier” that takes away what the product has loosened.- Question 3: Can I use vinegar to prevent marks on tiles?
Answer: Diluted vinegar can help dissolve limescale and water marks on standard ceramic tiles and porcelain. It isn’t suitable for natural stone or delicate surfaces. Always test first in an inconspicuous spot.- Question 4: Does a dry cloth really make a difference, or is it overkill?
Answer: It makes a big difference. Using a dry cloth or squeegee stops water with residue from evaporating on the tile. That dramatically reduces marks, especially on glass shower screens and walls that catch more light.- Question 5: How often should I do a “deep” tile clean?
Answer: It depends on how the space is used. In bathrooms with daily showers, a more thorough clean every one to two weeks is usually enough if you keep up small daily steps. In heavily used kitchens, it’s sensible to focus on the hob area weekly.



Comments
No comments yet. Be the first to comment!
Leave a Comment