
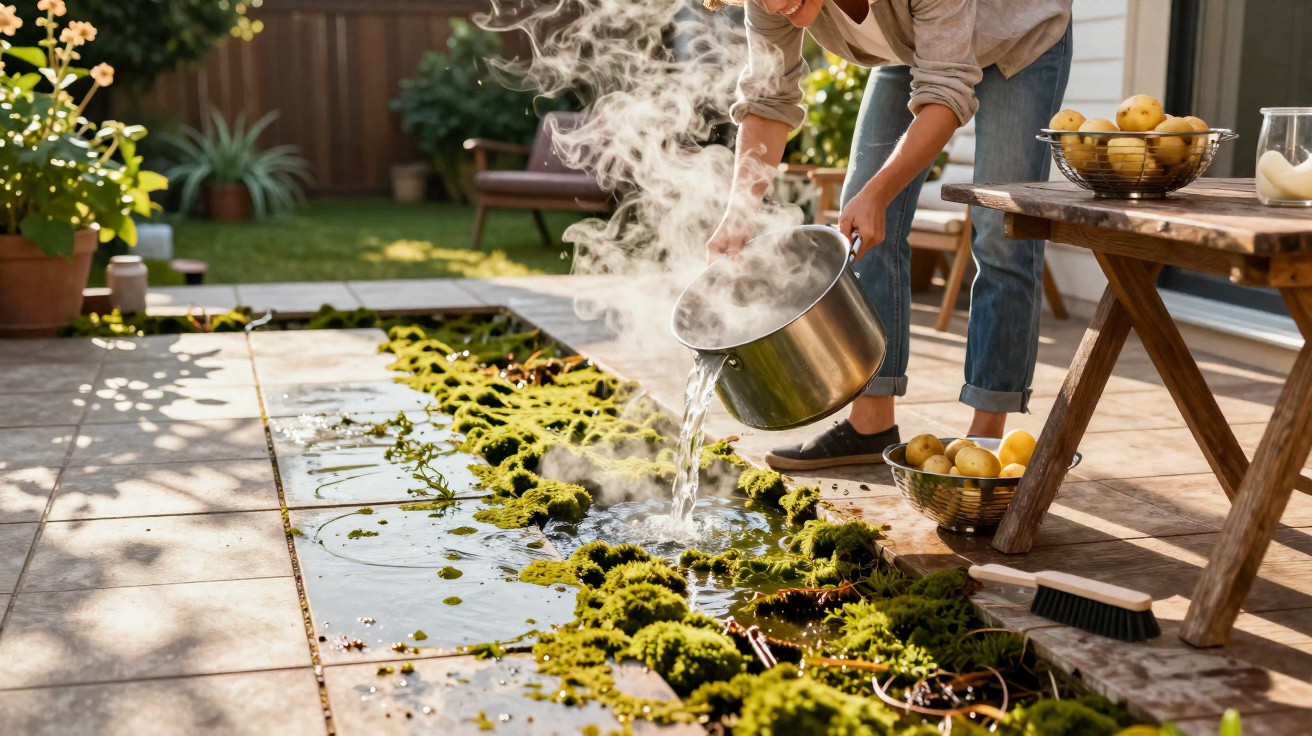
Many people reach for chlorine bleach almost on autopilot in spring to scrub stubborn moss off paving slabs, timber or stone. That approach doesn’t just harm the environment; it can also damage the surface you’re trying to clean. A simple leftover from the kitchen can do the same job - without the stench, without toxic residues and without hours of hard scrubbing.
Why chlorine on the patio is a bad idea
Chlorine-based cleaners were long seen as the quickest fix for green build-up, and in some gardens you can practically smell them in March. These days, specialists are clearly warning against using bleach on patios.
- Chlorine can attack jointing, timber and certain types of stone.
- It gets washed into groundwater when it rains.
- It harms insects, micro-organisms and nearby plants.
- Surfaces often end up looking bleached and patchy.
There’s another problem: the supposed “deep cleaner” rarely tackles the real cause. Spores sit in joints and pores and quickly return when conditions are damp. In other words, the effect is usually short-lived.
"If you avoid aggressive chemicals, you protect the soil, your garden and your own respiratory system - and you also avoid paying for expensive specialist cleaners."
Moss and algae: how they form on patios
Moss, algae and lichens thrive where it’s damp and shaded. Common trouble spots include north-facing areas, sections under trees, or places where water can’t drain away properly.
Typical causes of the green coating
- Constant moisture due to missing or blocked drainage
- A shaded position with very little direct sunlight
- Timber, rough tiles or natural stone that holds water on the surface
- Leaves, soil and dust that provide nutrients
Visually, it makes a patio look dirty and neglected. More importantly, damp growth makes the surface slippery, and falls are not uncommon. If there are children or older people in the household, it’s worth treating this as a real safety issue.
The zero-cost trick: potato cooking water
What would normally be poured down the sink can work wonders outdoors: the cooking water from potatoes. This tip has been doing the rounds in garden magazines because it combines several benefits at once.
Why potato water? The simple chemistry behind it
As potatoes boil, starch leaches out into the water. This starch is mainly amylose and amylopectin - two substances that form a thin film as the liquid cools. Those properties can be put to work against moss and algae.
- Pour the water over the dry, affected surface while it is still boiling hot.
- The heat shock damages the cells of moss, algae and lichens.
- As it dries, the starch forms a film and blocks the tiny openings on the plant surface.
- The unwanted growth effectively “suffocates” and dies off.
After 24 to 48 hours, the moss darkens, turning brownish to black. At that point, it can be brushed off with very little effort or swept away with a stiff broom.
"Potato water works in two ways at once: heat shock plus a starch film that blocks the breathing of the remaining plant material."
Step-by-step guide to a moss-free patio
1. Rough clean before using the main treatment
Before you use the home remedy, it pays to do some basic preparation:
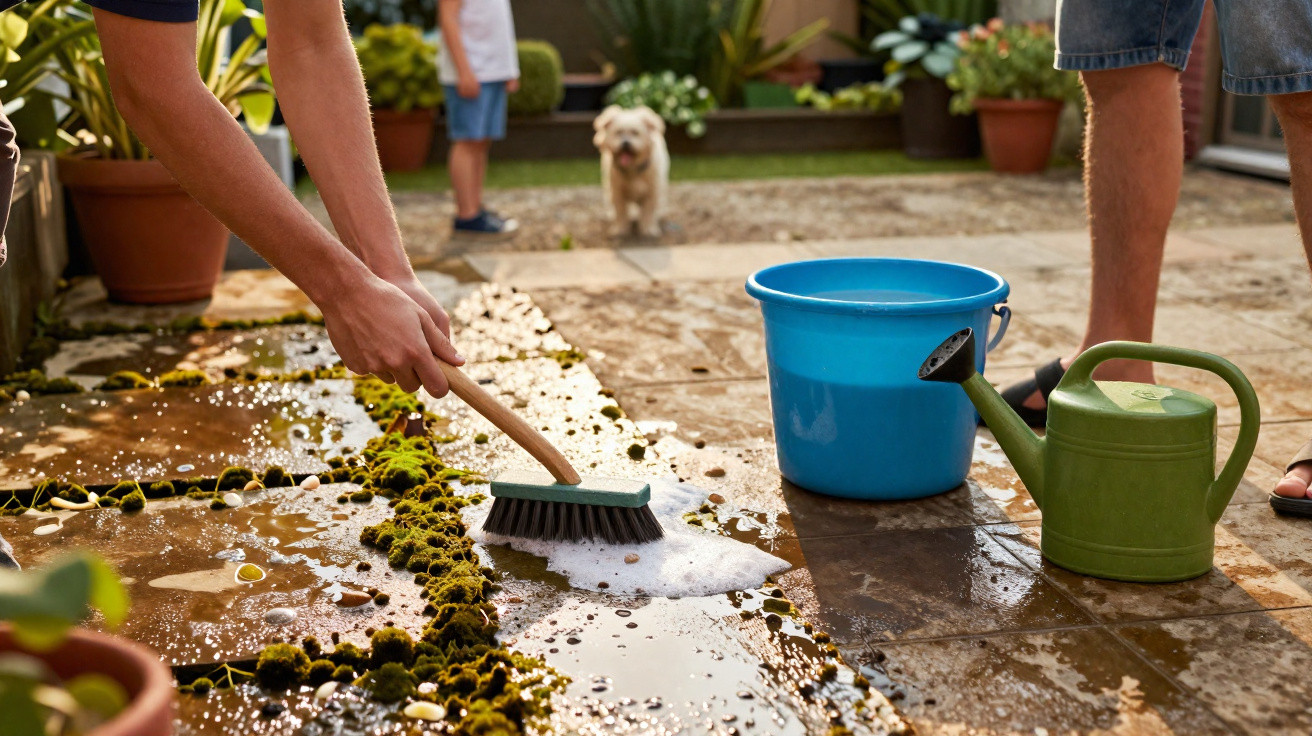
- Sweep away leaves, soil and loose dirt with a stiff outdoor broom.
- Lightly roughen stubborn patches with a brush.
- Let the surface dry as much as possible so the hot water isn’t diluted.
If you’re working with a brush and broom, wear gloves and ideally safety goggles. On smooth surfaces in particular, the water can splash and dislodged debris can easily hit your face.
2. How to use potato water properly
- Boil potatoes as normal in plenty of water.
- Once cooked, don’t let the water cool - pour it straight into a sturdy bucket.
- Carefully tip the boiling water onto the affected areas of the dry patio.
- Drench heavily infested joints more precisely.
- Leave the area alone for at least a day and do not rinse immediately.
Important: pets and small children shouldn’t walk over the area while the surface is still very hot and wet. Once it has cooled, there is no longer any danger.
3. Follow-up after one to two days
After 24 to 48 hours, the green coating should be noticeably discoloured. Then finish the job:
- Remove remaining moss with a brush or a strong, stiff broom.
- Rinse with clean water to wash away dirt and the starch film.
- Allow the patio to dry thoroughly.
If you want to, you can then apply a suitable stone or timber protector to reduce moisture penetration in future.
Which alternatives make sense - and when to use them
Not everyone has potatoes on the go. A few other household options can also help, provided they’re used correctly:
| Product | Effect | Note |
|---|---|---|
| Sodium hydrogen carbonate (classic kitchen powder) | Shifts the pH level and inhibits algae and moss growth | Apply as a solution, leave to work, then brush |
| Black soap with a little washing-up liquid | Cuts grease and grime and supports mechanical cleaning | Best for lightly soiled patios |
| Household vinegar | The acid attacks the cell structure of the growth | Use sparingly; avoid using right next to beds or lawns |
If you have particularly sensitive natural stone, test any new method on an inconspicuous patch first. Some surfaces react badly to acid or strong alkalinity.
How to significantly delay new growth
To stop the patio turning green again next winter, routine care and a few structural details make a big difference. A handful of simple measures go a long way.
Regular upkeep beats drastic treatments
- Remove autumn leaves quickly rather than leaving them for weeks.
- Give the area a quick dry sweep once a month, paying special attention to joints.
- Don’t tip compost or bark mulch right up against the patio edge.
- Move plant pots occasionally so moss doesn’t establish underneath.
Where water regularly pools, it’s worth checking the fall and drainage. Blocked channels or covered outlets can often be cleared with just a few simple actions.
Hydrophobic protection as longer-term support
If you apply a sealant or water-repellent (hydrophobic) treatment to stone or concrete after cleaning, you can greatly reduce the chance of growth returning. The surface absorbs less water, dries faster and becomes a less hospitable place for moss.
These products are available from DIY shops and are tailored to different materials. The key is to let the surface dry completely first; otherwise the coating can trap residual moisture underneath.
What many people don’t realise: risks of pressure washers and “miracle products”
A pressure washer can look like the perfect solution. In minutes, the patio appears clean. At the same time, the forceful jet can wash out jointing, tear up timber fibres or roughen delicate stone. That damage then allows dirt and moss to take hold even faster the next time it rains.
So-called “bio” moss removers also deserve a careful look at the ingredients. A bottle covered in green leaves doesn’t automatically mean it’s harmless for insects, soil and groundwater. Many of these products are simply unnecessary if you use straightforward household methods along with a brush, a bit of patience and regular sweeping.
Practical examples from everyday life
In day-to-day use, it’s easy to build the potato trick into your cooking. If you’re already planning a weekend meal, save the cooking water and take it outside in a bucket straight away. The more often you treat the surface like this in spring, the longer it tends to stay clear.
The same approach also works on small paths or steps. The crucial points are to pour onto a dry surface and to give the water time to work. If you hose it off immediately, you remove the helpful starch film.
Especially in densely built-up neighbourhoods where rainwater runs into the drainage system, this method makes sense: a leftover replaces expensive chemicals, the patio becomes safer to walk on, and your garden remains largely undisturbed as a habitat for animals and plants.
Comments
No comments yet. Be the first to comment!
Leave a Comment