
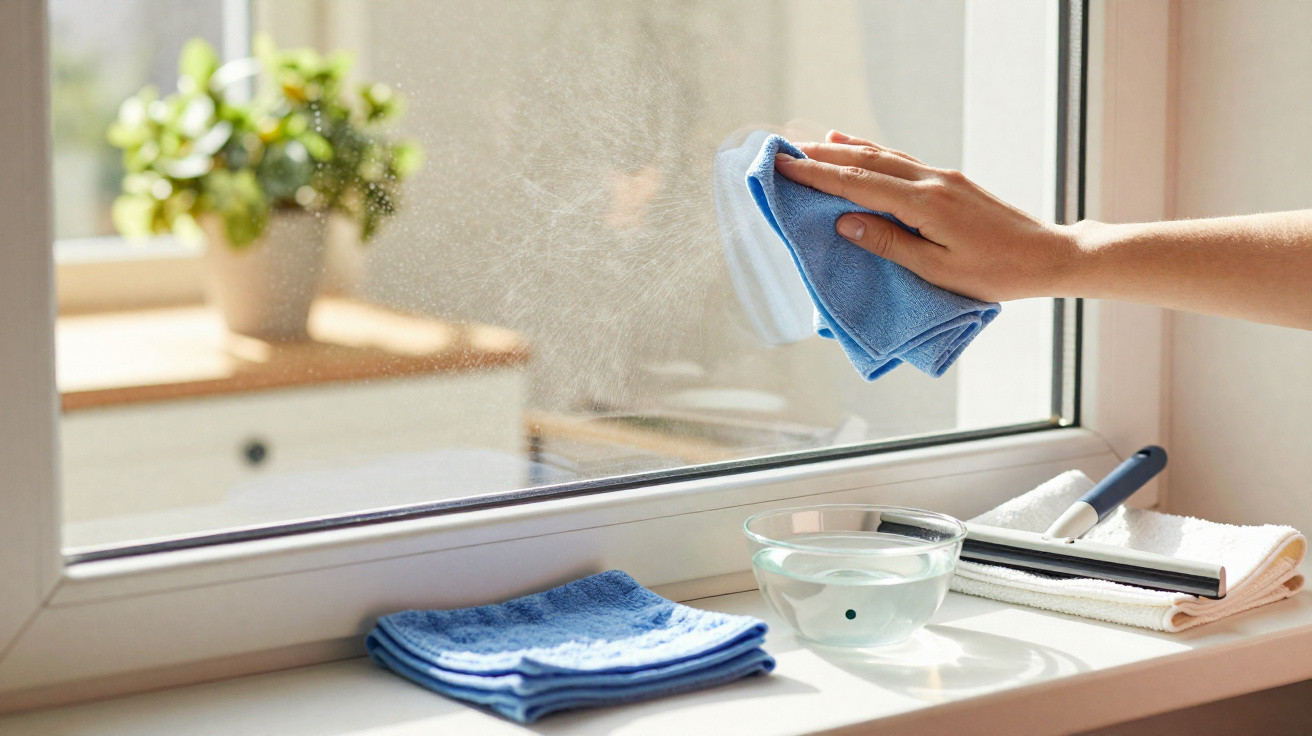
From a distance, the windows looked clean, almost proudly so. Up close, though, the story changed: dull films, vertical streaks and tiny greasy halos that no one notices… except you. The cloth had only just been used and the synthetic lemon scent of the cleaner still hung in the air. Yet those infuriating marks remained.
In the kitchen, the same thing happens on the oven, ceramic hob and little window above the sink. We have all had that moment of thinking, “I’ve just spent 30 minutes cleaning… for this?”. The slightest shaft of sunlight brings every mark back, as though the glass is mocking our efforts. Some people blame the cleaner, while others blame the weather or the children.
The answer is rarely found in the bottle of cleaning product. It lies in the order of the actions. And that order makes all the difference.
Why most glass looks “clean” but never quite clear
The first thing I noticed when I shadowed a professional window cleaner was not the product in his hand, but the quiet. There was no frantic scrubbing, no spraying every few seconds and no grumbling under his breath. His method looked calm, almost leisurely. Still, each pane emerged crisp and bright, whereas my own windows at home always seemed to retain a dull, streaky layer.
When I asked about his miracle spray, he laughed. “It’s 90% water,” he said, gesturing with the bottle. What truly mattered was the sequence of his actions. He approached glass as a surface carrying several layers of evidence: dust, fingerprints, condensation marks and cooking residue. Each layer had to be dealt with in the proper order, otherwise they blended together, smeared and returned under the light the following day.
On a small street, I met a couple who had given up cleaning their window facing the road. They live above a busy route, where fine pollution dust settles and clings to everything. She showed me a photograph: the pane looked grey, as though it came with a built-in filter. He admitted that he had tested three branded sprays, stacks of paper towels and even newspaper. The outcome? A shine that lasted… a few hours. Then the grey haze returned.
When a professional cleaned it, the finish lasted two weeks despite the same traffic and weather. There was no secret industrial product involved. The difference was a disciplined order: dry clean, wet clean, polish, then protect. Nothing was missed and there were no shortcuts. That small adjustment left dust with nothing tacky to adhere to, while fingerprints no longer spread into long oily curves that caught the light.
All those streaks have a straightforward cause: glass may be smooth, but daily life is not. Ordinary residue contains grease, minerals, microscopic dust and remnants of cleaning products. If you begin by spraying a dusty pane with liquid, you create a muddy mixture. Water lifts the dust, grease keeps it on the surface and surfactants from previous cleaners behave like glue.
The sensible approach is to remove dry debris first, dissolve the greasy layer next, clear away product residue afterwards and finally lightly “seal” the surface so fresh dirt is repelled for longer. That is why one product can produce either a flawless shine or a cloudy film: the difference depends on the order in which you use it. The glass is unchanged; your sequence is not.
The streak-free glass cleaning sequence that lasts longer
This was the routine repeated by every professional I watched. First, begin dry. With a clean, dry microfibre cloth or soft brush, remove loose dust, hairs, insects and crumbs from window ledges and corners. Do not spray anything yet. It takes 30 seconds and prevents dust from becoming mud.
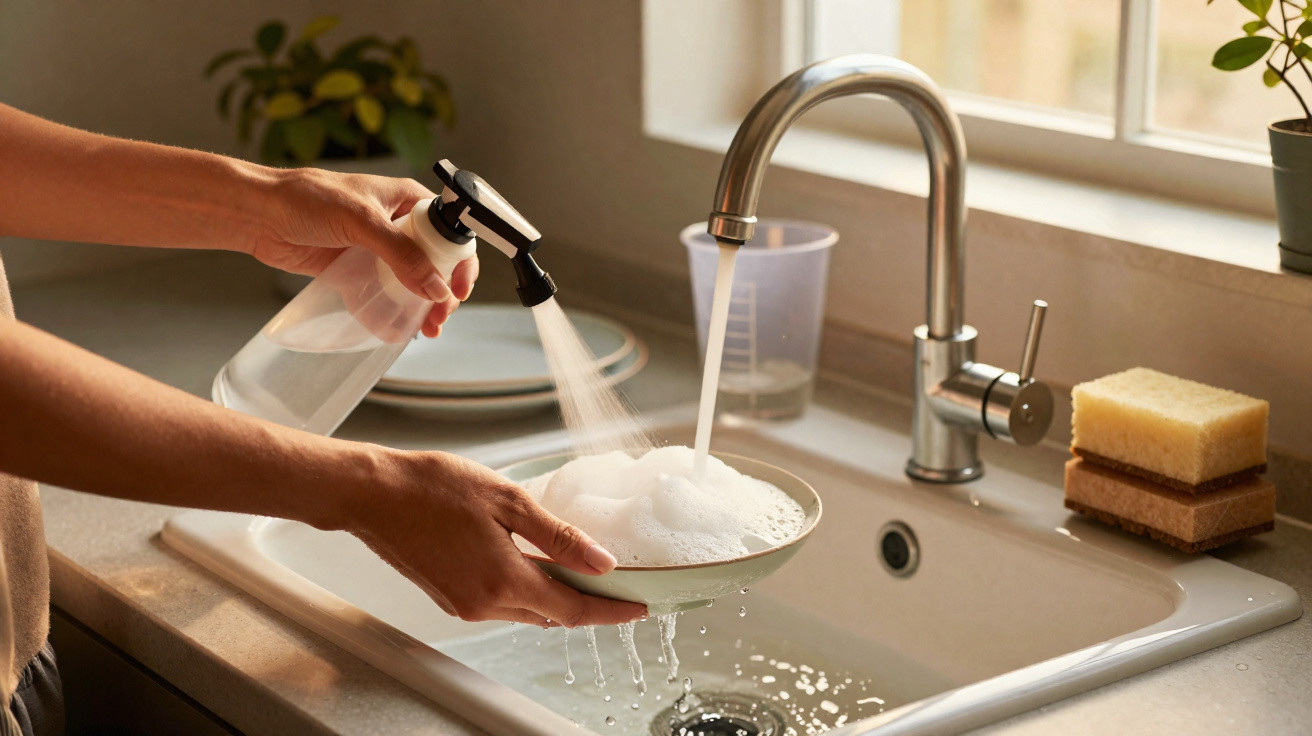
Second, deal with grease. In kitchens, bathrooms and areas marked with children’s fingerprints, lightly mist a mixture of warm water and a single drop of washing-up liquid. Use a dedicated microfibre cloth and work in small sections. Make short, overlapping strokes rather than circles. Third comes the proper glass clean: lightly spray a simple blend of water and a little white vinegar, then wipe with a second cloth that is only very slightly damp.
The final action is the one most often overlooked: dry polishing. Take a third microfibre cloth, one that is completely dry, and buff the surface in long horizontal strokes followed by vertical ones. This lifts microscopic droplets and remaining product, while smoothing the surface so it attracts less dust and moisture. Oddly enough, this last dry stage is where the streak-free result and longer-lasting clarity really come from.
Many people focus too heavily on the product. They fault the bottle when the real issue is their cloths and routine. Using the same fabric for dusting, the soapy mixture and final polishing is the quickest way to cloud glass. The cloth becomes saturated, then spreads an invisible layer of product over the pane, trapping dust more quickly in the days that follow.
Let’s be honest: nobody truly does this every day. The answer is to adjust the routine according to the level of cleaning needed. For a monthly deep clean, use the complete four-step sequence with three cloths. For a quick refresh in between, use only a light water-and-vinegar mist followed by a dry buff. Not doing the full routine every time makes the task feel easier, while still keeping windows properly clear for longer.
“What makes glass stay clear isn’t how hard you scrub,” a veteran cleaner told me, “it’s how little you leave behind.”
That principle changes the smaller details, including the amount of product you apply. Professionals barely moisten the pane rather than soaking it. Too much liquid leaves drying marks and deposits, even when the product is “natural”. It also means recognising that the newspaper trick favoured by our grandparents brought ink and tiny scratches that few people want today. The technique has moved on, but the principle remains: remove, then refine.
- Use three separate cloths: one for dust, one for washing and one for polishing.
- Work from top to bottom and from outside to inside, so drips do not spoil areas already cleaned.
- Clean on an overcast day, or when the glass feels cool, to prevent streaks caused by rapid drying.
Small rituals, clearer glass, quieter mind
A clean pane offers more than appearances. It gives you the sense of looking outdoors without a filter, without being aware of the surface at all. When glass remains clear for longer, you stop noticing it and your gaze goes straight to the garden, street or sky. The room seems brighter, even if you cannot quite explain why.
This sequence is not about pursuing perfection every weekend. It is about having a method that works so well that you spend less time thinking about it. You can clean once, move on to something else and silence that little thought saying, “You’ll see the streaks at sunset.” It is a way of stopping the battle with your windows and simply living with them.
The next time sunlight hits the glass and reveals a battlefield of marks, do not reach immediately for a stronger cleaner. Change the order instead. Start dry, then tackle the grease, wipe and polish. Notice how reflections become sharper and how the outlines of objects outside suddenly look crisp. You may find yourself opening the curtains a little wider.
Perhaps that is the real point. It is not about chasing the mythical “perfect shine”, but about finding a simple, almost boring ritual that makes the view outside seem closer, clearer and slightly more your own. The glass will not thank you. Your eyes might.
| Key point | Details | Why it matters to readers |
|---|---|---|
| Begin with dry dust removal | Before using any liquid, run a clean, dry microfibre cloth or soft brush over frames, corners and glass. Pay particular attention to upper edges and window tracks, where grit collects. | It stops dust turning into a muddy, streaky film, making the clean last longer and requiring fewer passes. |
| Keep cloths separate for every stage | Use one cloth for dust, one slightly damp cloth for washing and one fully dry cloth for the final buff. Wash them without fabric conditioner to preserve their absorbency. | This prevents residue and old product being transferred back to the glass, which would otherwise cause haze within days. |
| Apply little product, polish thoroughly | Lightly mist a mild mixture of water and vinegar, or water and a drop of washing-up liquid, then spend more time making slow, dry polishing strokes than spraying. | It limits chemical build-up and streaks while producing a “crisp” finish that resists fingerprints and dust for longer. |
FAQ
How often should I do the full four-step glass cleaning sequence?
For most homes, the complete routine (dry dusting, degreasing, cleaning and polishing) only needs doing once a month. Between cleans, a quick water-vinegar spray and dry buff every couple of weeks will usually keep glass clear, unless you live beside a busy road or the sea.Can I skip vinegar if I hate the smell?
Yes. Use warm water with a single drop of washing-up liquid to remove grease, rinse with plain water and polish dry. Alternatively, use an alcohol-based glass cleaner sparingly. The crucial factor remains the sequence, not the fragrance.Why do my windows look worse after using paper towels?
Paper towels release tiny fibres and often move product around rather than absorbing it. On glossy glass, those fibres catch the light and resemble streaks. Microfibre traps moisture and dust rather than dragging them across the surface.Is the same sequence good for shower glass and mirrors?
Yes, with one adjustment: for shower doors with limescale, include a dedicated descaling stage before the final clean. Mirrors benefit especially from dry polishing, which removes hazy halos around their edges.What’s the best time of day to clean glass to avoid streaks?
Early morning, late afternoon or any time the glass feels cool. Direct sunshine warms the surface, causing liquid to evaporate too quickly and leave drying marks. Cooler glass gives you time to wipe before it dries.



Comments
No comments yet. Be the first to comment!
Leave a Comment