
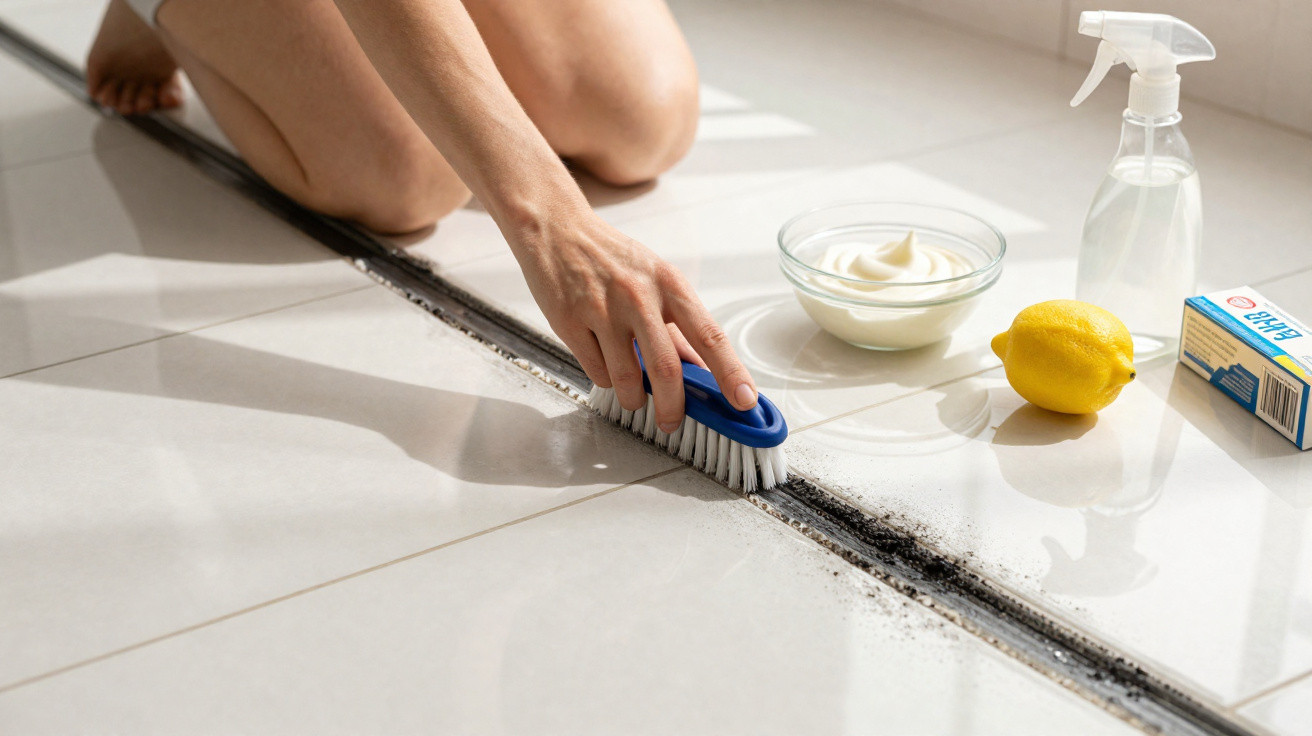
A straightforward blend can bring them back to a surprising shine in no time.
It’s a familiar sight: the tiles still look glossy, but the lines between them turn dark-sometimes almost black. Mould, soap residue and limescale cling to the grout and can leave the whole bathroom looking dull and greyed over. Rather than reaching for harsh chemical cleaners, more and more people are turning to an easy four-household-ingredient combination. It shifts grime in just a few minutes, without chlorine or that typical bleach smell-and yet it’s still oddly overlooked.
Why grout turns black so quickly
Grout is often the weak point in any bathroom. Its rough, slightly porous surface absorbs moisture and creates an ideal environment for mould spores. Warm water, shower gel, shampoo, body oils and dust build up into a sticky film, which helps dirt and fungi take hold. Grout around showers and baths, in particular, can darken quickly-even when the rest of the bathroom appears well looked after.
That’s why many people resort to strong cleaners containing chlorine or heavy-duty bleach. While they can deliver a quick fix, they may also damage surfaces, silicone seals and, in some cases, your airways. The four-ingredient mixture tackles the same problem differently: it cleans thoroughly without putting unnecessary strain on materials or health.
The 4-ingredient mixture: what’s actually in it
Depending on who’s sharing the tip, you’ll see slight variations, but the principle is usually the same: a mild acid plus a degreaser, a gentle abrasive element, and a component that helps the mix cling to the grout.
These four building blocks are typical:
- Bicarbonate of soda or baking powder – lightly abrasive and helps neutralise odours
- White vinegar or citric acid – breaks down limescale and knocks back a large proportion of microorganisms
- Neutral liquid soap or washing-up liquid – lifts grease and soap scum
- Warm water – creates the right consistency and helps the mixture work effectively
"The combination of these four simple kitchen staples loosens black grout build-up in around 15 minutes, without any classic bleach additive."
You can tweak the proportions easily. If the grout is heavily soiled, use more bicarbonate of soda and slightly less water to make a thicker paste.
How to apply the mixture properly
What matters isn’t only what’s in the mixture, but how you use it. A common mistake is scrubbing too soon-or rinsing it away before it’s had time to work. The active ingredients need a short dwell time.
Step-by-step instructions
- Ventilate the bathroom: Open a window or switch on the extractor so moisture and any vapours can disperse.
- Mix the paste: In a small bowl, combine bicarbonate of soda with a little liquid soap. Then add vinegar or citric acid and warm water until you have a spreadable paste.
- Dampen the grout: Lightly spray the grout with water or wipe it with a damp cloth to help loosen dirt.
- Apply the paste: Use an old toothbrush or small brush to work the mixture directly onto the discoloured grout lines.
- Leave it to sit: Wait around 15 minutes-the paste can dry slightly, but it shouldn’t dry out completely.
- Brush again: Scrub along the grout lines with the toothbrush, avoiding excessive pressure on tiles or silicone.
- Rinse thoroughly: Rinse with warm water and wipe away residue with a cloth or sponge.
If you like, finish by gently buffing the grout with a dry microfibre cloth. The lines often look noticeably lighter straight away.
Where the mixture works brilliantly - and where it doesn’t
This four-ingredient paste is best suited to standard cement-based grout between ceramic or porcelain tiles. Silicone seals-such as around a bath-are more sensitive and should only be treated carefully.
| Area | Suitable? | Note |
|---|---|---|
| Shower grout | Yes | Ideal when used regularly to help prevent mould forming |
| Bathroom floor grout | Yes | Let it dry properly after cleaning; be mindful of slipping |
| Silicone sealant | Only partly | Work gently and avoid heavy scrubbing |
| Marble or natural stone surfaces | Caution | Acid can attack natural stone-test in an inconspicuous spot first |
How quickly you’ll see results
The biggest appeal of this method is the speed: after roughly 15 minutes, the change is often clear. Dull, greyed grout can brighten visibly, while black specks may disappear or at least be greatly reduced. With very old grout that’s been damp for a long time, one round may not be enough-but even then, the bathroom usually looks noticeably fresher overall.
"If you use the paste every few weeks, you stop mould and dark deposits from re-embedding deep in the grout."
In showers that are used every day, it can also be worth doing a quick “grout check” as part of the weekly clean. In many cases, a thinner, more watery mix and just a few minutes’ effort is all it takes.
Advantages over traditional chemicals
This four-ingredient mixture scores points in several ways that matter to many households:
- Less irritation: Without a strong bleach smell or aggressive fumes, it’s typically kinder on eyes and airways.
- Gentler on materials: Tiles and grout aren’t attacked as harshly as they can be with some specialist products.
- Cost-effective: The ingredients are usually already in the kitchen cupboard, so there’s no need for expensive cleaners.
- Environmental angle: Many of the components are more readily biodegradable than heavy-duty chemical products.
There’s also a psychological upside: when you mix your own cleaner, you tend to clean more deliberately-rather than simply spraying and expecting the product to do everything.
Health and safety considerations
Even though the mixture is relatively mild, a few basics still apply. Try not to leave it in contact with sensitive skin for too long-bicarbonate of soda and acid can be drying with prolonged exposure. Thin household gloves are usually enough to prevent irritation.
Also important: never mix strong cleaners, chlorine products or ammonia with household ingredients. Those combinations can release toxic gases. If you’ve used another cleaner beforehand, rinse the area thoroughly before applying the four-ingredient paste.
How to keep grout clean in the long term
To avoid having to deep-clean grout again and again, small daily habits help. After showering, quickly use a squeegee on the tiles, ventilate (or leave the extractor running), and wipe away pooled water from corners-each step reduces moisture and therefore the risk of mould.
Many people also do a “grout treatment” every few months: applying the four-ingredient mixture more broadly, not just where problems are already visible. Used this way, these household ingredients don’t only clean-they also help prevent build-up, keeping the bathroom guest-ready for longer.


Comments
No comments yet. Be the first to comment!
Leave a Comment