
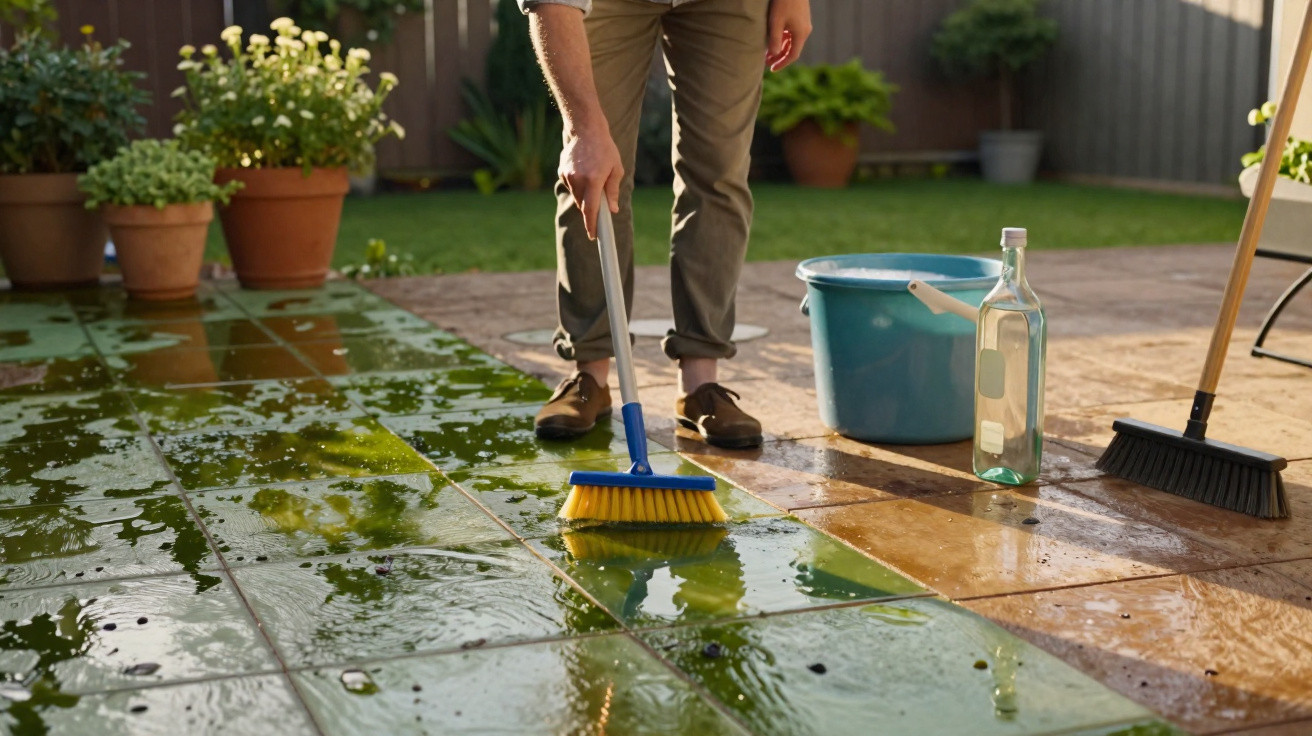
The scene will be familiar to almost anyone with a garden or balcony: weeks of rain, hardly any sun, plus leaves and general grime. Come spring, the outdoor floor can feel more like a slippery ice rink than a comfortable spot to sit. That’s exactly what my own patio looked like until I tried a straightforward approach that avoids a pressure washer, pricey specialist products, and hours of hard scrubbing.
From a green skid pan to a usable patio
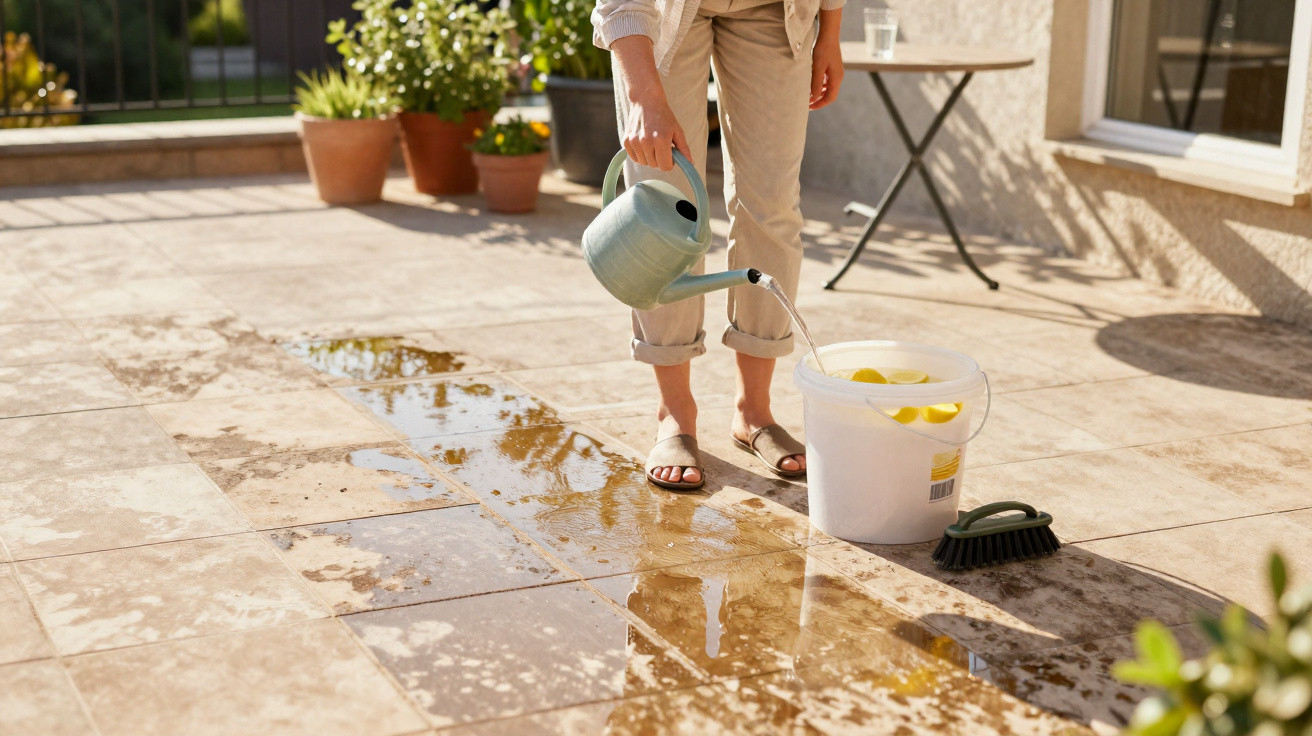
After the cold, damp months, every single concrete slab was coated over: moss packed into the joints, a green film across the surface, and dark stains that made it hard to tell what colour the patio had originally been. Putting a chair down securely was difficult; walking on it barefoot wasn’t an option.
At the DIY store, there were stacks of containers labelled “green deposit remover”, “moss killer”, and other specialist cleaners. The prices were noticeably higher than I wanted to pay. On top of that, the advice was to apply them in dry conditions, wearing gloves and sometimes even a mask. I also looked into hire options: a pressure washer for the day wasn’t exactly cheap either-and I didn’t fancy hauling it around or dealing with the noise.
So I went looking for something that worked quickly, cost very little, and didn’t feel like turning the patio into a chemistry experiment. The answer was surprisingly ordinary: a basic bottle of household vinegar-specifically clear white vinegar-which costs pennies in the supermarket.
The vinegar method: cleaning a patio without a pressure washer
The principle is straightforward: vinegar contains acid, which weakens organic growth such as algae and moss. Mixed with water, it can be applied over a wider area without being overly harsh on the surface. A British journalist described using this exact approach to make her own patio usable again-and I followed the same steps.
Preparation: sweep first, then mix
The first job is one people often underestimate: a thorough sweep. Using a stiff-bristled broom, I cleared away loose leaves, dirt, sand, and crumbled bits of moss. The cleaner the surface is at the start, the easier it is for the vinegar to reach the stubborn film underneath.
After that, I used a simple bucket and went with a 1:1 mix:
- 1 part clear household vinegar
- 1 part water (not boiling-cool to lukewarm is fine)
How much you need depends on the size of your patio. For roughly 15 to 20 square metres, half a bottle of vinegar was enough for me-about 0.5 litres-plus the same amount of water. The bonus is the cost: well under £1.
"A cheap 1:1 vinegar-and-water mix was enough to make a heavily greened-up patio usable again in around an hour."
Apply and leave it to work
I poured the finished mix straight from the bucket onto the patio, keeping it simple. If you prefer, you can use a watering can or a pump sprayer, but it isn’t essential. What matters is getting the surface properly wet, especially the deep-green patches and the areas that look almost black.
Then you wait. I found 45 to 60 minutes of contact time was sufficient. Visually, not much seems to happen during this stage-the real change comes with the next step.
Gentle brushing instead of a full-on scrub
Once the time was up, I went back in with the broom. With only light pressure, I brushed across the slabs. To my surprise, the green film lifted with very little effort. As I worked, the slabs immediately looked brighter, and the joints started to clear.
Rather than spending hours on my knees with a small hand brush, it took only a few minutes to cover the whole area. To finish, I gave the patio a quick rinse with water-an ordinary garden hose is plenty.
Where vinegar works well - and where it should be avoided
As handy as this trick is, it won’t suit every patio. The key factor is the paving material. Vinegar is acidic, and some surfaces don’t react well to it.
Suitable surfaces
- Concrete slabs: The mix usually works very well here, particularly on green growth and mild discolouration.
- Frost-resistant outdoor porcelain: Many modern patio tiles tolerate diluted acid, provided the surface isn’t specially coated.
- Joints with weeds: Vinegar also weakens small weeds and moss cushions between slabs.
Materials that vinegar may damage
- Natural stone such as marble, limestone, or certain types of granite: The acid can etch the surface, cause marks, or leave it looking dull.
- Metal components: Post bases or decorative metal strips shouldn’t be left in contact with vinegar for long, as corrosion is a risk.
- Sensitive timber decking: On oiled or stained wood, vinegar can attack the protective layer.
If you’re unsure, treat a discreet spot first-such as a corner or a single slab behind a planter. Only if that test area looks fine should you move on to the full surface.
Vinegar compared with anti-moss chemicals and a pressure washer
When it comes to green film on patios, the main options on the market tend to fall into three categories: biocide-based products, pressure washers, and simple household remedies such as vinegar or soda. Each route comes with pros and cons.
| Method | Cost | Effort | Risks |
|---|---|---|---|
| Vinegar-and-water mix | Pennies per use | Sweep, pour, quick brush | Not suitable for sensitive stones; use sparingly near plants |
| Anti-green-film chemical container | Several pounds per use | Protective gear, precise dosing, dry weather needed | Biocides impact the environment; keep pets away |
| Pressure washer | Hire or purchase, plus water | Carry and connect equipment, noise, spray-back | Can wash out joints; may roughen softer stones |
The vinegar mix scores highly for price and simplicity. You don’t need outdoor power, no specialist protective clothing, and there’s no mist of aggressive chemicals drifting about. That said, for very large or heavily soiled areas, professional products or a pressure washer can still make sense-for example, on decades-old paving or a driveway that’s thick with moss.
Practical tips if you want to try it
Make the first attempt go more smoothly
- Pick a dry day: Ideally the surface should be fairly dry when you apply the mix, so it doesn’t get diluted straight away.
- Avoid strong, direct sun: If the solution dries too fast, it won’t work as well. Light shade is best.
- Keep pets indoors briefly: While the surface is wet, don’t let cats or dogs walk across it.
- Allow for more than one round: If the growth is extreme, a second application may be needed.
If you have delicate borders right next to the patio, don’t let the mix run towards your plants. Edging stones or shallow channels can help guide where the liquid goes.
How often can you use vinegar on a patio?
For most surfaces, once or twice a year is enough. On concrete, more frequent use is usually fine, but on more delicate stones it’s not a great idea. For routine in-between cleaning, plain water-optionally with a little neutral cleaner-tends to be the better choice.
What actually causes moss and green film
Moss and algae thrive where moisture lingers and sunlight is limited. North- or east-facing areas are typically much more affected than sunny, south-facing patios. Coverings, large trees, or dense hedges also make it easier for that green layer to develop.
If you want less work over the long term, it helps to do more than just clean: keep drainage channels clear, improve airflow, and consider trimming back shrubs that cast shade. Every extra hour of sun on the slabs helps them dry faster and makes conditions less hospitable for moss.
Vinegar isn’t a miracle cure that replaces those underlying factors-it’s better thought of as a practical spring-cleaning helper. For many everyday patios, though, that’s enough to turn a slippery green surface back into a presentable place for the first coffee outdoors, without pressure-washer noise and without an eye-watering bill from the DIY shop.
Comments
No comments yet. Be the first to comment!
Leave a Comment