
Tiles are gleaming, the mirror has no streaks, the floor has been mopped - yet the air still smells faintly musty, silicone sealant lines start to yellow, and dark specks keep reappearing. According to hygiene professionals, the cause is often not a lack of cleaning products, but a completely neglected everyday habit right after showering.
The forgotten step after showering
Most people step out of the shower thinking only about drying themselves. Meanwhile, the shower area is left dripping wet and the joints sit in water. Hygiene experts focus on this exact moment: it is not the weekly “deep clean” that matters most, but what happens - or does not happen - in the few minutes immediately after every shower.
Silicone sealant around the shower, bath and washbasin is a known trouble spot. It is constantly damp, exposed to hot water and steam, and often does not fully dry for hours. During that window, mould spores and bacteria thrive.
"If you remove the water from the silicone sealant lines every day, you significantly reduce the risk of mould and musty odours - with minimal effort."
Why wet joints can become a health risk
Moisture on its own is not necessarily dangerous; it becomes problematic when combined with warmth and organic residues. In the shower, the following tends to build up:
- soap and shampoo residue
- limescale from hard tap water
- skin flakes and body oils
- dust particles from the air
This mixture settles into and onto the silicone. If it stays damp over time, it creates ideal conditions for mould. The results include:
- dark spots and black edges along the sealant
- a persistent musty or earthy smell in the bathroom
- irritated airways in sensitive people
- worse symptoms for allergy sufferers or people with asthma
Children, older people and anyone with a weakened immune system can be particularly sensitive. Anyone thinking “a bit of mould isn’t that bad” is downplaying the long-term impact of repeated spore exposure indoors.
The simple anti-mould routine in two steps
Rather than buying expensive specialist cleaners, experts recommend a surprisingly straightforward routine. It takes only seconds, yet over the long term it achieves far more than any shock treatment with harsh chemicals.
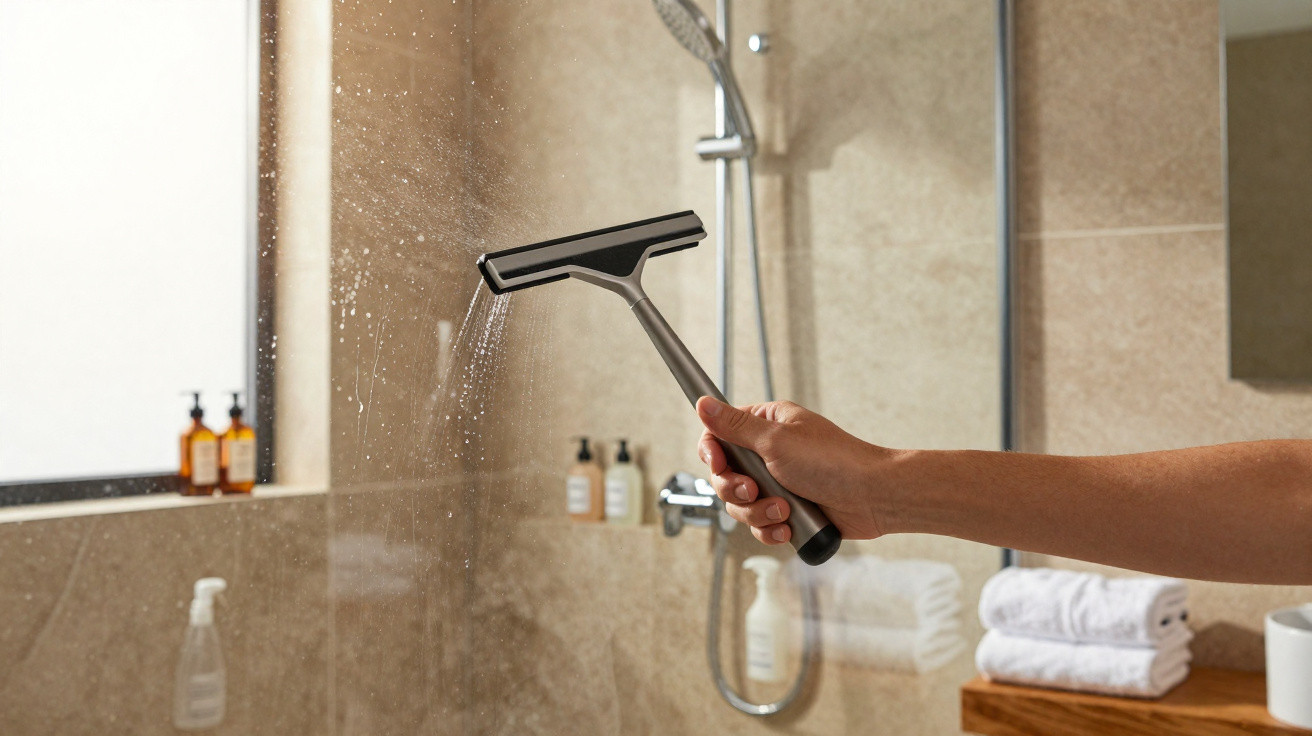
Step 1: Squeegee off the water
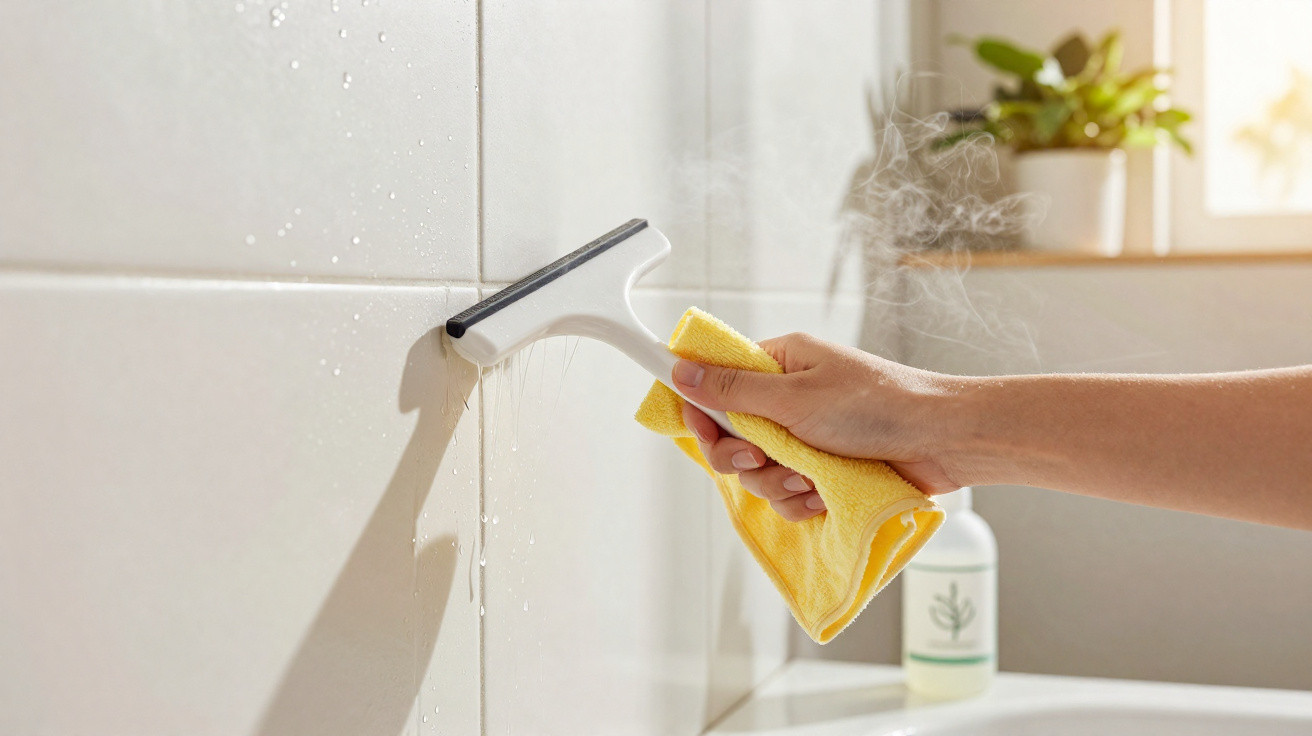
Right after a shower or bath, professionals reach for a classic rubber-blade squeegee - a basic water or shower squeegee. Use it to pull water down from tiles, glass and, crucially, along the silicone sealant lines. This leaves far less moisture on the surfaces.
Consistency is the key: not occasionally, but genuinely after every shower. If it helps at first, set a timer or stick a note to the mirror - most people adapt to the new habit within a few days.
Step 2: Quickly dry the sealant lines
Even after squeegeeing, small droplets and a thin film of water remain. That is where the second, equally simple step comes in: a quick wipe with a dry cloth or microfibre cloth, focused specifically along the silicone lines.
This removes the last of the water. The silicone can “breathe” again and dries out much faster. Keeping a dedicated bathroom towel or an old tea towel nearby means there is nothing to hunt for.
"This daily mini-routine after showering often takes less than half a minute - and later saves hours of time-consuming mould removal."
How the effort pays off over time
If you dry the sealant every day, you will usually notice visible changes within a few weeks:
- silicone stays white for longer instead of turning yellowish or grey
- black specks appear less often, or stop altogether
- the typical “damp room” smell disappears
- the entire shower area looks fresher and better cared for
There is also a financial benefit. Once sealant becomes mouldy or porous, replacement is often needed. New silicone sealant in a shower area can quickly run into three-figure sums, depending on the size and the tradesperson. Keeping the area dry can delay that work by years.
What happens if you ignore the step for good?
Many households rely solely on strong cleaners on a weekly schedule. That may remove visible marks in the short term, but it rarely provides a lasting solution. If the shower stays wet for hours every day, mould typically returns quickly.
Over the longer term, the consequences can include:
- silicone deteriorates from the inside and becomes brittle and cracked
- water penetrates joints and building components, leading to hidden damp damage
- tiles can loosen and substrates can swell
- costly refurbishment becomes necessary, often far exceeding the price of a simple reseal
In rented accommodation, it can even lead to disputes with the landlord if the damage is classed as “poor ventilation and upkeep”. A clear daily drying habit helps prevent those arguments.
Further ways to optimise the bathroom climate
Drying the sealant lines works even better when the room conditions support it. Experts recommend a few straightforward rules:
- ventilate immediately after showering by opening the window wide
- keep the door to the hallway closed where possible so moisture does not spread through the home
- in winter, do not turn the radiator off completely, otherwise nothing dries properly
- spread shower curtains out rather than scrunching them up, so they dry faster
If your bathroom has no window, let the extractor fan run for as long as possible, or open the door and ventilate other rooms at the same time. A small portable hygrometer shows how humidity changes - the target after airing is well below 60 per cent.
Cleaning: gentle, regular, and without harsh chemicals
Daily drying does not replace all cleaning, but it greatly reduces the need for aggressive products. For normal maintenance, mild cleaners are often enough:
- diluted vinegar cleaner to tackle limescale
- gentle bathroom cleaner for soap residue
- a soft brush or sponge for the transition between tile and silicone
When the area is kept generally dry, less grime sticks and many marks never develop. Strong chlorine-based products or dedicated mould removers then only need to be used rarely - which is better for both indoor air and skin.
When sealant really needs replacing
Some silicone sealant is already so badly affected that routine care is no longer sufficient. Common warning signs include:
- deep cracks or gaps in the silicone
- brown or black discolouration that will not wipe away
- crumbly or very sticky surfaces
- visible water behind glass panels or tiles
In these cases, fully removing the old sealant and resealing is usually the only fix. If you start squeegeeing and drying daily straight afterwards, you significantly extend the lifespan of the new sealant.
Why this small action makes such a big difference
The appeal of the drying routine is how easy it is. No specialist tools and no extra cleaning slot - just a quick action in the already wet moment right after a shower. Many people underestimate how much a single, consistently repeated mini-step can improve hygiene.
At its heart is a simple physical principle: bacteria and fungi need water for their metabolism. Remove that water as quickly as possible and you slow their growth. Less moisture means fewer mould spores, less smell, and less strain on the airways.
"A few seconds a day on the sealant lines often decides whether the bathroom stays a fresh, comfortable space - or slowly turns into a hidden mould zone."


Comments
No comments yet. Be the first to comment!
Leave a Comment