
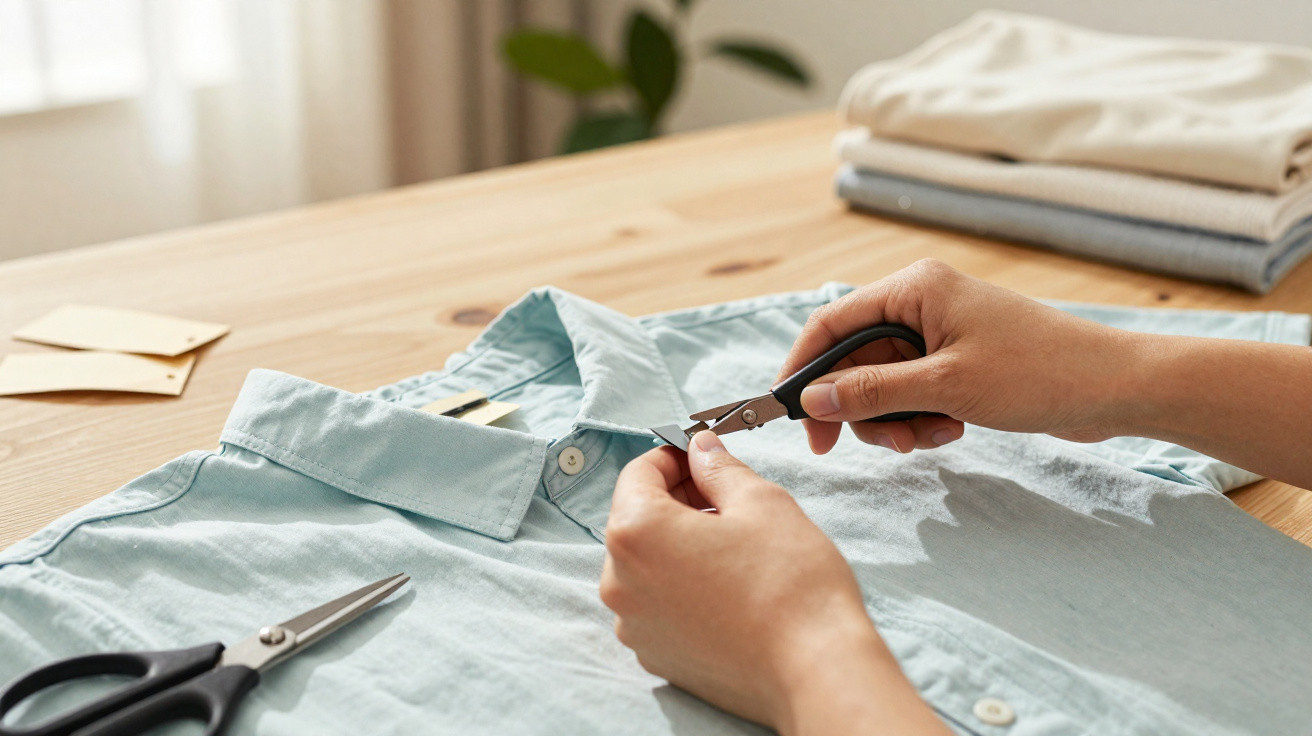
You are in the hallway wearing a new jumper, with the tags still attached. You reach for the closest scissors, pull at the card and cut a fraction too near… then hear that awful little thread “crack”. The side seam starts to give, the material sits oddly, and your brand-new jumper suddenly no longer rests properly on your shoulder.
The next time, you try to be more careful. You cut the plastic fastener alone, leaving the tag’s base behind. After a day of wearing it, that rigid little piece begins to scrape at your neck like a miniature plastic cactus. You twist and pull, try tearing it away with your fingers, and end up pulling the fabric out of shape.
Somewhere between “ruin the garment” and “put up with the irritation”, there is an unexpectedly neat solution sitting quietly in many sewing kits.
Why scissors and fingers are damaging your new clothes
When you stop to think about it, the way most people remove tags is remarkably rough. We grip the label, pull it away from the garment and go at it with scissors or fingernails. The material tugs, the threads become misshapen, and the finish is seldom as tidy as we expect.
With delicate knitwear or fine cotton, one slightly inaccurate cut can break the seam that keeps the garment intact. This is why some T-shirts begin twisting around the neckline after only a few washes. It did not “just happen” in the washing machine. Often, the problem began on the first day, when the tag came off.
Consider a standard T-shirt. Its inner neck label is commonly stitched into the seam using the same thread that closes the collar. If you push scissors underneath and cut without seeing clearly, you are not only cutting the label. You are risking the structural stitching too.
I saw a friend damage a new linen shirt in exactly this way. One fast snip, a quiet tearing sound, and the neckline began to gape. The shirt still technically “worked”, but it never kept its proper shape again. That brief moment with scissors altered the lifespan of a £70 shirt.
From a textile perspective, labels are frequently secured by one or two small stitches directly along the seam line. The aim is not to remove the entire section, but to undo the few threads holding the tag itself. That is precisely what a seam ripper is made to do.
Its narrow curved blade slips beneath one stitch rather than a whole section of material. This is why people who sew regard it as both a scalpel and an eraser. Rather than cutting at random, you are unpicking particular stitches. Once you view tags this way, using scissors can feel rather like performing surgery with a kitchen knife.
How to use a seam ripper to remove tags neatly and safely
First, place the garment flat under good lighting. Do not hurry or pull at anything. Identify exactly where the tag is attached, which is normally by two or three tiny stitches at either side of the label. Next, take your seam ripper and examine its shape. One end is a sharp little hook, while the other has a small red (or coloured) ball.
Place the ball end between the label and the fabric, keeping the sharp hook facing the thread rather than the cloth. Ease it beneath one stitch, then make a small upward movement to cut that thread. Continue around the label’s edge, cutting one stitch at a time, until the tag becomes loose enough to fall away into your hand.
The common mistake is to pull a tag as though removing a price sticker from a book. That pulling is what warps the fabric and creates itchy, frayed remnants. A seam ripper removes the need for force. You are carefully releasing the label, one stitch at a time.
If the label seems reluctant to come free, resist the urge to tug harder. Turn the garment over and inspect the opposite side of the seam. You may discover another row of stitching or a fastening knot. Cut those instead. It may take another minute, but that is what separates a smooth inner collar from a permanently rough area.
One experienced sewer told me something that stayed with me:
“Tags are sewn in like they’re meant to stay forever, but they’re actually held by just a few threads. Once you learn to see those threads, you’ll never attack them with scissors again.”
That is the change in perspective. You are not battling a label; you are dealing with three or four small stitches.
Then the process can become almost meditative:
- Locate the first stitch and cut that alone.
- Allow the label to loosen by itself.
- Feel the area with your fingers: there should be no stiff stumps or plastic edges.
- Gently run a fingernail along the seam. If it feels smooth, you have succeeded.
The overlooked comfort benefit of using a seam ripper
Once you begin taking off tags with a seam ripper, the improvement is discreet but ongoing: you simply stop noticing your clothes while wearing them. There is no more absent-minded scratching at the back of your neck during meetings, and no more children arriving home with red marks from labels rubbing against them all day.
You put on a jumper and it feels… neutral. That is exactly the aim. Nothing scratches, prods or itches. Comfort becomes the norm rather than something you have to “get used to”.
There is another benefit to this small habit: your garments last longer. By avoiding accidental cuts into seams, you avoid weakening the structure around necklines and side seams. That can mean fewer unexplained holes or stretched collars six months down the line.
Realistically, nobody checks every stitch each day. We tend to notice only once something fails, then blame “cheap fabric” or the washing machine. Yet much premature wear begins in those first few seconds with scissors and a stiff tag.
Choosing a seam ripper is a tiny, barely noticeable decision, but it changes your relationship with your wardrobe. Instead of tearing things open to reach the good bit, you handle each garment as something you genuinely intend to keep.
You may even pass the habit on. Perhaps your partner is about to attack a new shirt, or a teenager is pulling at the label in new jeans. You can hand over the seam ripper and demonstrate the satisfying snap as a single stitch comes free.
It is a very small act in isolation. But across dozens of garments and years of use, this sort of quiet care can change both how clothing feels on your skin and how long it stays in your life.
| Key point | Detail | Value for the reader |
|---|---|---|
| Use a seam ripper rather than scissors | Cut only the stitches securing the tag, without damaging the fabric or structural seams | Minimise damage and help garments stay new-looking and well shaped for longer |
| Work one stitch at a time | Put the ball end between the label and material, then cut individual threads along the edge | Remove itchy remnants while preventing warped seams and small holes |
| Take a “care, not force” approach | View tags as a handful of threads to undo rather than something to pull out with force | Improve daily comfort and gain more value from every item of clothing |
FAQ:
- Do I really need a seam ripper just for tags? It is inexpensive and can sit in a drawer for years. In addition to tags, it can help with loose seams, irritating brand labels and small sewing errors without damaging the material.
- Will cutting stitches make my clothes weaker? You are cutting only the additional stitches that secure the label, rather than the main structural seam. Provided you target those small fastening threads alone, the garment will remain just as strong-and often stronger than if scissors had accidentally caught the seam.
- What if the tag is fused or printed rather than sewn? A seam ripper cannot help in that situation because there are no threads to cut. Such tags are generally heat-pressed or printed, so the best option is to select softer fabrics or wear a base layer if they irritate your skin.
- How can I avoid making a hole in delicate material? Always insert the ball end between the label and the fabric so the sharp hook contacts thread only. Work on a flat surface in good light and apply the gentlest pressure possible. If you meet resistance, change the angle rather than pressing harder.
- Can I remove size and care labels as well? Yes, provided they are stitched into a seam rather than fused on. Bear in mind that you will lose the washing guidance, so consider taking a quick photo before removal, particularly for delicate or specialist fabrics.


Comments
No comments yet. Be the first to comment!
Leave a Comment