
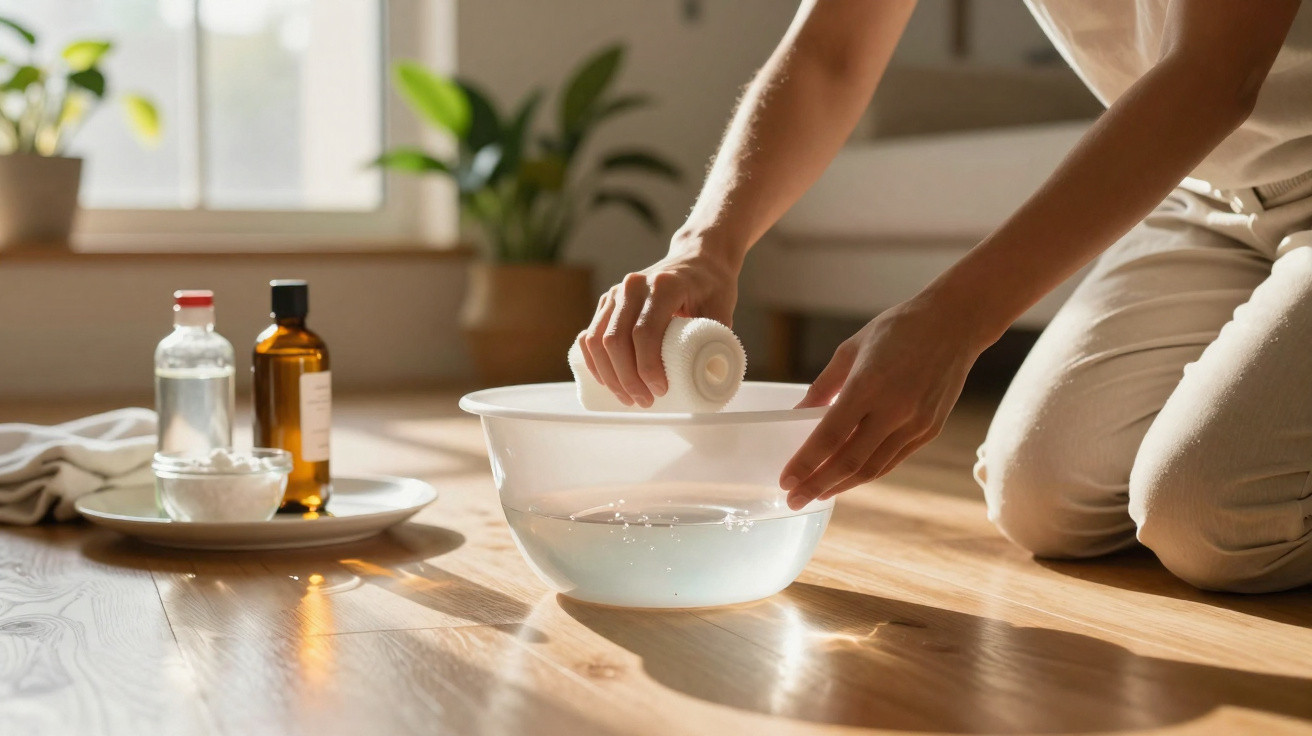
Across social media and among professional cleaners, an uncomplicated traditional blend is quietly changing the way people look after worn-looking floors. It promises fresher spaces, fewer germs and a more pleasant home, without requiring a cupboard packed with chemicals.
Why deep-cleaned floors change more than just the look of a room
In most homes, floors make up the largest surface area. Crumbs, dust and pollutants brought in from outside all eventually settle there. When cleaning only addresses the surface, this accumulation can soon make even costly flooring appear lifeless.
According to professional cleaners, uncared-for floors present two issues at once: they look worn, and they can harbour an unseen health concern. Dust, pet dander and minute particles collect in gaps between boards, grout joints and the textured finishes of vinyl and tiles.
A floor that “looks” clean can still hold allergenic particles, bacteria and odours that never quite leave the room.
This is especially relevant for children, older people and those with asthma or allergies. Tiny particles are lifted back into the air whenever someone walks across the room, mops too hastily or turns on a fan. That repeated movement can lead to sneezing, sore eyes and a sense that the air feels stuffy, despite apparently spotless surfaces.
A properly scheduled deep clean alters this cycle. It clears trapped dust, lowers bacteria levels and helps stop surfaces becoming permanently scratched or dull. It also makes everyday weekly or daily cleaning easier, as fresh dirt is less likely to cling to existing residue.
The “grandma mix” that TikTok made viral
Old-school household advice has gained a fresh following online, particularly on TikTok, where creators regularly try out and review traditional remedies. Among the most widely shared recipes is a formula using everyday cupboard staples that have been familiar in many homes for generations.
The mix brings together hot water, white vinegar, bicarbonate of soda, a drop of dish soap and a small dose of standard floor cleaner.
A number of cleaning influencers, including home-centred profiles such as @Alydecohome, say the blend is suitable not just for floors but for washable walls and selected sealed furniture surfaces too. Its popularity is partly explained by the fact that it does not need specialist sprays or obscure brands during a cost-of-living squeeze.
What each ingredient actually does
- Hot water: helps release greasy layers and soften dried dirt, so manual scrubbing works more effectively.
- White vinegar: breaks down limescale, soap residue and certain mineral deposits, while helping to neutralise persistent odours.
- Bicarbonate of soda: provides mild abrasion, helps lift certain stains and deodorises without scratching most hard flooring if it is completely dissolved.
- Dish soap: cuts through oils from pets, skin and cooking, helping them rinse away rather than spread across the surface.
- Floor cleaner: supplies surfactants and fragrance formulated for broad surfaces, while helping the mop move more smoothly.
Together, these ingredients provide chemical action as well as mechanical cleaning power. The vinegar deals with deposits that ordinary detergent may leave behind, while bicarbonate supplies a gentle scouring action for sealed surfaces.
How to mix and use the solution safely
Experts recommend a straightforward recipe and advise against aggressive combinations, including bleach or powerful disinfectants. For an average-sized room, a typical bucket mixture could be prepared as follows:
| Ingredient | Suggested quantity for 5 litres of hot water |
|---|---|
| White vinegar | 150–200 ml |
| Bicarbonate of soda | 2–3 tablespoons |
| Dish soap | 1 teaspoon |
| Floor cleaner | Capful or label-recommended amount |
First, fill a bucket with hot water. Pour in the vinegar, then add the bicarbonate gradually to prevent too much fizzing. Stir it lightly, before adding a small quantity of dish soap and the floor cleaner you have selected. Mix until the solution is evenly combined.
Always test a small, hidden patch of flooring before you cover an entire room, especially on waxed wood, natural stone or delicate finishes.
Step-by-step method for bright floors
Specialists recommend following a basic but reliable process:
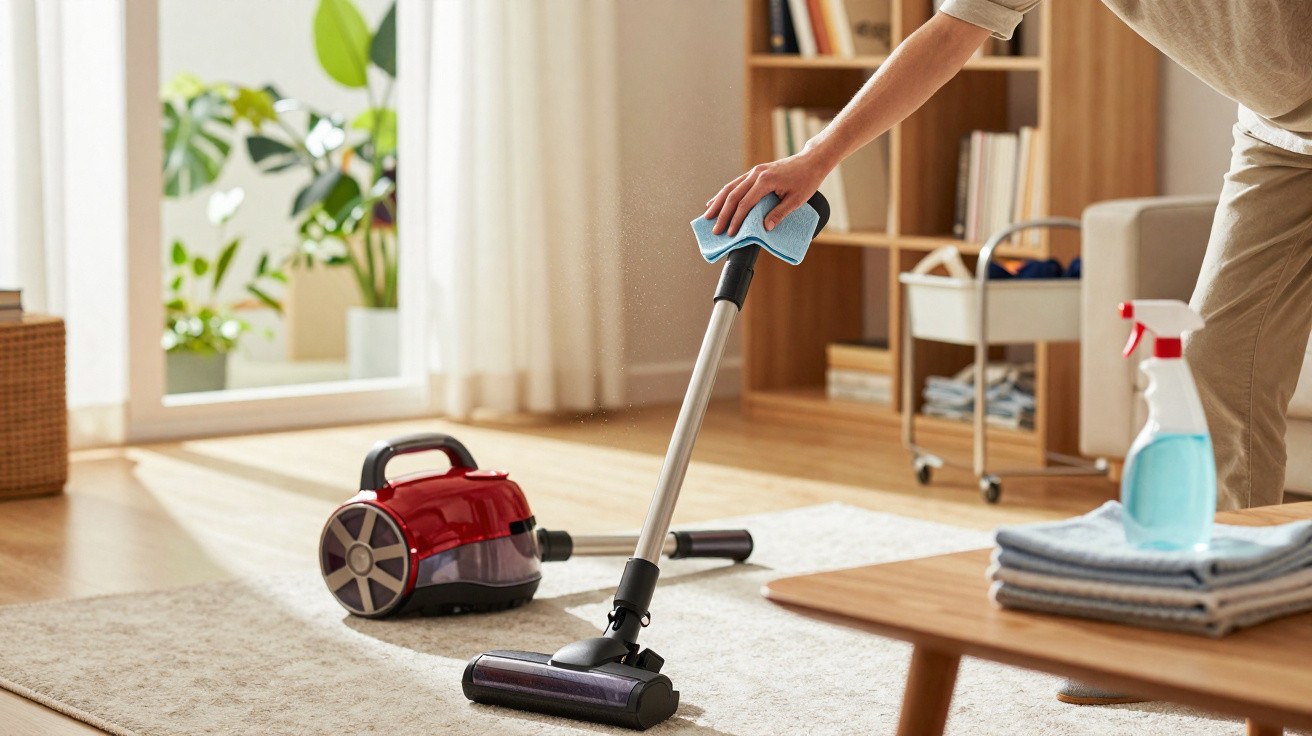
- Sweep or vacuum first to remove loose grit and dust that may scratch the floor.
- Submerge a clean mop in the bucket, then wring it thoroughly until damp rather than saturated.
- Clean in sections, beginning at the furthest point in the room and working towards the doorway.
- Wash the mop regularly in the solution to avoid redistributing dirt.
- Treat difficult marks by applying a little of the mixture with a microfibre cloth and rubbing carefully.
- Let the floor dry naturally, with windows slightly open to speed drying and help release odours.
TikTok creators who have shared this approach say they carry out the deeper clean approximately every 20 days. Between sessions, they follow lighter habits: a fast vacuum, immediate attention to spills and a damp mop using plain warm water in busy areas.
Which floors suit this grandma-style solution?
This mixture is most appropriate for sealed, washable flooring. In most cases, that covers ceramic tiles, sealed vinyl, laminate described as water-resistant and many contemporary engineered wood floors with a factory-applied finish. Used sparingly, these materials can tolerate diluted vinegar and gentle scrubbing without harm.
More care is needed with waxed or oiled traditional hardwood, porous terracotta and unsealed stone. Vinegar can etch natural stone and, over time, may remove certain finishes. Owners of expensive or sensitive flooring often modify the formula by omitting the vinegar, using less bicarbonate and placing greater emphasis on a floor cleaner approved by the manufacturer.
When in doubt, dilute more, use less product and focus on microfibre cloths or mops that trap dirt mechanically.
Health, cost and environmental angles
There are several reasons why the mix currently appeals to households in both the UK and US. Financial pressure encourages people to make their cleaning products go further, while staples such as vinegar and bicarbonate are often cheaper than branded “miracle” sprays. A single bottle of vinegar can be used for dozens of cleaning sessions in various parts of the home.
Indoor air quality has also become a greater concern. The intense synthetic fragrances found in many cleaners can aggravate sensitive lungs, and they can conceal smells instead of tackling what causes them. When correctly prepared and used, a milder homemade mix reduces the fragrance burden while still addressing sources of odour on the floor.
Risks, limits and when not to use the mix
Despite encouraging accounts, the grandma mix is not a universal answer. Using vinegar too often can gradually take the shine off glossy finishes. Excess bicarbonate can leave behind a layer that draws in more dirt when floors are not rinsed thoroughly. Too much dish soap may likewise cause streaking and leave the surface feeling faintly sticky underfoot.
Professionals do not recommend using this solution alongside chlorine bleach or strong disinfectants, because certain combinations may produce irritating fumes. In households where infection control is essential, including where someone is immunocompromised, purpose-made disinfectants may still be needed and should be used exactly as their labels instruct.
Pets bring an additional consideration. Diluted vinegar and ordinary floor cleaner are generally safe after drying, but animals should be kept away from freshly mopped spaces. Cats and dogs that walk on wet flooring before licking their paws can consume more cleaning product than intended.
How to build a realistic floor-cleaning schedule
Cleaning professionals commonly encounter two opposite approaches: households that scrub floors almost every day with harsh products, and those that only mop when visitors are expected. Neither is ideal. Excessive cleaning with strong chemicals can wear away finishes, while infrequent cleaning allows dirt to work like sandpaper with every footstep.
A measured timetable is more effective. In a busy family home, this could mean dry sweeping or vacuuming high-traffic areas every one or two days, a quick damp mop once a week and a more intensive clean with the grandma mix about every three weeks. Smaller households, or city flats exposed to less dirt from outdoors, may leave slightly longer gaps between these tasks.
The goal is not perfection, but a floor that feels fresh, looks cared for and does not feed dust levels in the rest of the home.
Beyond floors: other uses and smart adjustments
Used with caution, the same diluted blend can refresh scuff marks on washable walls and painted skirting boards. Usually, a soft cloth that has been well wrung out is all that is needed. Some people use it on cupboard doors close to cookers, where grease tends to gather. Spot-testing remains important in every case, since paint formulations and finishes differ considerably.
Homes looking to use less plastic can replace numerous bottled products with a smaller selection of concentrates and bulk basics such as vinegar and bicarbonate. Clearly labelled refillable bottles help keep the process manageable while cutting packaging waste. Combined with reusable, washable microfibre mops, this method can reduce clutter as well as spending.
There is a psychological benefit too. A regular routine requiring little effort is more sustainable than occasional “deep clean marathons” that seem daunting. Hot water and familiar household ingredients can make it easier to get started. Many people say that, once floors feel genuinely clean beneath bare feet, they are more inclined to maintain them-showing that old household wisdom can still have a practical role in modern homes.
Comments
No comments yet. Be the first to comment!
Leave a Comment