
The bucket is full, the mop is dripping over the tiles, and at last the floor seems ready for the deep clean it “deserves”.
You move the mop across the room, spreading soapy water in broad sweeps… then small grey smears begin to appear seemingly from nowhere. The harder you scrub, the further they travel. The light layer of dust that ought to have vanished appears to be increasing instead.
Ten minutes on, you stand back. The floor is wet and smells of lemon cleaner, yet it does not look right. Daylight through the window reveals dull areas, murky edges and corners that look worse than they did before. You have spent half an hour cleaning, only to achieve a result that is… average at best.
There is an understated reason why this happens in so many homes, kitchens and hallways. It begins before the mop ever reaches the floor.
Why mopping before removing dust backfires
Most of us tackle floor cleaning in the wrong order. We reach for the bucket and detergent, then attempt to “clean everything” at once. When a floor is only slightly dusty, it seems sensible enough. Water means clean, right?
Actually, the mop is meeting a coating of grit, hair, crumbs and fine dust. Rather than lifting it away, moisture sticks that mixture to the surface. Each pass of the mop effectively spreads a thin layer of mud around the room. The floor can appear glossy for a few minutes, before drying to a dull, streaked finish.
The result is especially harsh on dark wooden flooring. Every line where damp dust has been pulled across the surface is visible. Pale tiles disguise the issue more effectively, but bare feet soon reveal it. The floor feels gritty, slightly tacky in places and almost greasy in others. A “clean” fragrance can fool us while the residue remains exactly where it was.
During a regular visit to a small London flat on a Tuesday morning, professional cleaner Sarah demonstrates the difference. Her client has two children, a dog and an ongoing supply of unexplained crumbs. Before Sarah arrived, the client had mopped twice weekly, going straight over any mess she could see. She believed she was doing everything correctly.
Sarah carries out a straightforward test. She thoroughly vacuums one half of the hallway, then lightly mops both halves using the same water. Once the floor is dry, she puts a white cotton sock over the client’s hand and asks her to rub each area. The section that was “vacuumed-then-mopped” remains almost spotless. The area that was “just-mopped” leaves a clear grey stain on the sock.
The client is initially embarrassed, then reassured. She had not been lazy; years of hurried routines and “magic mop” advertising had simply led her astray. Her floor routine wasn’t failing because she didn’t try enough. It failed because it mixed two steps that should never go together.
Technically, mopping directly over dust changes dirt into a fine coating instead of taking it away. Dry debris, including dust, skin cells and lint, is easily collected by a broom or vacuum. Once it becomes wet, it combines with detergent, natural skin oils and tiny greasy marks brought in from cooking or footwear.
This mixture acts much like a mild adhesive. It works into the tiny texture of tiles and settles inside wood pores, especially on matt or textured finishes. A floor might look acceptable from standing height, yet it will hold onto more dirt with every footstep. This is why tiles in heavily used kitchens can begin to look “worn” far sooner than expected.
More troubling still, water combined with fine grit gradually becomes abrasive. Across laminate or soft wood, those tiny scratches scatter light and rob the floor of its natural sheen. You then try to compensate with extra cleaner, warmer water and more hard work. It looks clean for a day, then becomes dull again. The problem is not that your home is dirty; it is that the method is working against you.
The right order: dry first, then damp - never the opposite
The answer is not a more advanced mop. It is changing the sequence: dry first, then damp. These two straightforward stages take no longer but dramatically improve the outcome. Think of brushing your teeth before using mouthwash: loose debris needs removing before anything can be refreshed.
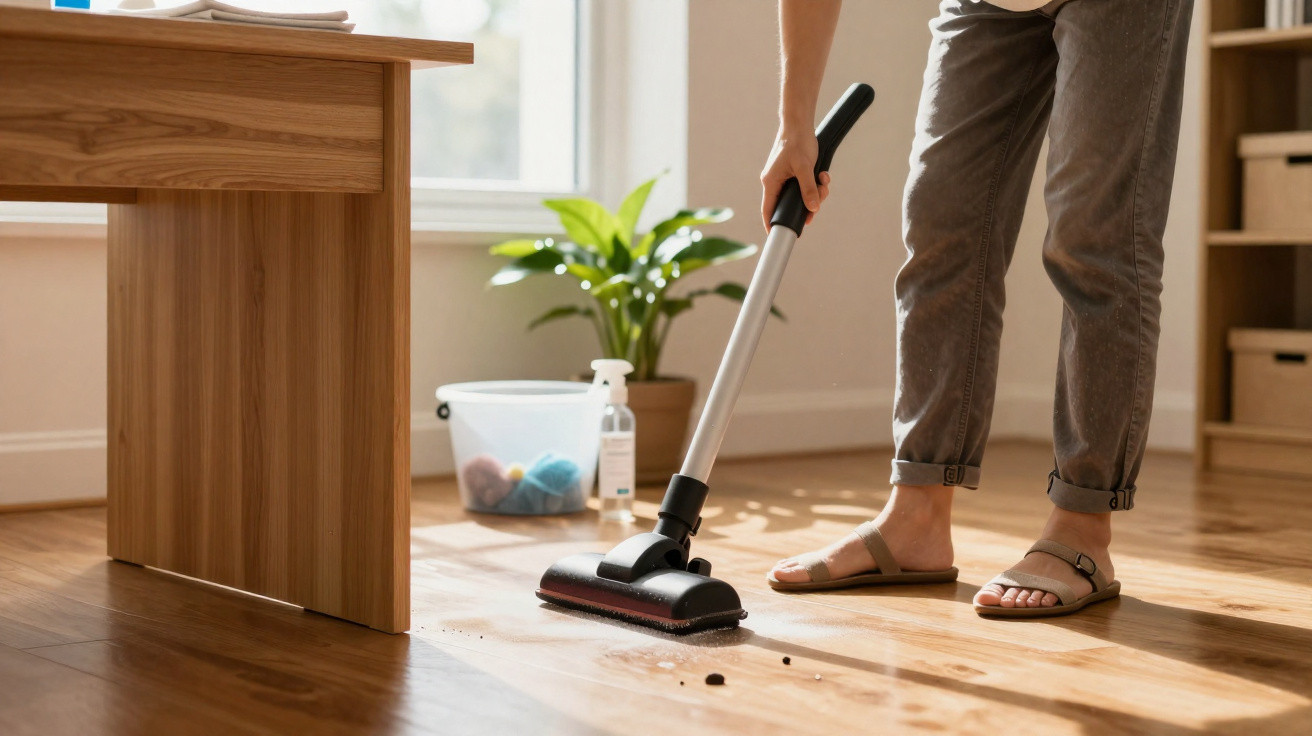
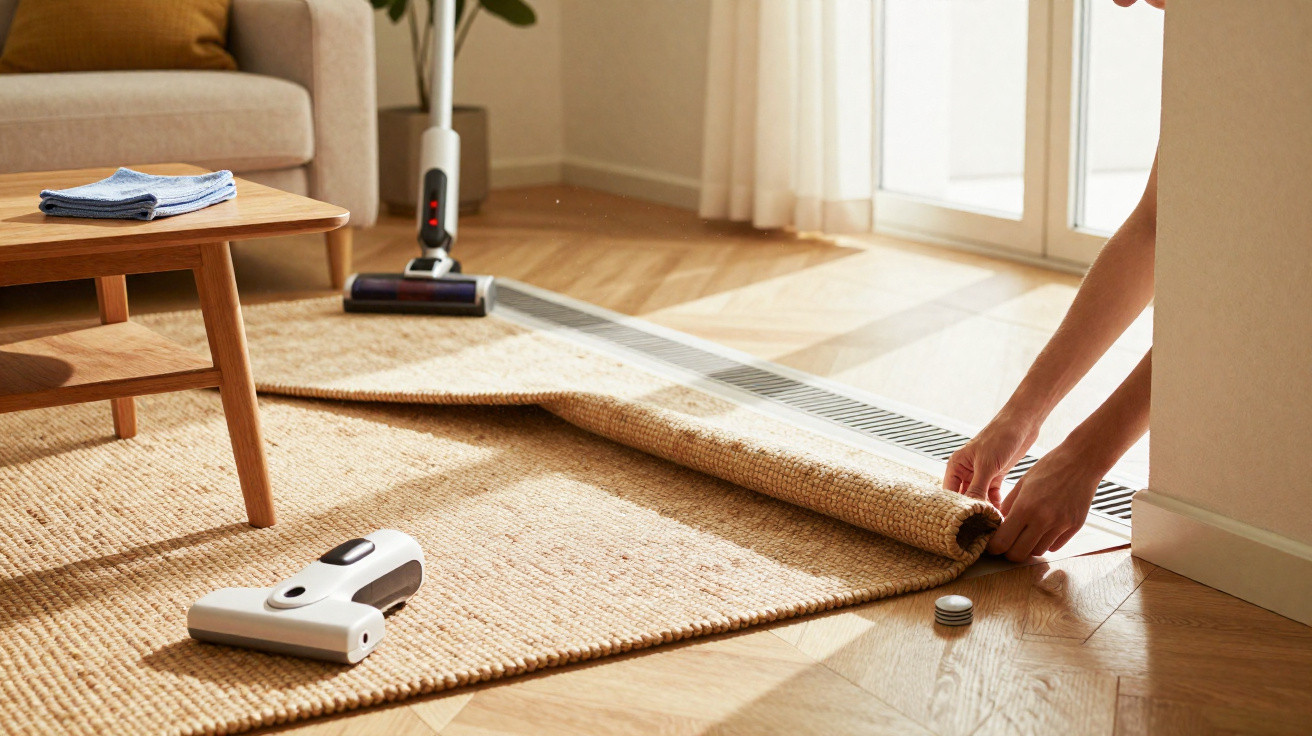
The first stage should always be dry cleaning. Vacuum where possible, paying particular attention to skirting boards and beneath furniture edges. If you do not have a vacuum, use a dry microfibre mop or soft broom, drawing dust towards yourself rather than frantically shoving it about. Keep movements short and slow, and allow the tool to do its job.
The second stage should be damp rather than soaking wet. Use a thoroughly wrung microfibre mop or pad with lukewarm water and a small amount of cleaner. You are trying to lift the remaining fine film, not flood the surface. When the pad turns grey, rinse it thoroughly or replace it with a clean one. The water should never resemble soup.
This is where many people feel guilty: nobody wants to vacuum before every single mopping session. But there is no need to make it a military routine. Start with high-traffic spots: the entrance, the kitchen area in front of the hob, around the table and the hallway leading to the bathroom. These are the places where crumbs and dust accumulate most quickly.
For the remaining floor area, a rapid pass with a dry mop is usually sufficient. It should take one or two minutes at most. The aim is not absolute perfection, but preventing visible debris from becoming wet. Let’s be honest: nobody really does this every day. Nor do you need to. For most households, once or twice weekly is enough, with slightly more frequent cleaning where pets or toddlers are constantly dropping snacks.
With hard floors such as tile and vinyl, the improvement is visible straight away. The water remains cleaner, the bucket does not become cloudy after one room, and the finished shine lasts longer. On wooden floors or laminate, you will see fewer streaks, particularly beside windows where daylight is unforgiving.
“The floor shouldn’t look clean only when it’s wet,” says Sarah, the cleaner. “A really clean floor looks good even in harsh daylight, with no shiny film trying to hide the marks.”
To make the process manageable on exhausting weekdays, create a small, realistic kit and routine. Nothing elaborate is required, only tools that properly follow the “dry, then damp” principle.
- One reliable vacuum cleaner, even a compact cordless model, with a hard-floor head.
- One wide dry microfibre mop for quick dusting passes.
- One flat damp mop with removable, washable pads.
- A gentle, low-foam floor cleaner suitable for your surface.
This uncomplicated trio - vacuum or broom, dry mop, damp mop - ends the cycle of sticky floors without requiring you to become a cleaning influencer. It is about the order of tasks, not perfection.
Changing small habits to get actually clean floors
There is a quiet pleasure in walking barefoot across a floor that does not reveal grains beneath your toes. When you reverse your cleaning order, that change becomes noticeable almost immediately. Feeling cleanliness, rather than merely seeing it, is oddly motivating. The job becomes less daunting.
The first thing to change is not your cleaner or equipment, but the way you think about the task. Rather than “washing the dirt around”, you begin to remove it properly. That one adjustment changes everything: less effort, fewer passes and less frustration when looking at a streaky surface. Some readers may even find themselves mopping less often because the results last beyond 24 hours.
It may seem absurdly simple, perhaps too simple to merit discussion. Yet this small switch - dry, then damp - contradicts the way many of us were taught to clean, or the way we improvise when we are already tired. It is one of those household myths that has lasted longer than it should have.
We have all experienced the moment of standing back after a “big clean” and feeling oddly disappointed. The scent is there, the effort is there, but the shine is only partly there. Passing on a small, useful truth like this can feel surprisingly personal. It concerns how we live behind closed doors, amid the quiet of our kitchens and corridors.
The next time you pick up the bucket, stop for ten seconds. Look at the dust, hair, crumbs and marks left by shoes. Consider what happens to each of them when water touches them. Complete the dry stage first, followed by the damp one. Allow the floor to dry, then examine it properly in the light.
Perhaps your socks will stay cleaner for a little longer. Perhaps the dog will slip less often. Guests might not comment, but you will notice the change beneath your feet. That can be enough to reshape a habit - and after seeing what “actually clean” looks like, going back is surprisingly difficult.
| Key point | Details | Why it matters to readers |
|---|---|---|
| Always start with a dry clean | Use a vacuum or dry microfibre mop to remove hair, grit and dust before water touches the floor. Prioritise corners, skirting boards and furniture edges, where debris gathers fastest. | It cuts down streaks, prevents muddy residue and keeps grit from scratching wood or laminate, helping the floor look newer and remain clean for longer. |
| Use less water than you think | Wring the mop pad until it is only damp rather than dripping. Clean in small sections and rinse the pad as soon as it becomes grey, rather than attempting to “finish the room” with dirty water. | This helps prevent swelling in wood and laminate, avoids tacky areas on tiles and reduces drying time so the room can be used again sooner. |
| Match tools to your floor type | Choose soft bristles or microfibre for wood and laminate, and marginally firmer tools for textured tiles. Avoid string mops over large spaces; flat microfibre heads collect more debris and leave fewer marks. | The correct tool means fewer passes, less effort and a more consistent finish, particularly in bright rooms where every streak is noticeable. |
FAQ
- Do I really need to vacuum every time before I mop? You do not need to carry out a full deep vacuum for every clean, but a quick dry pass is essential. Rapidly vacuuming busy areas or running a dry microfibre mop over them is generally enough to prevent dust becoming sludge when it meets water.
- Is sweeping with a broom enough, or do I need a vacuum? A broom is useful in open spaces, but it often pushes fine dust into corners and grout lines. A vacuum or electrostatic/dry microfibre mop catches more of the minute particles responsible for streaks and dull patches after mopping.
- Why does my floor feel sticky after I’ve mopped? Tacky floors commonly result from too much detergent, excess water and insufficient dry cleaning beforehand. Surplus product adheres to wet dust and dries as a fine film that gathers fresh dirt as people walk over it.
- How often should I properly deep clean my floors? For most homes, one more thorough weekly clean, involving a proper dry pass followed by careful damp mopping, is sufficient. Between sessions, quick spot-vacuuming or wiping up spills keeps matters under control without beginning the entire process again.
- Can I just use a spray mop without vacuuming first? Spray mops are useful for upkeep, though they work best on floors that are already mostly free of dust. Use one for light daily touch-ups, then set aside a separate point in the week for a proper dry clean and damp mop routine.

Comments
No comments yet. Be the first to comment!
Leave a Comment